Desk Backboard
I was always annoyed by the mess of cables under, on and above my desk. Cable management was always horrible for me because I have quite a lot of devices that need power and stuff like my audio interface, work laptop and other tech that adds its fair share of cables as well.
Initially I always dreamt of having the perfect setup that I would never have to touch again but that shit never works. Things always breaks and need to get unplugged, replugged or you get some new devices that need power or some other connection.
Another goal was to attach my screens to the backboard and get more desk space. Since I also had gotten a new Mini PC, the time was right to build this custom backboard for my desk.
Finished Project
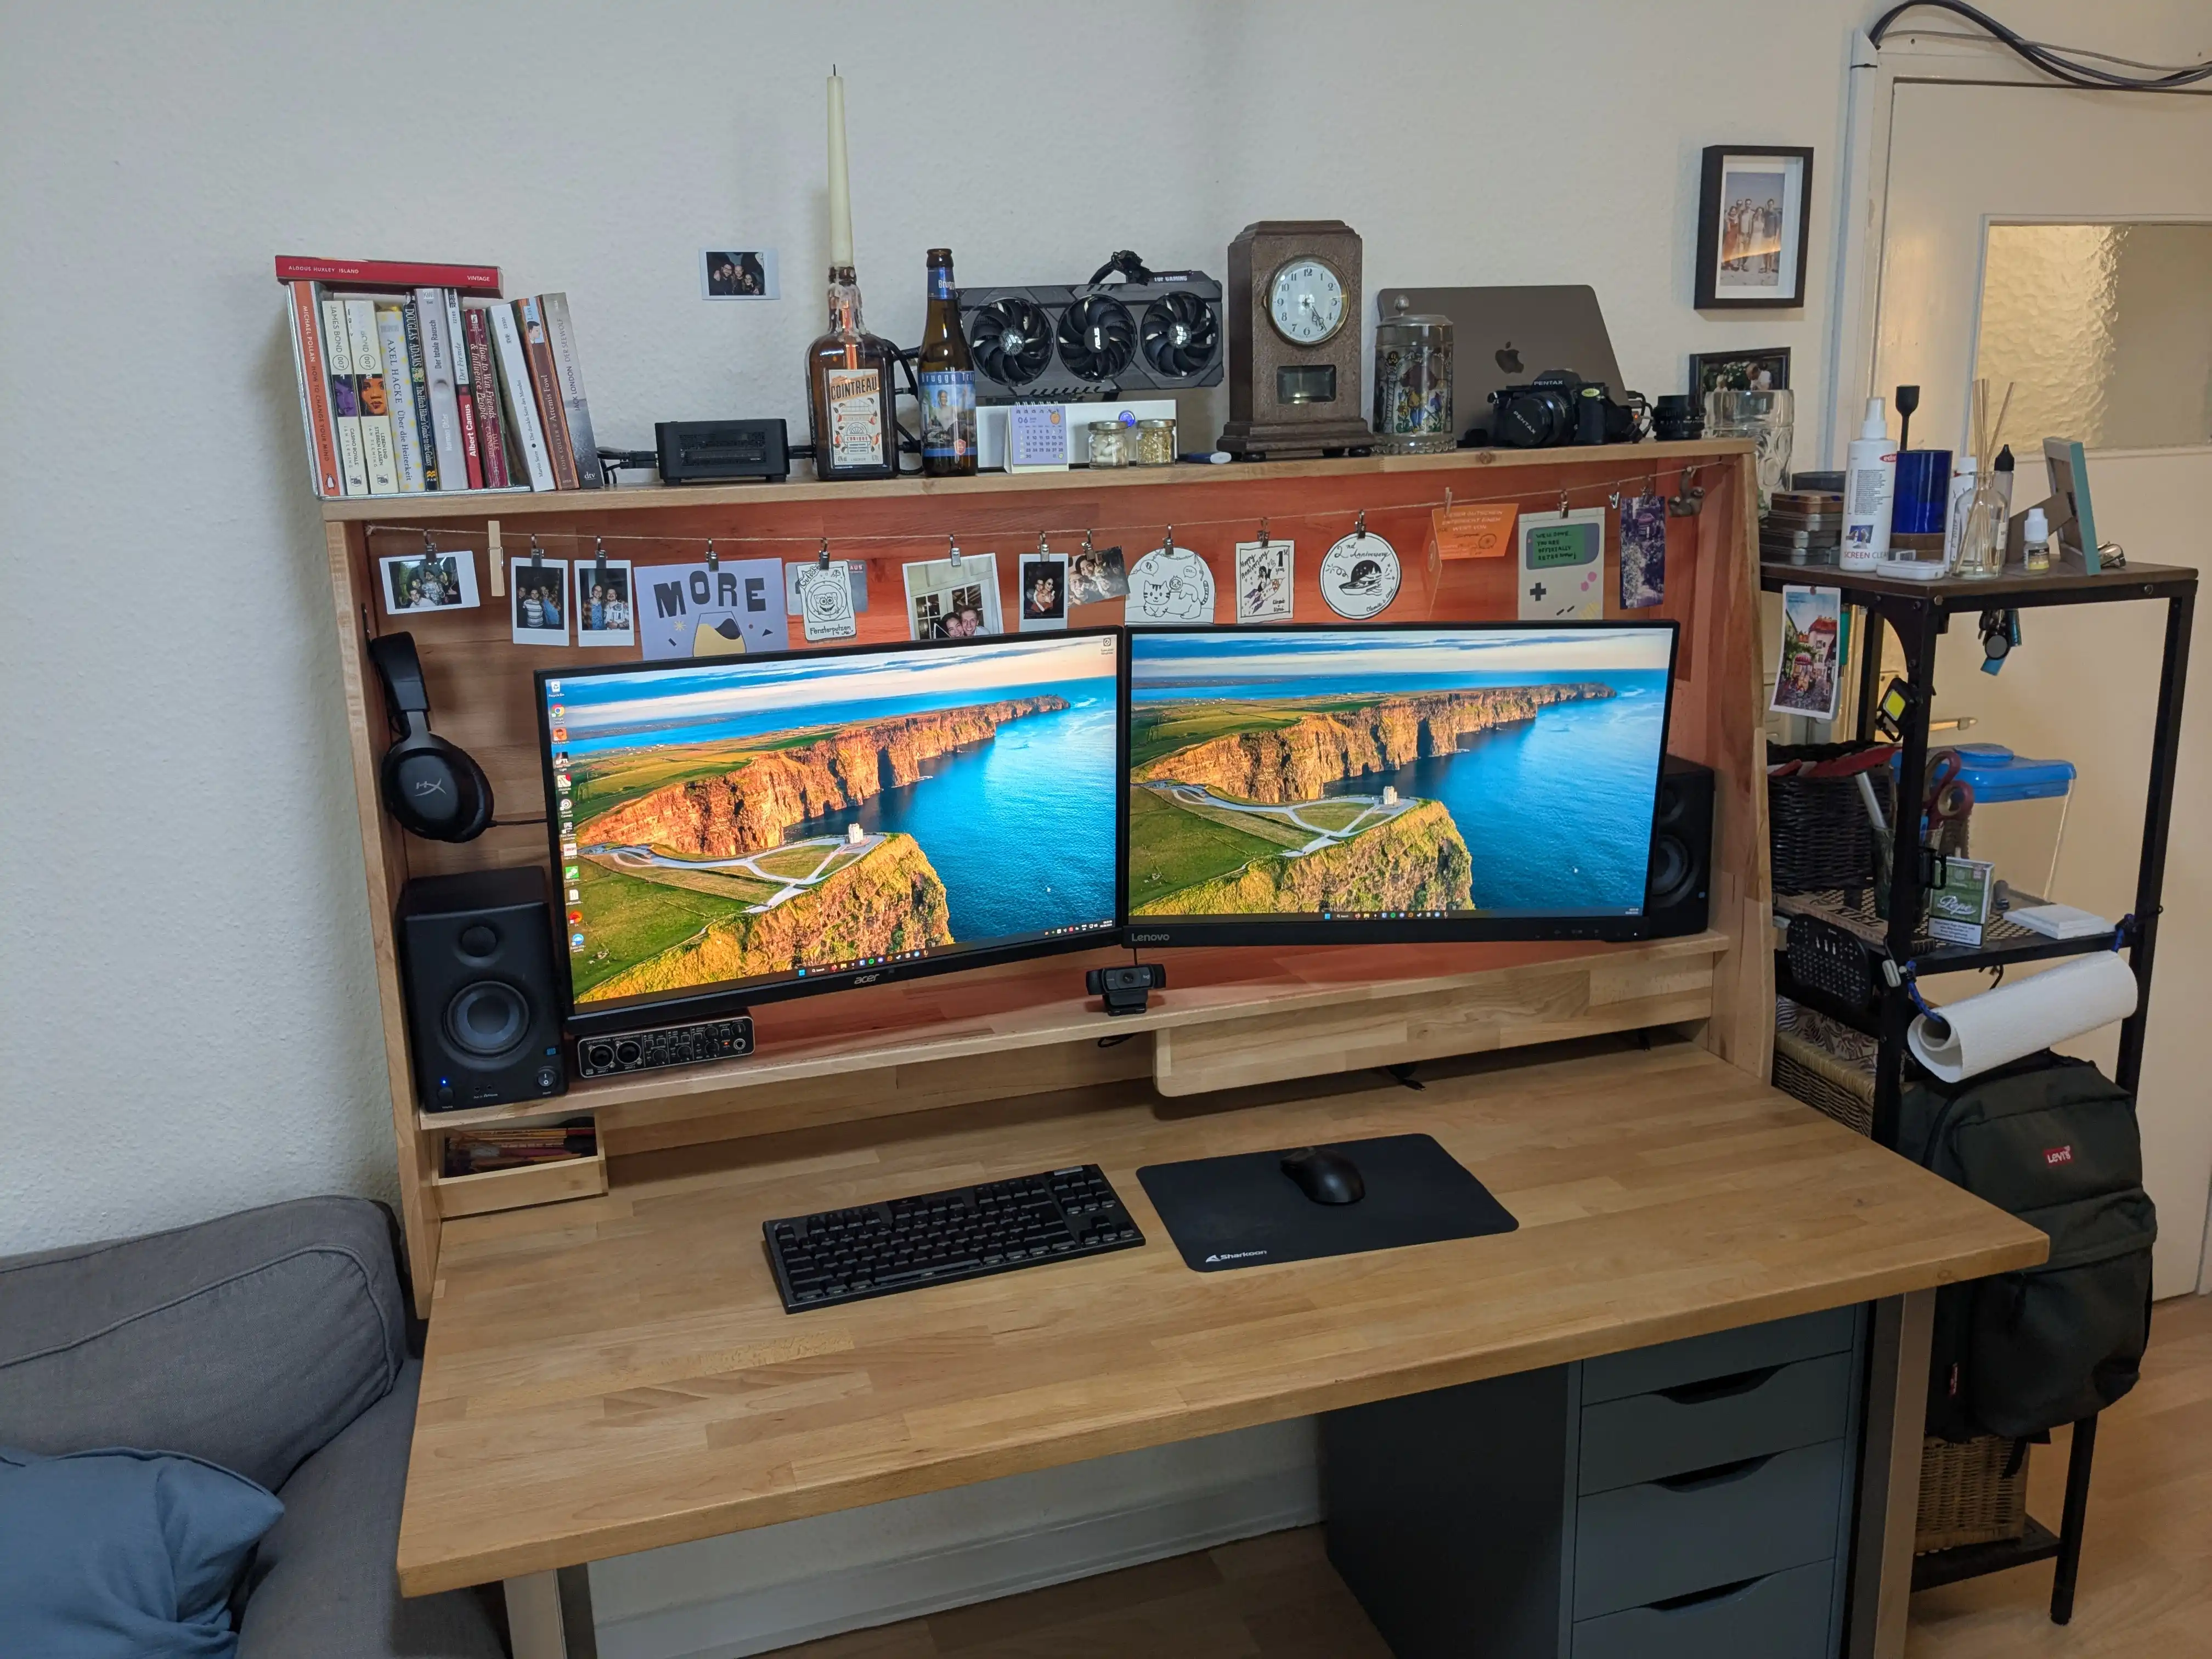
Magnetic power strip/cable cover. Wanted to have my power strip easily accessible instead of mounted behind the backboard or below the desk. Turned out to be a good idea as I always need to plug stuff in or out.
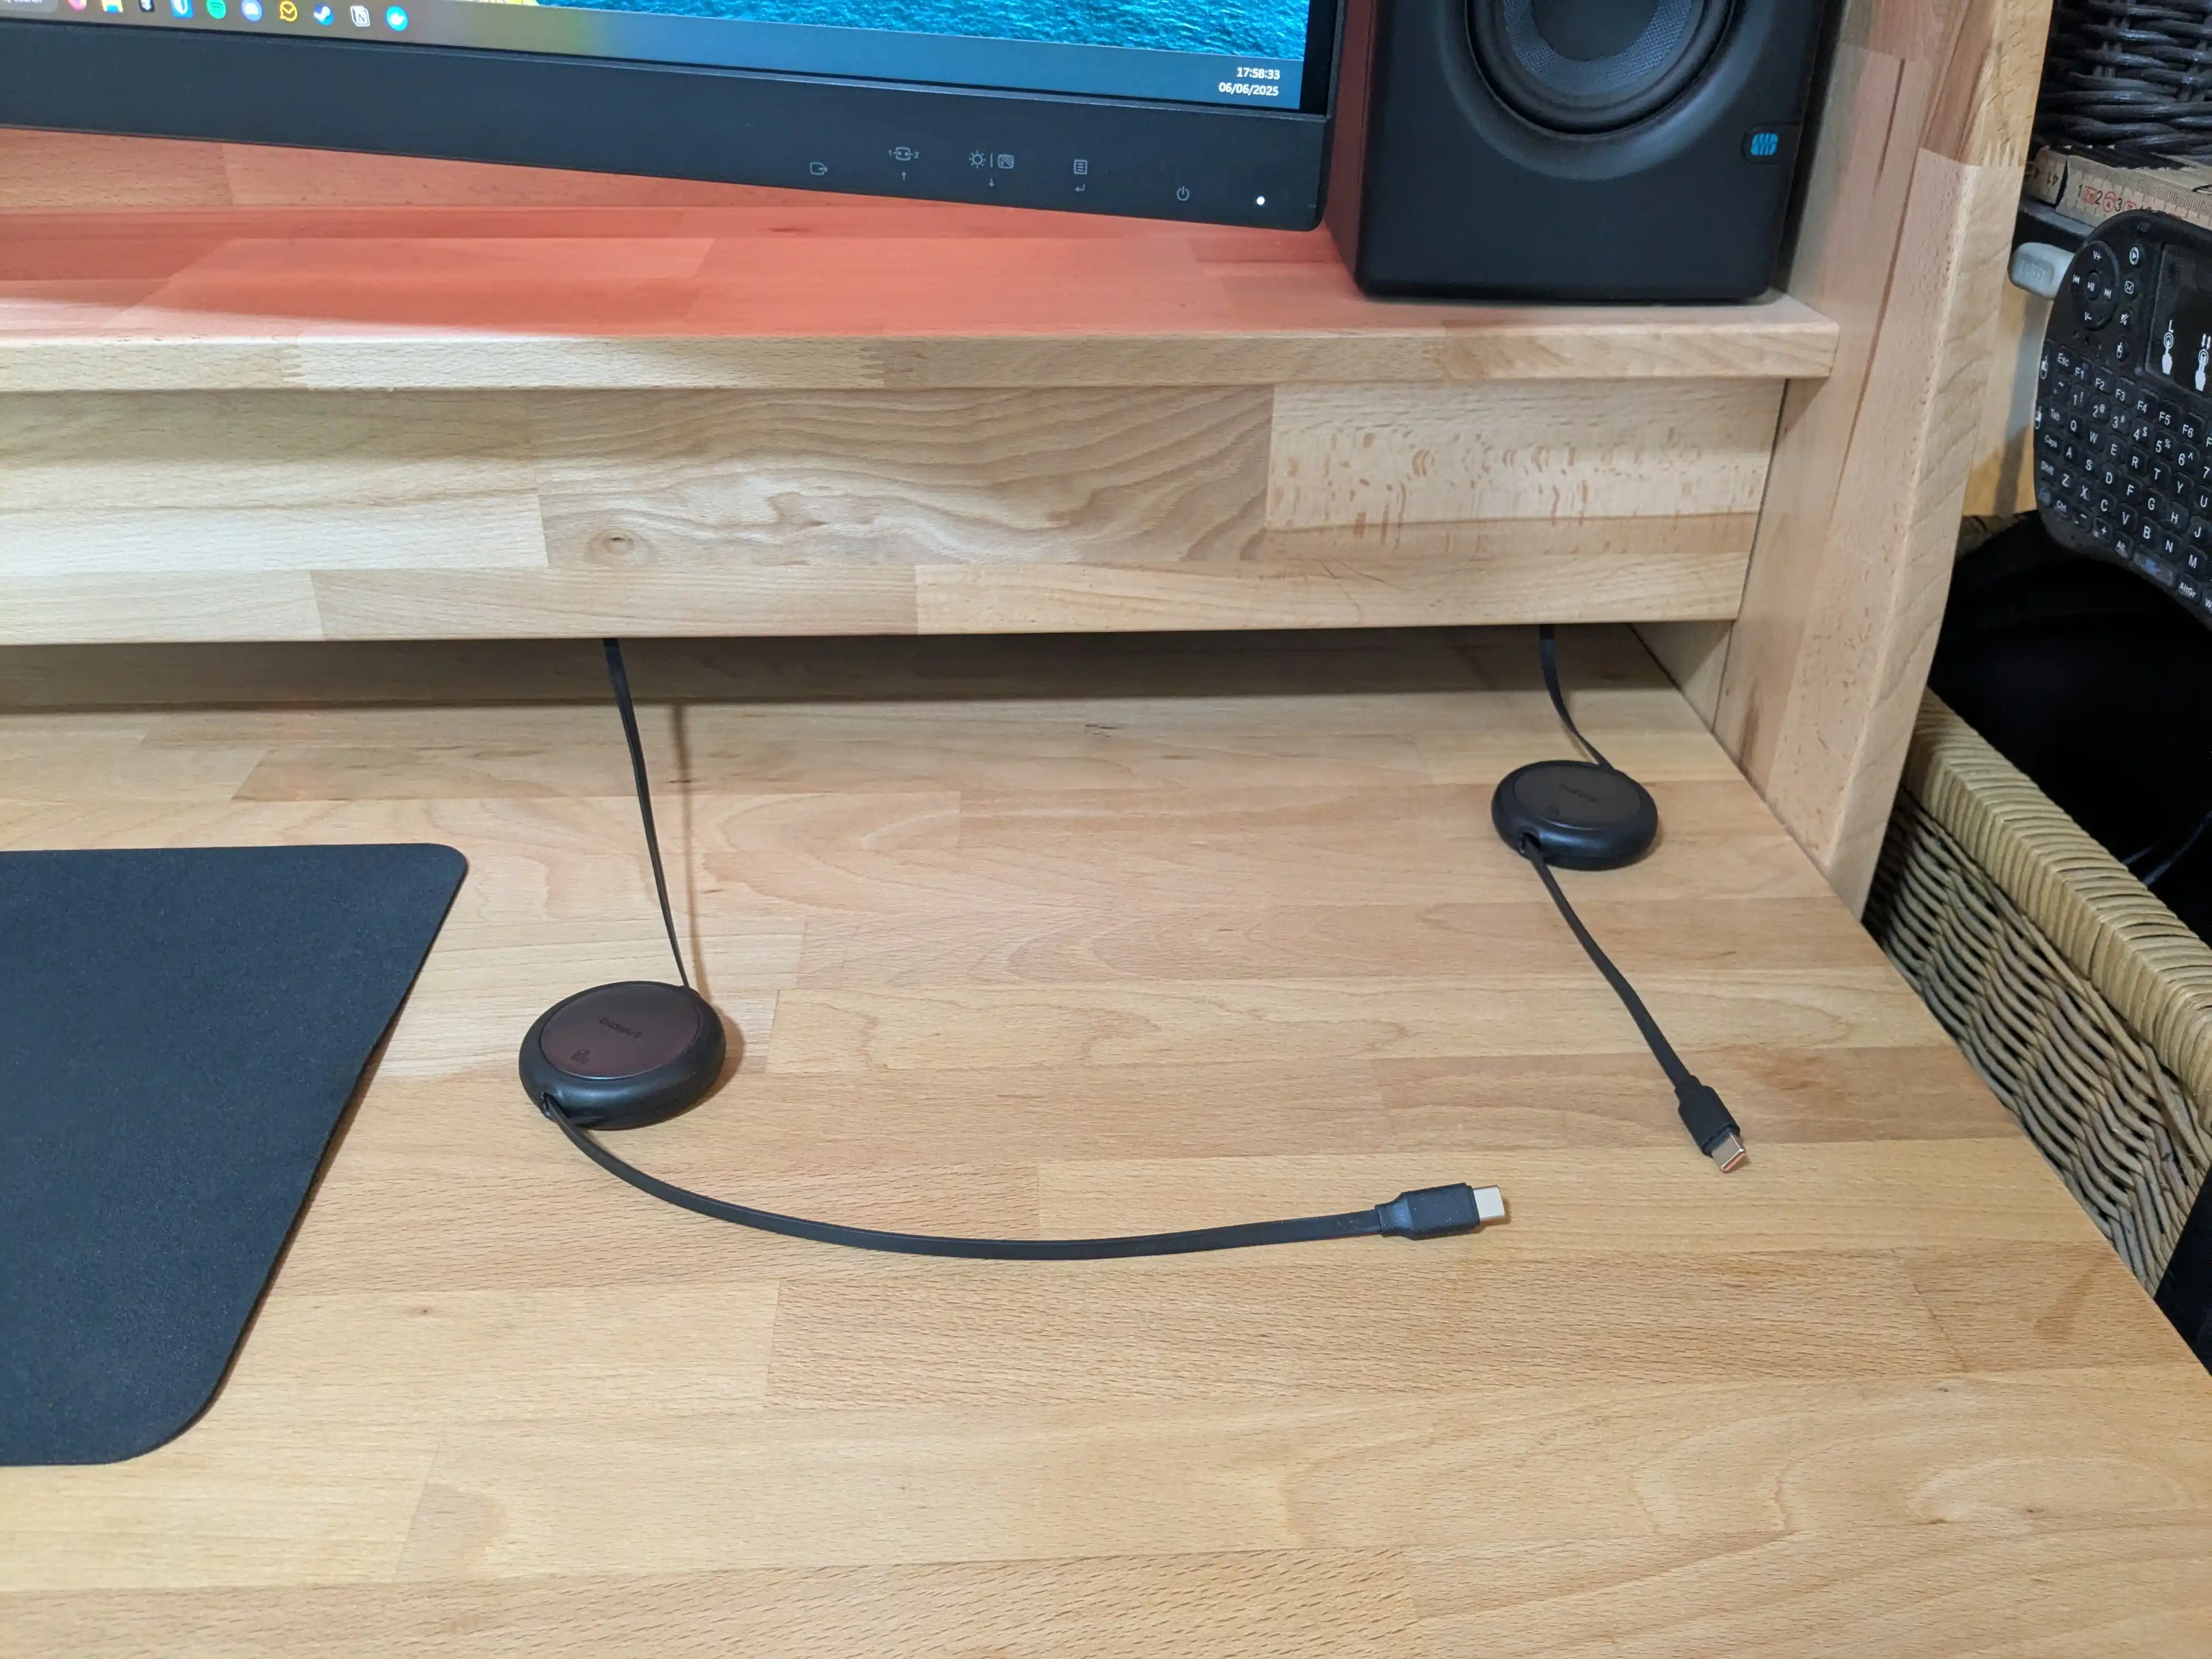
Retractable usb c cables. Work fine so far and can be easily hidden when not in use.
Look mom, no cables! (under the desk)
Before
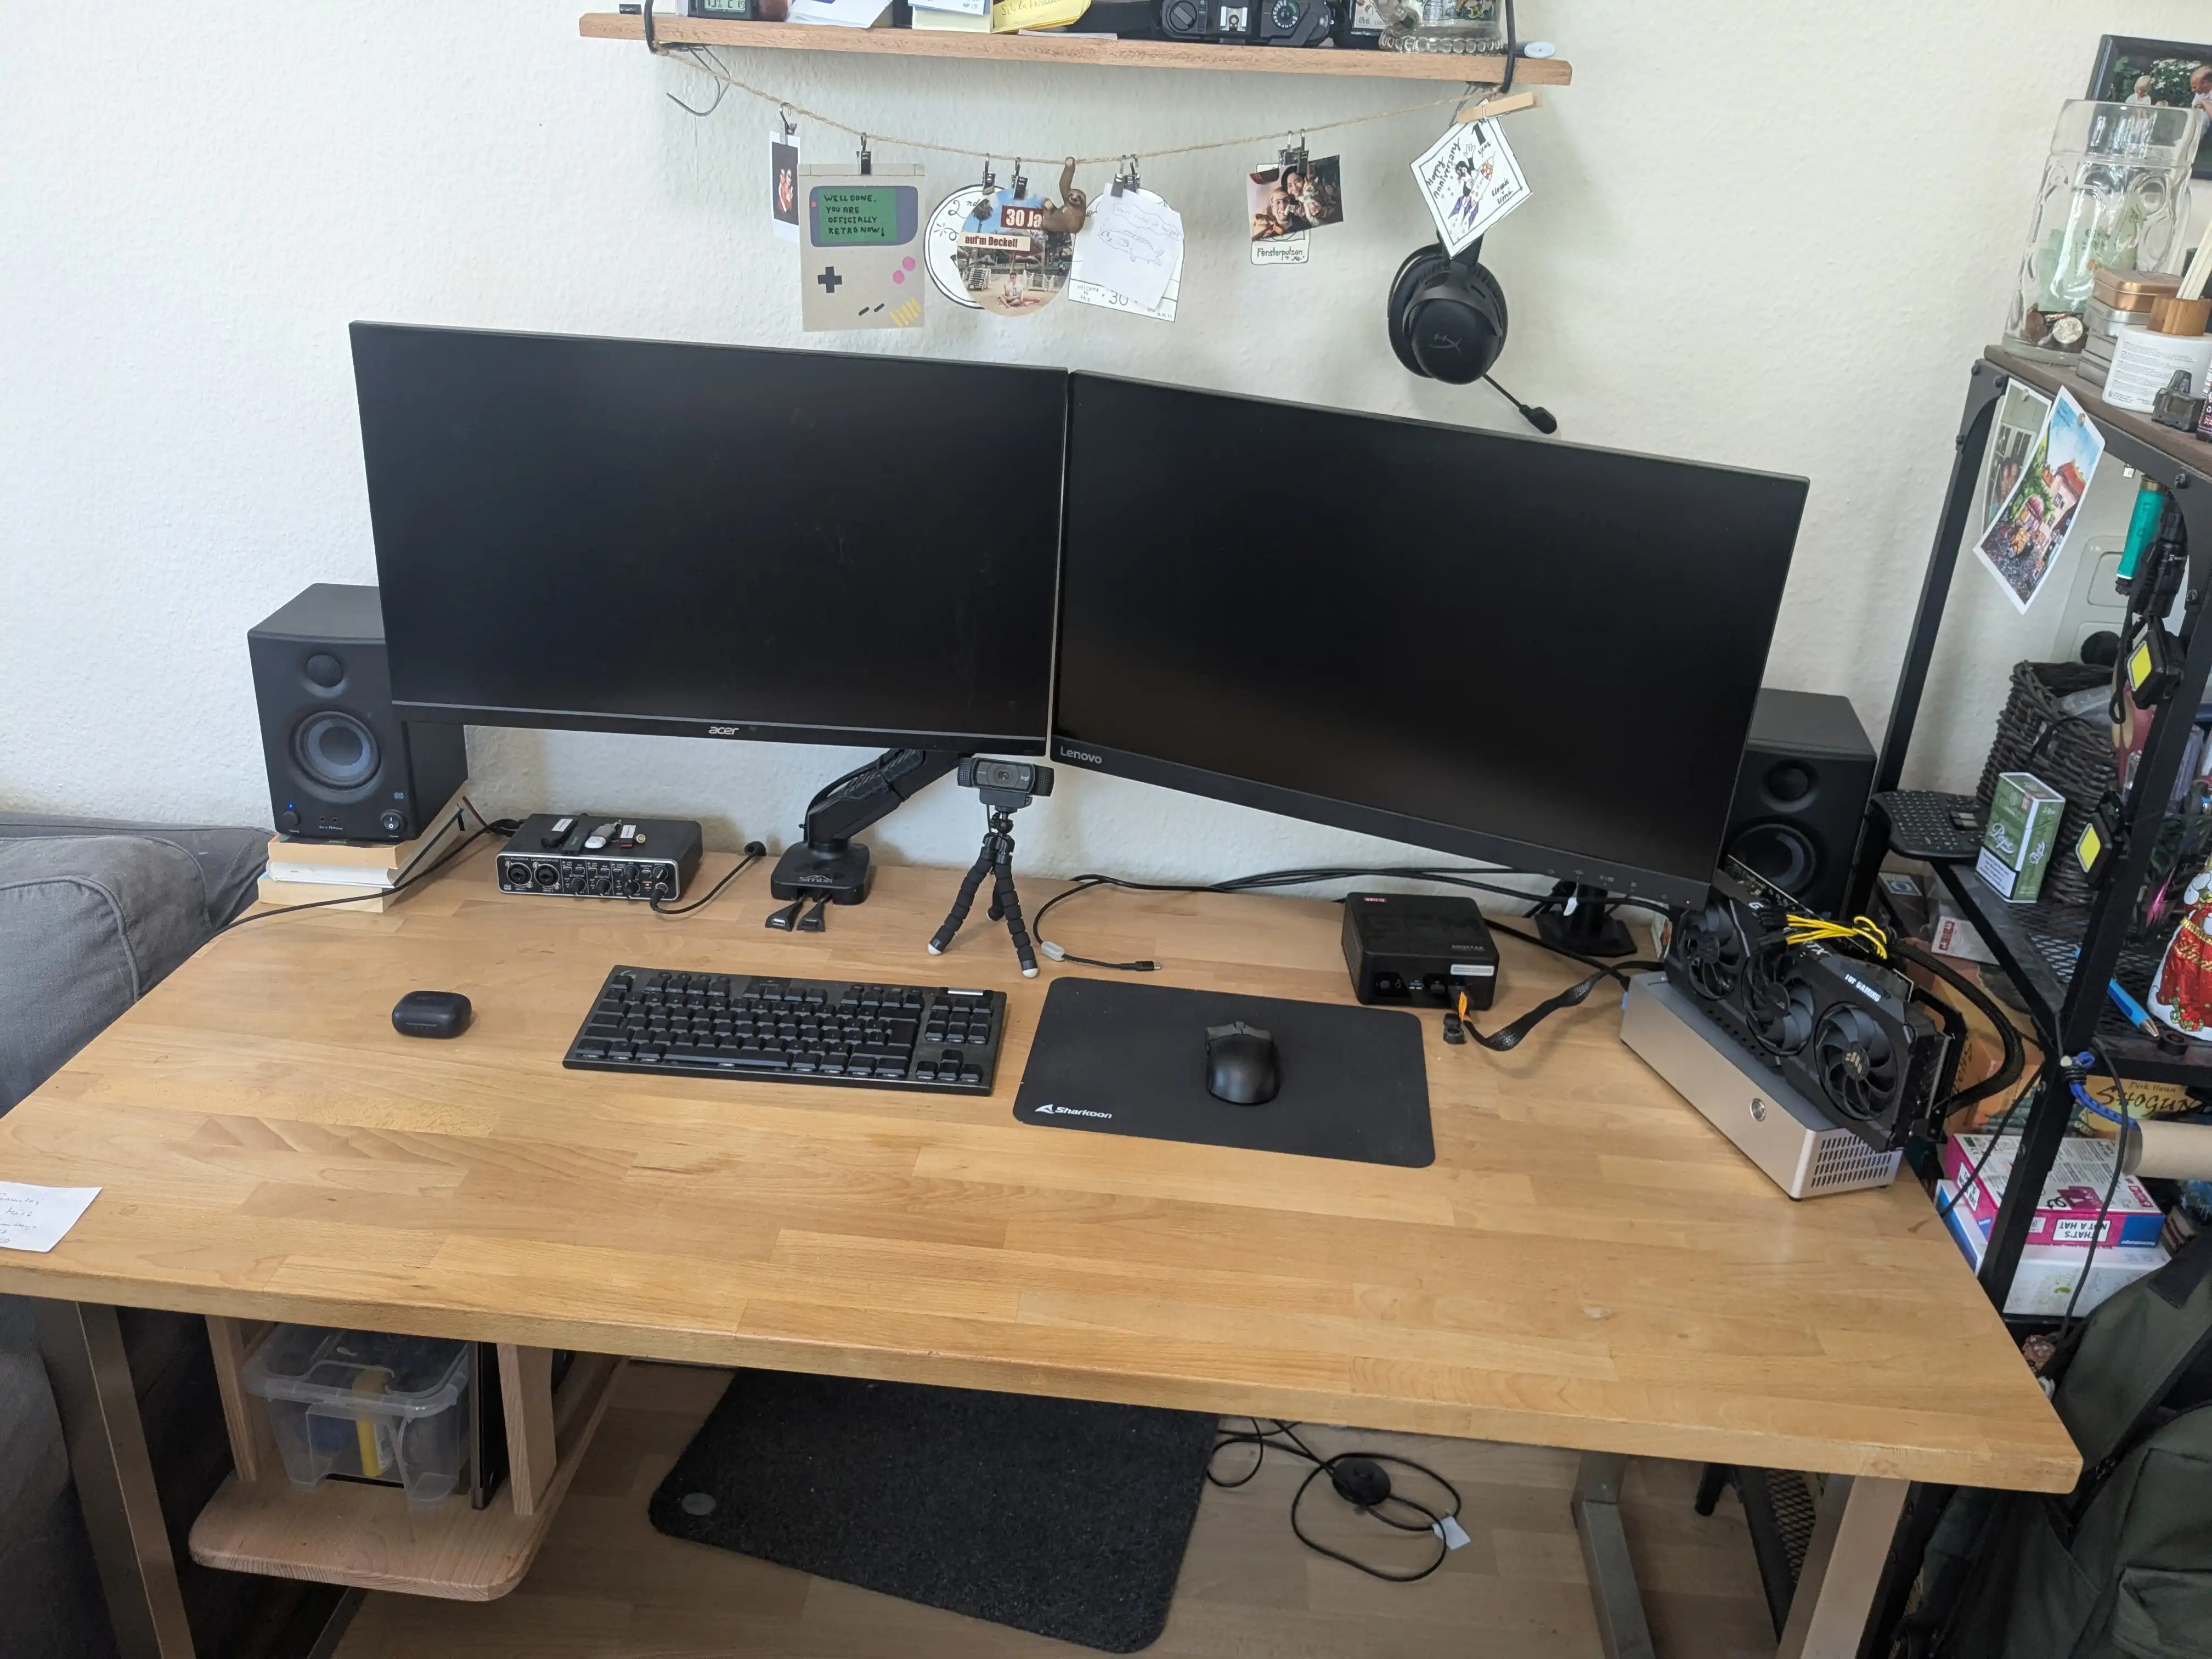
This wasn't my permanent PC setup. This picture was taken right after the mini PC and external GPU arrived and I had to try them out. Before that I had a 'bigger' PC mounted under my desk. You can check out the build at Under Desk Computer Mount
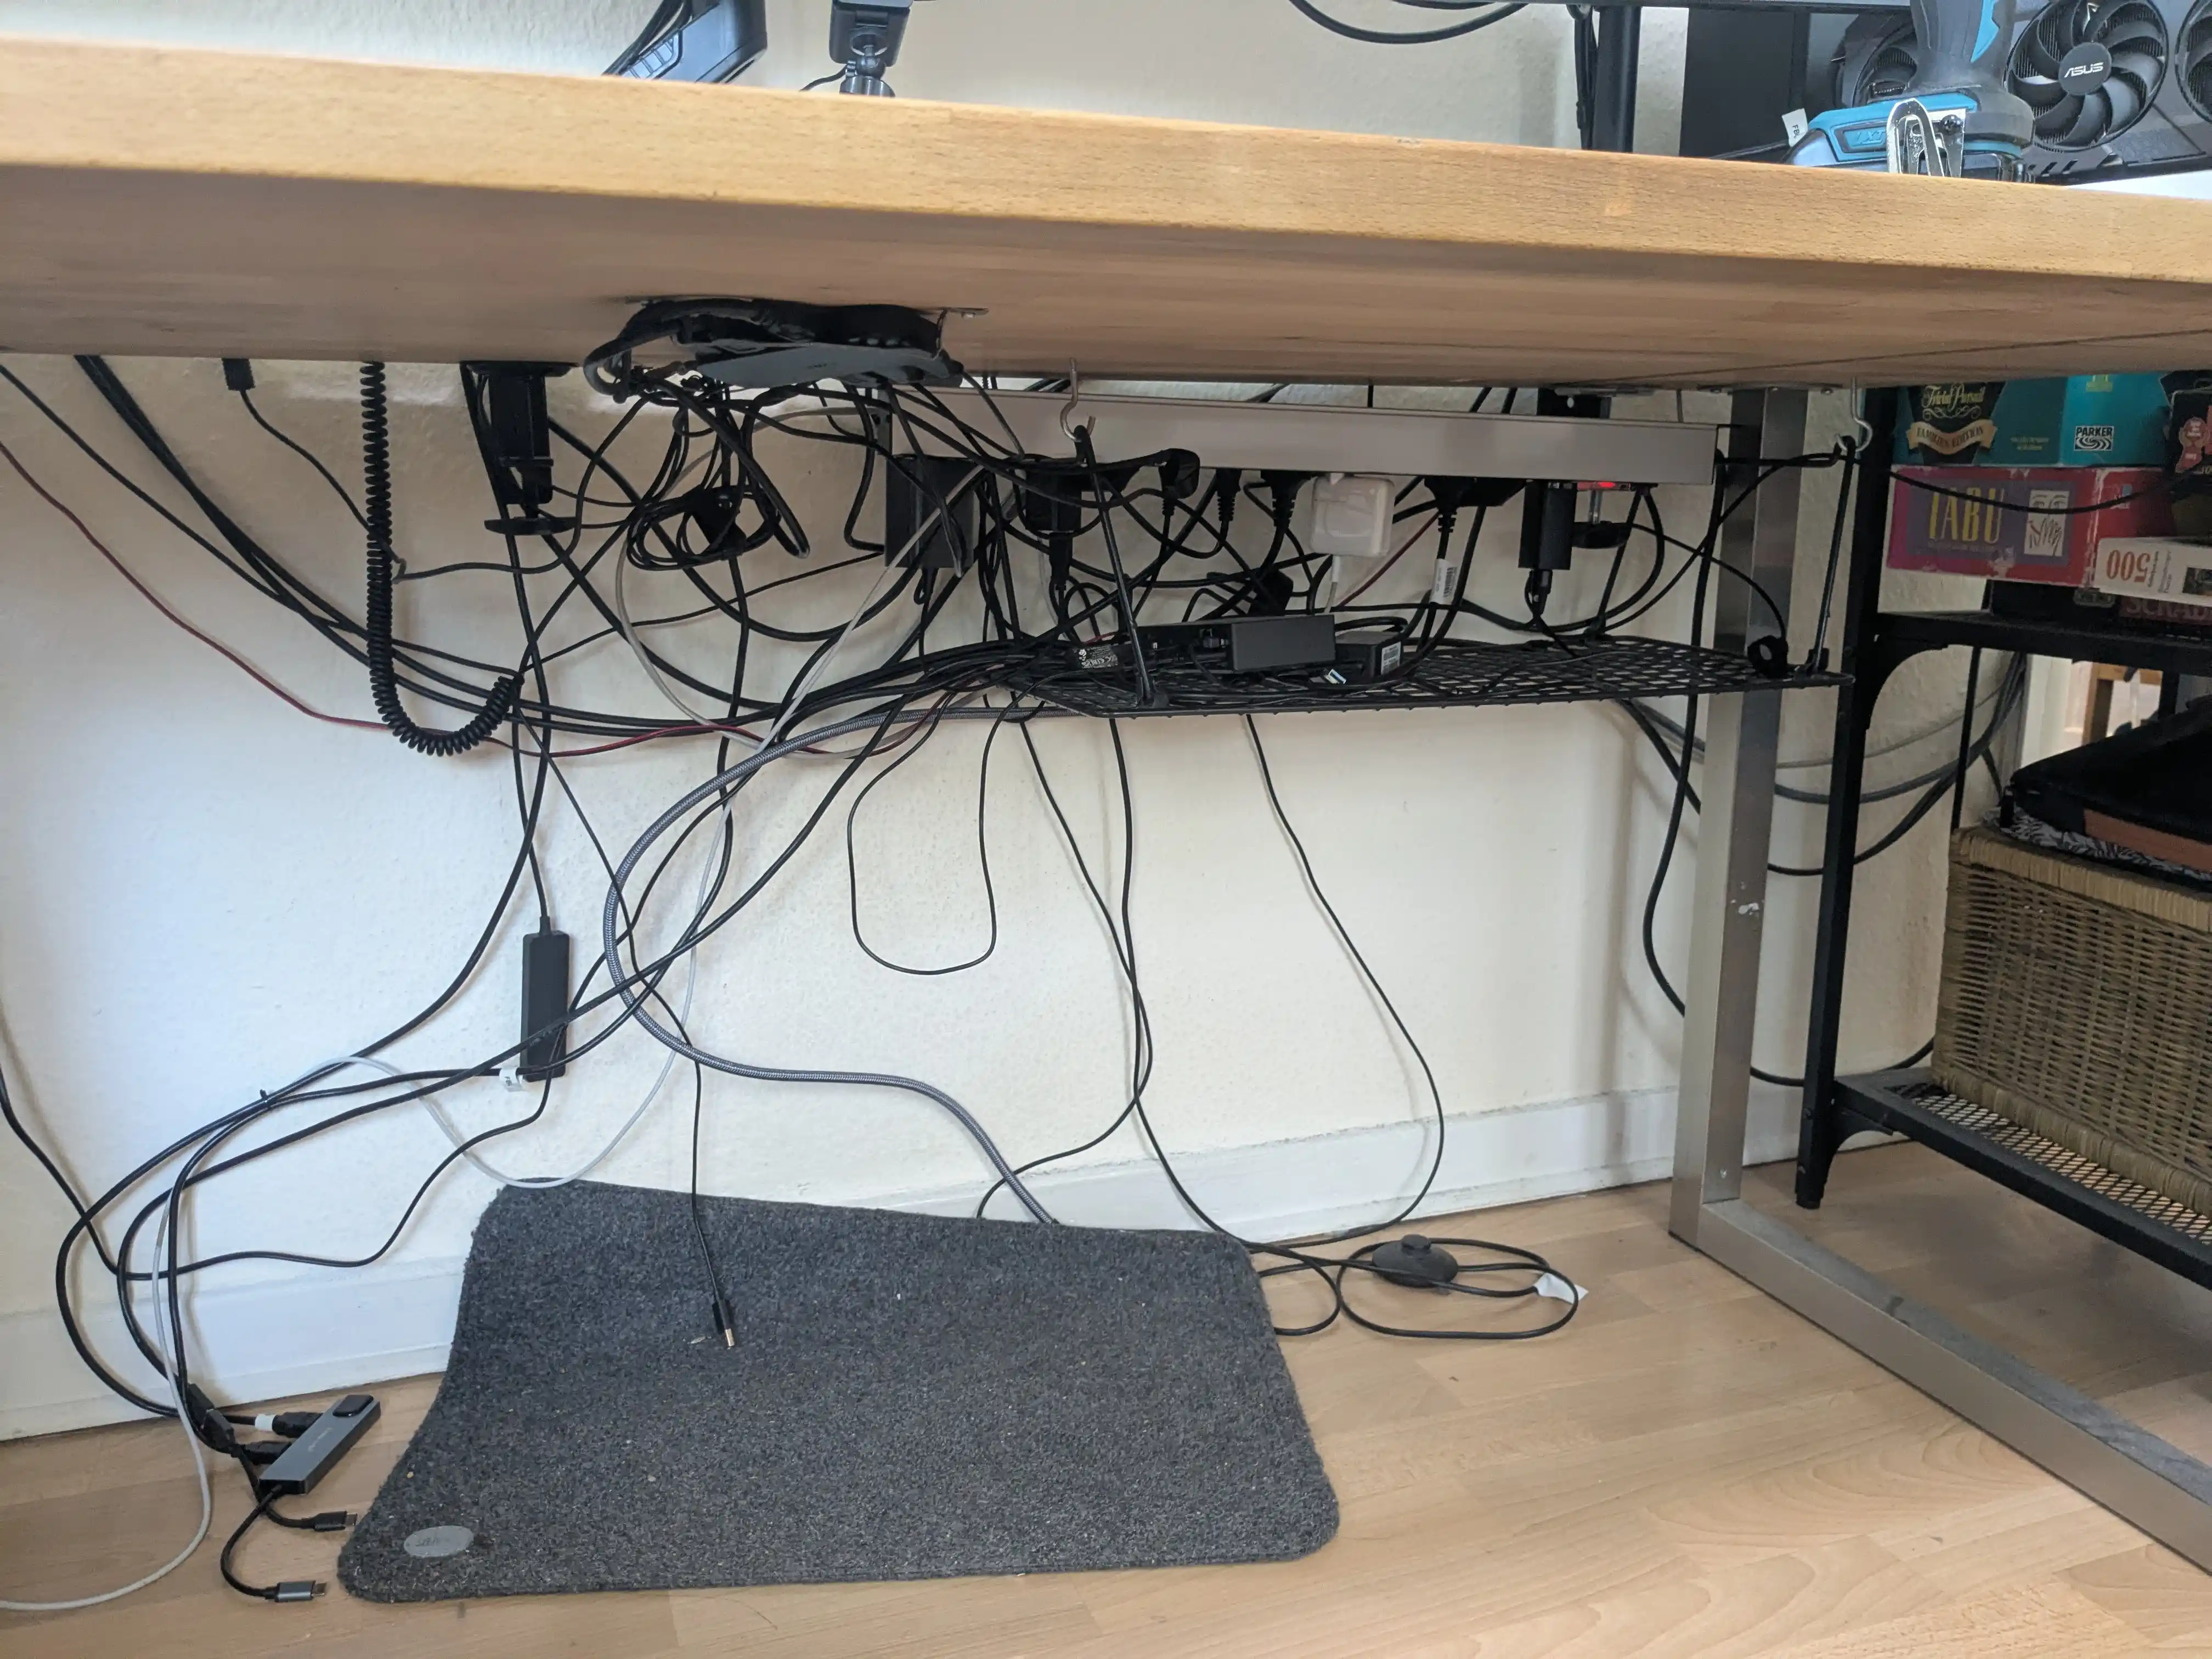
Yikes!
Once again, it didn't look like this all the time. Usually I hid these cables behind a small drawer unit but it still wasn't beautiful.

The wood used for building. The desk backboard is a simple Ikea tabletop, exactly the same tabletop as my desk. I bought the board for the backboard used for €80, including the blue drawer below my table you can see in the first picture. Great deal as comparable beech countertops cost at twice as much and don't come with a drawer :)
The other pieces of wood are from the hardware store. Two pieces of beech glued laminated board 800 x 300 x 18mm (€9 each) and another one measuring 2000 x 300 x 18mm (€24). Later in the build I realized that I really want to have a 'shelf' to sit my speakers and other random stuff. So I bought the larger piece another time.
Starting to cut the wood. Like a dumbass I managed to cut in my new drawer just a little bit. But not really that visible.
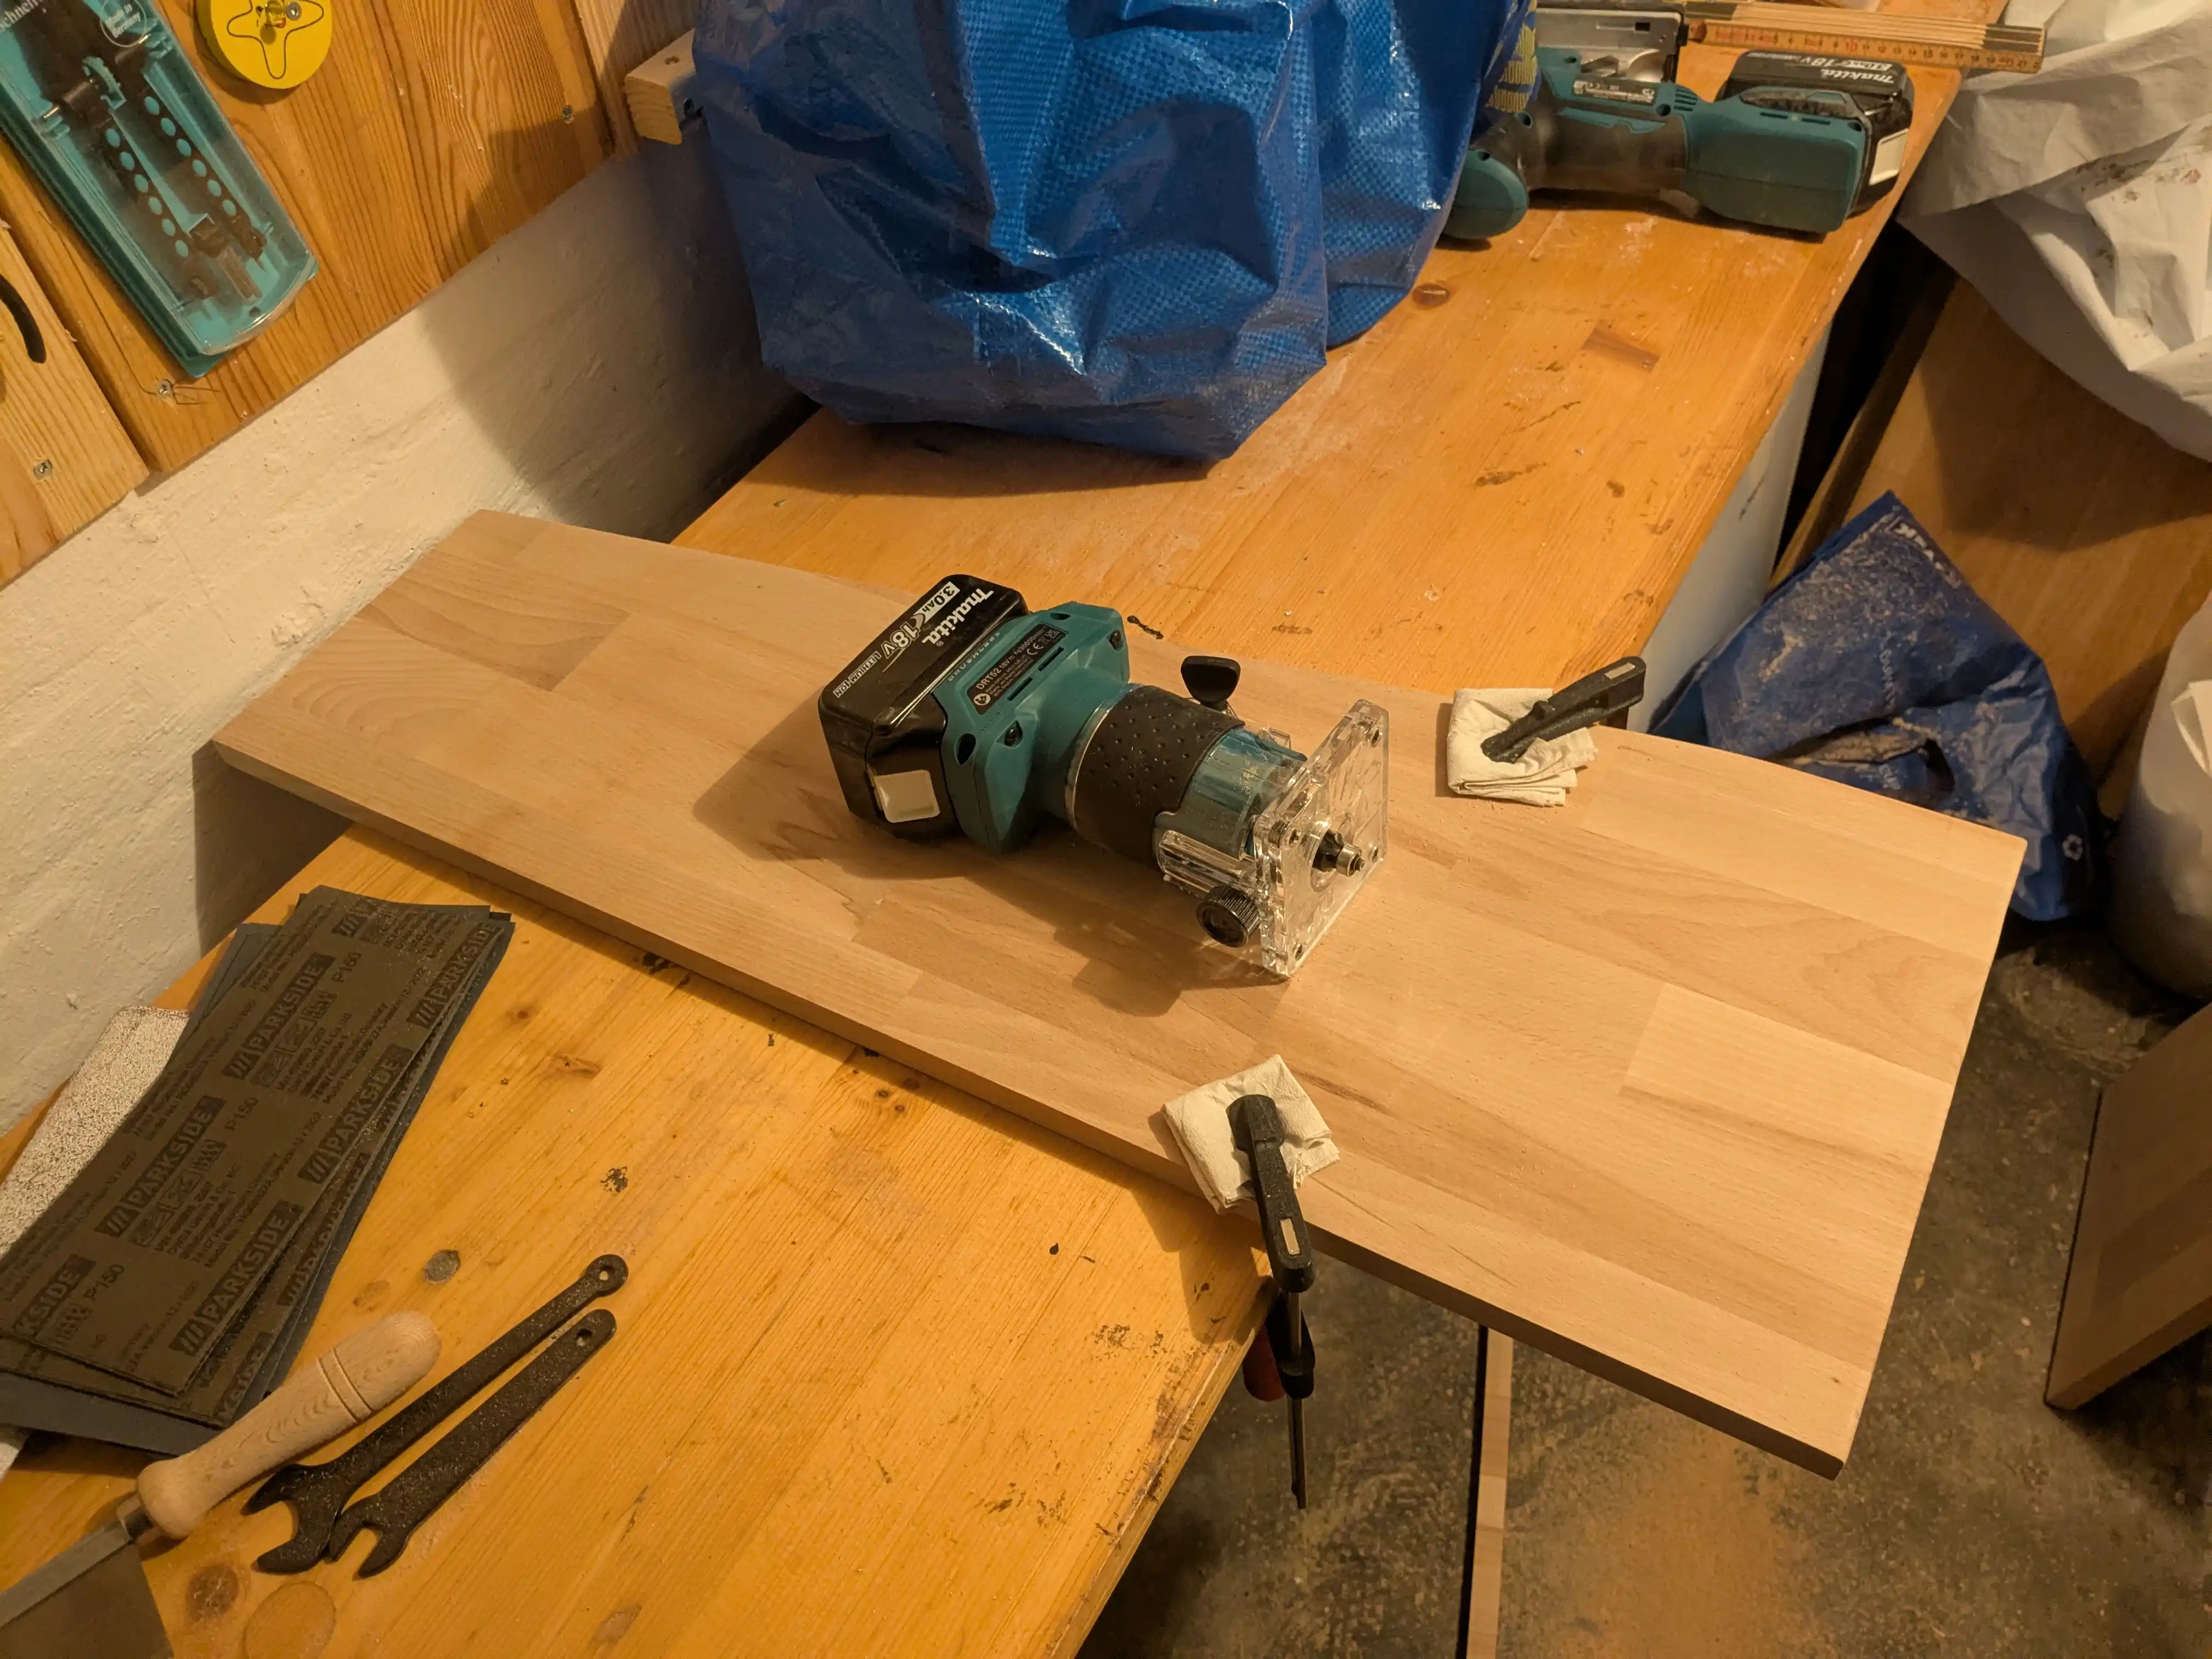
Moved the operation partially down to my mini workshop for routing the edges. My new Makita router did a great job, good purchase.

First time trying out countersunk holes. Looks really nice but took a while to get them right and make them look similar everywhere.
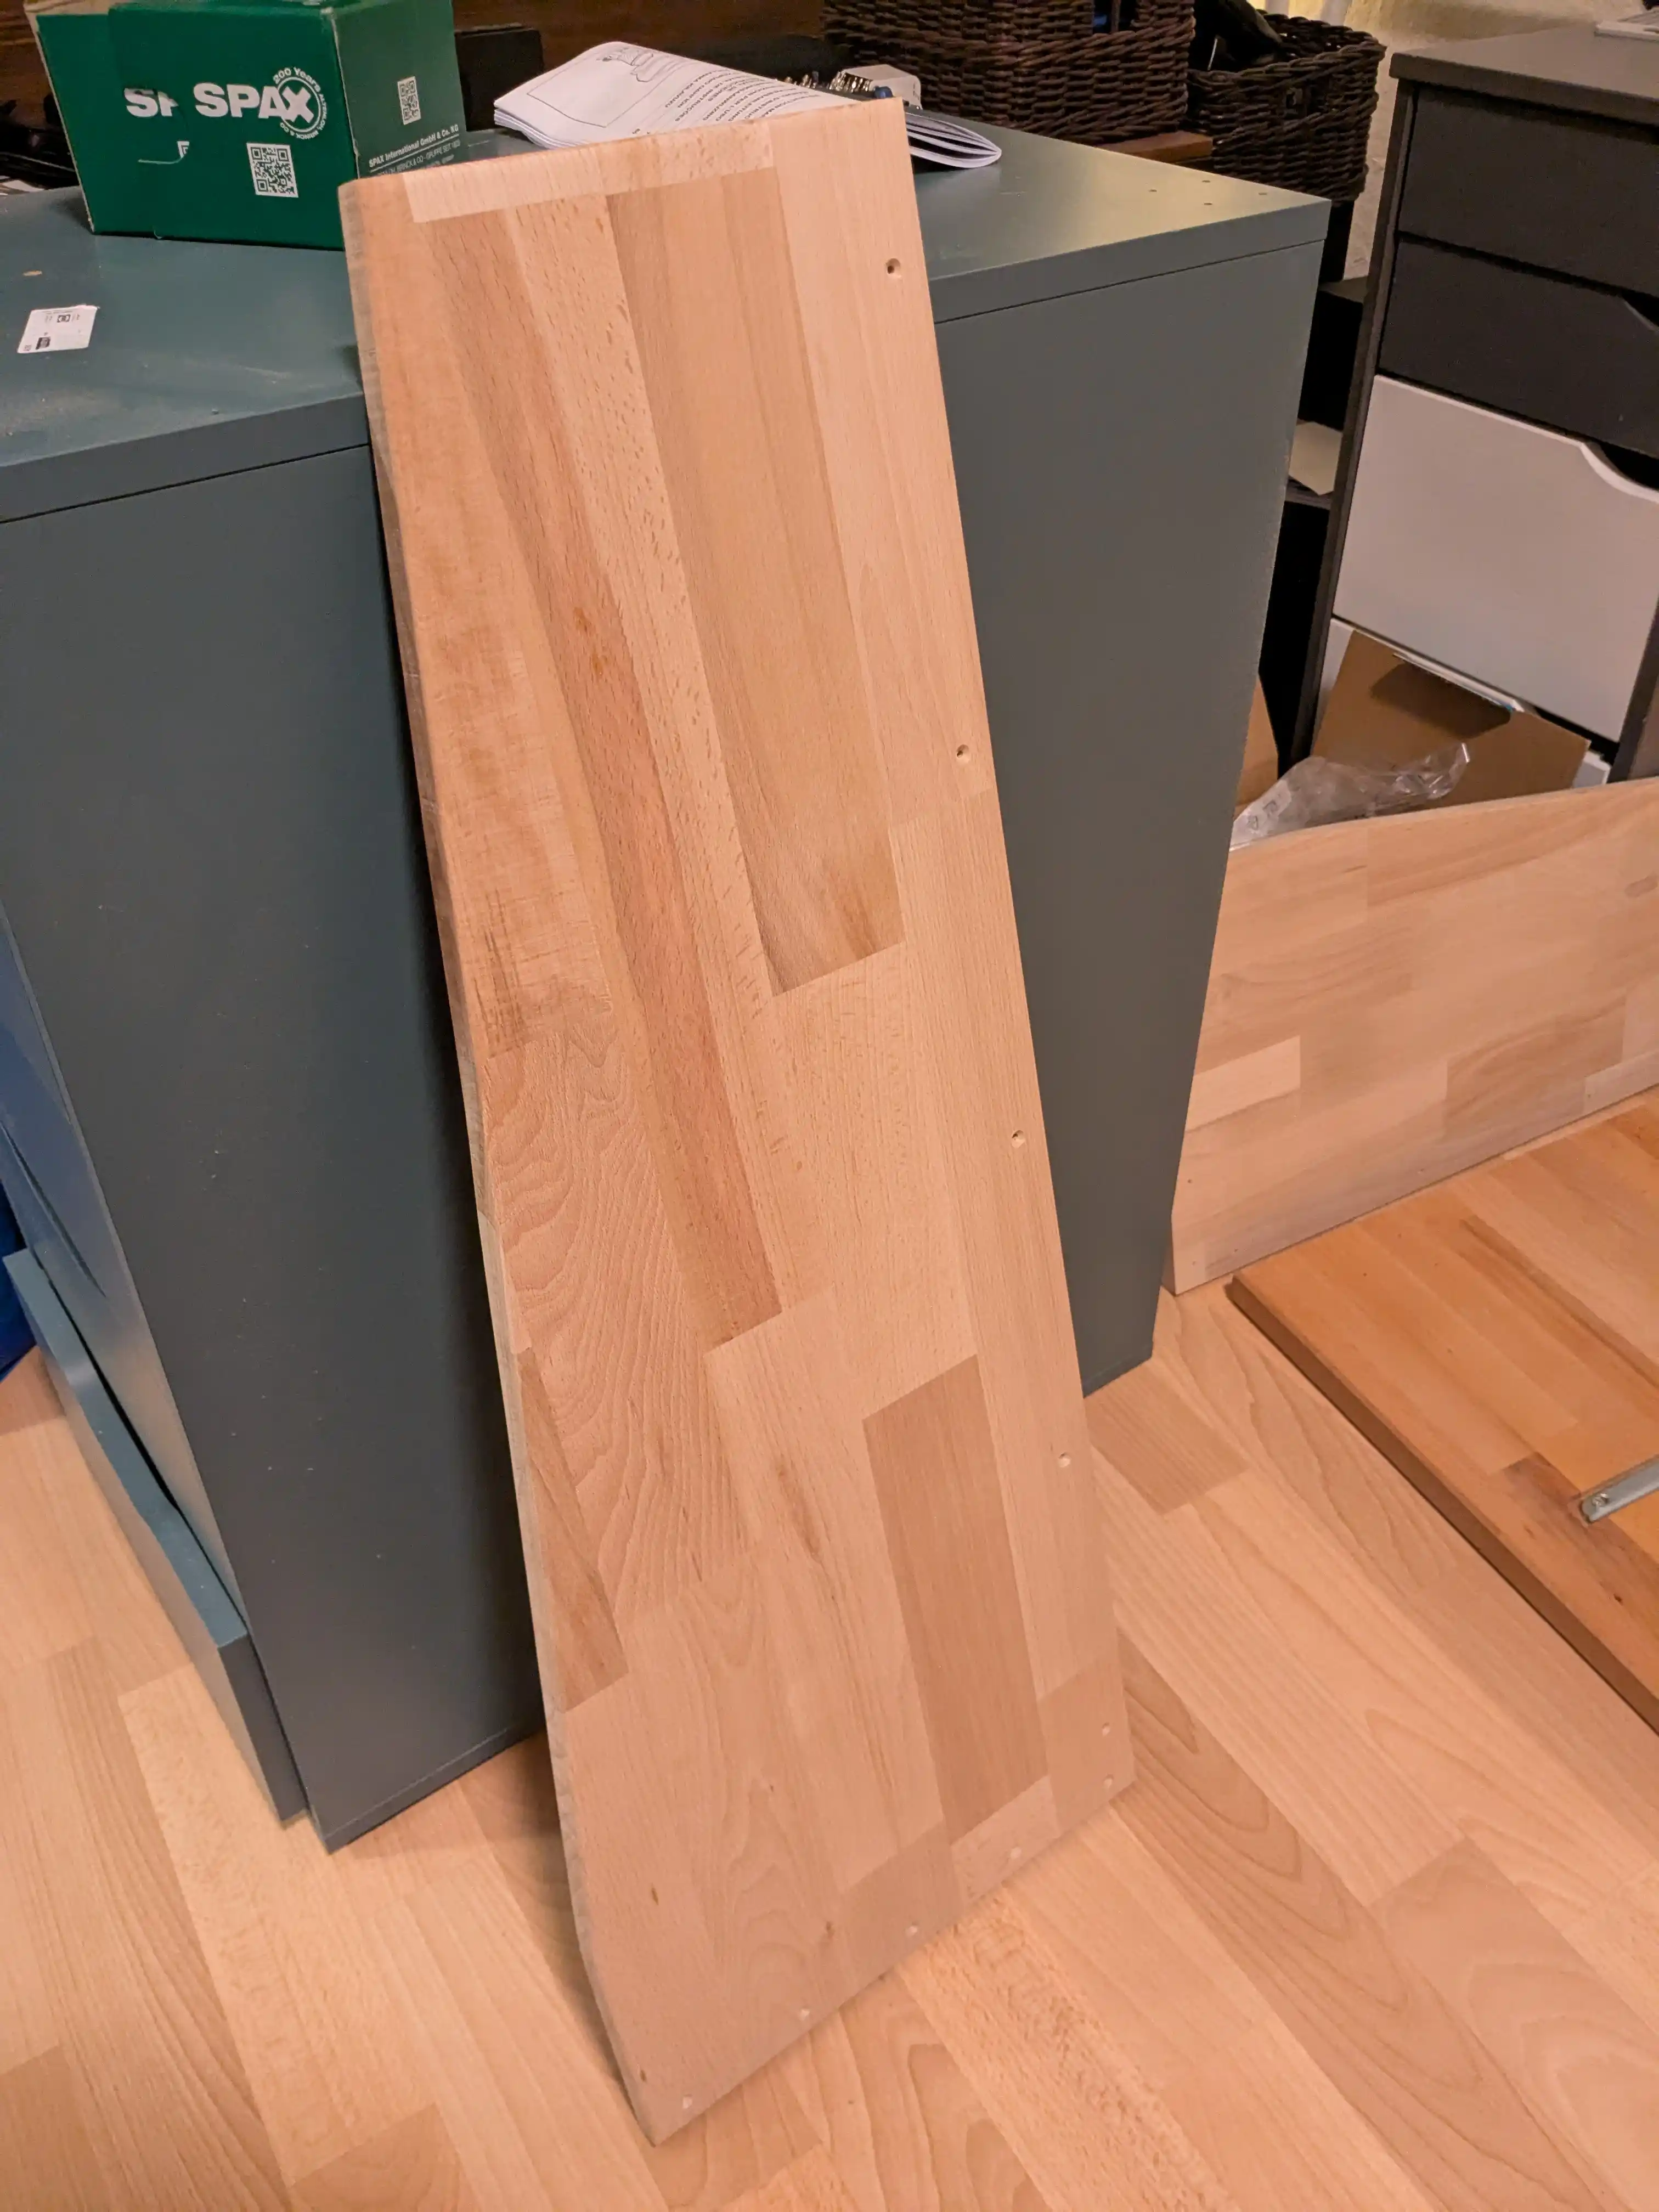
Finished side before sanding and oiling.
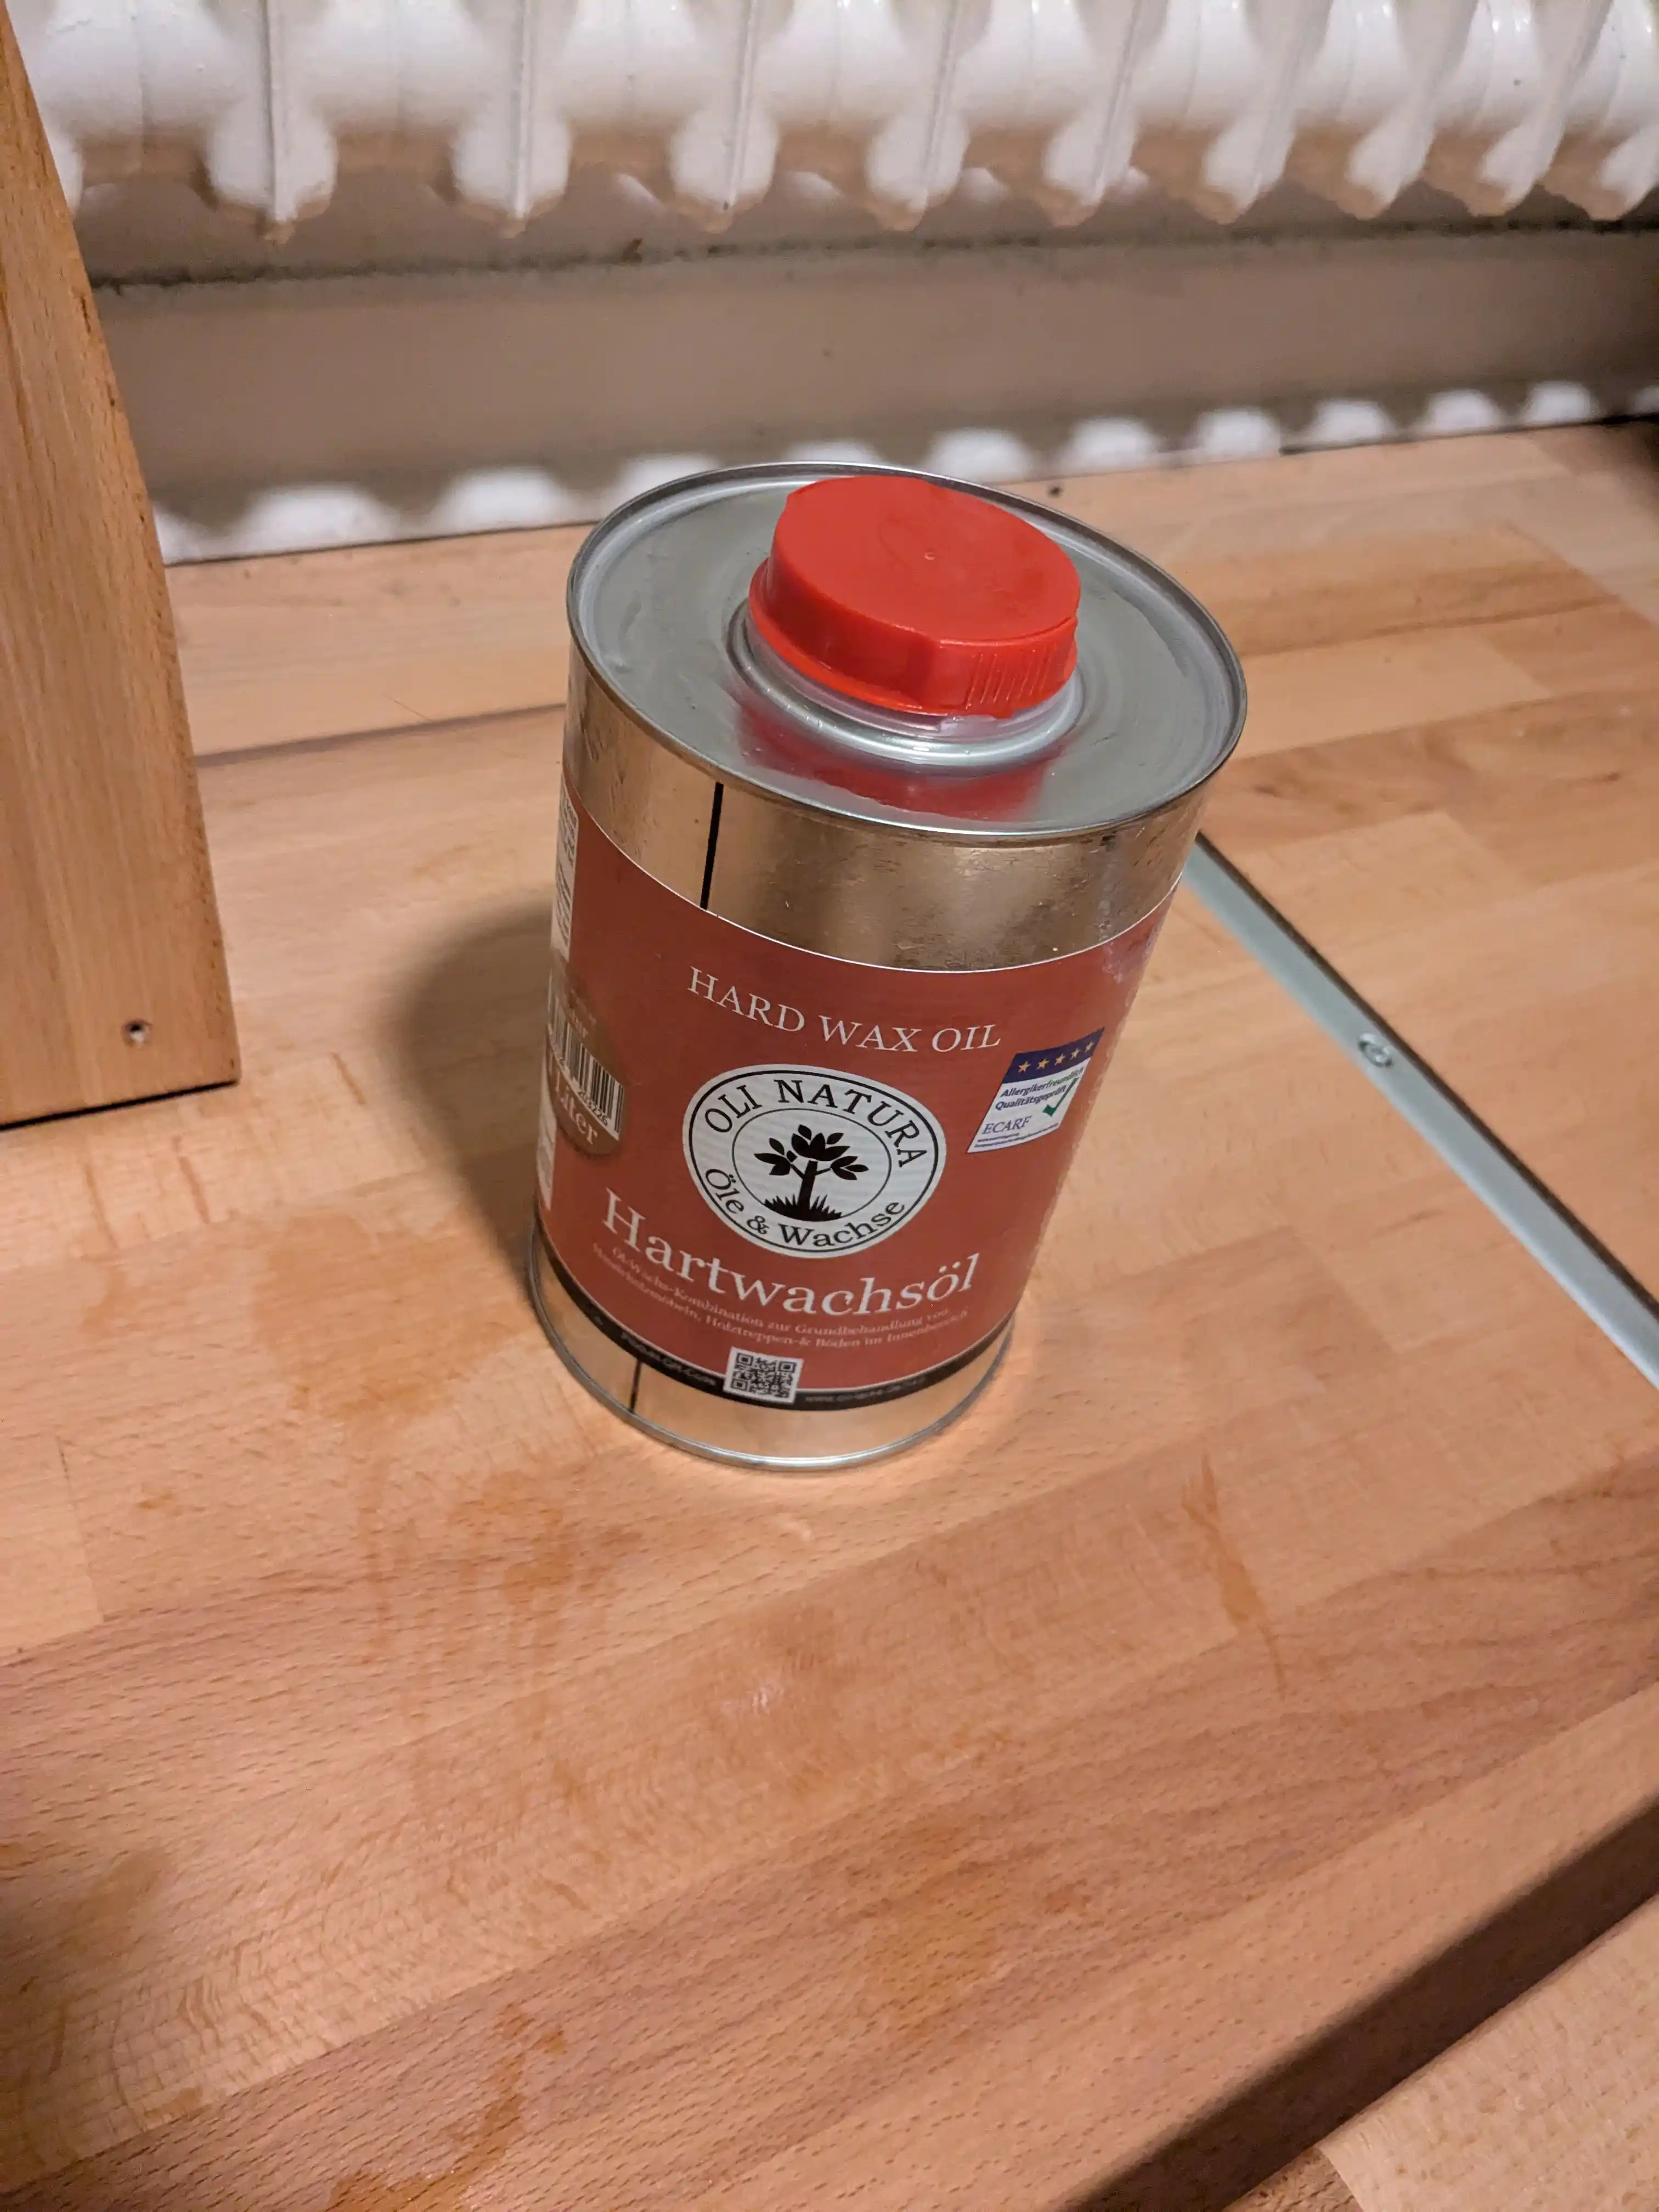
Now time to oil/wax it up. I bought this hard wax oil 'randomly' in the hardware store and I think I got lucky there. The color of the wood turned out perfectly.
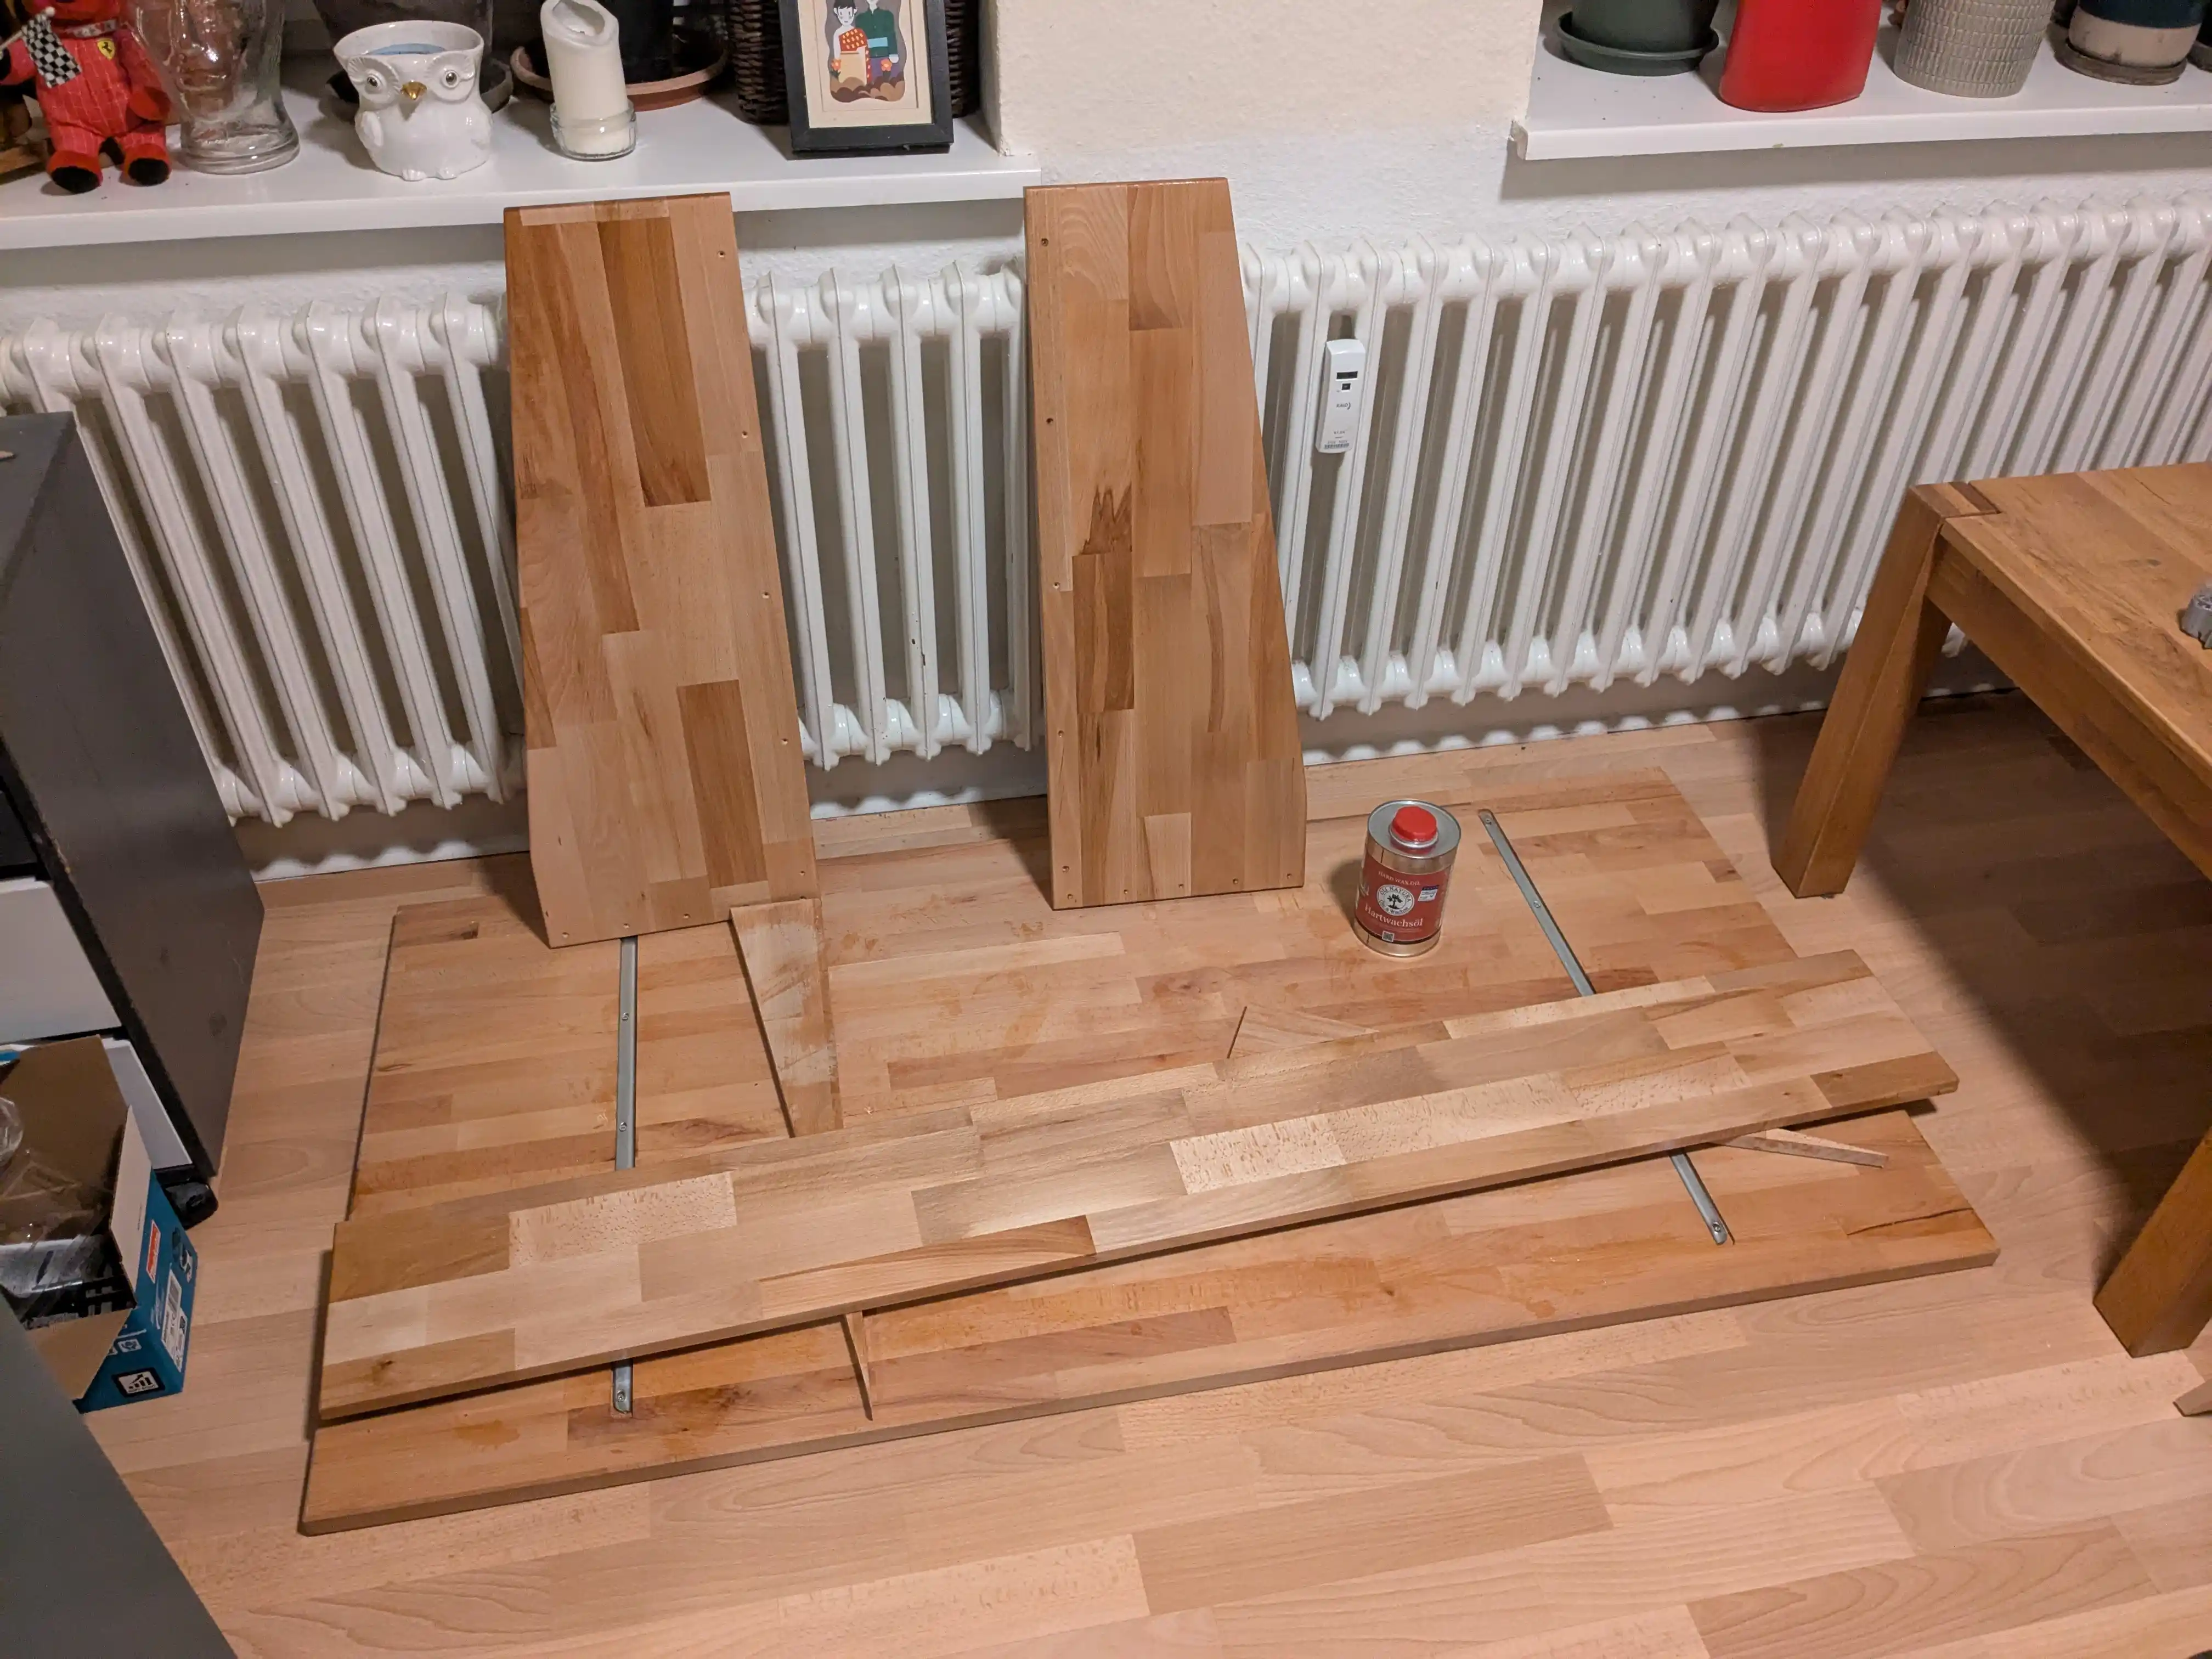
I didn't take any pictures preparing the longer piece that serves as the 'shelf' for my speakers and other stuff but that wasn't too exciting anyway.
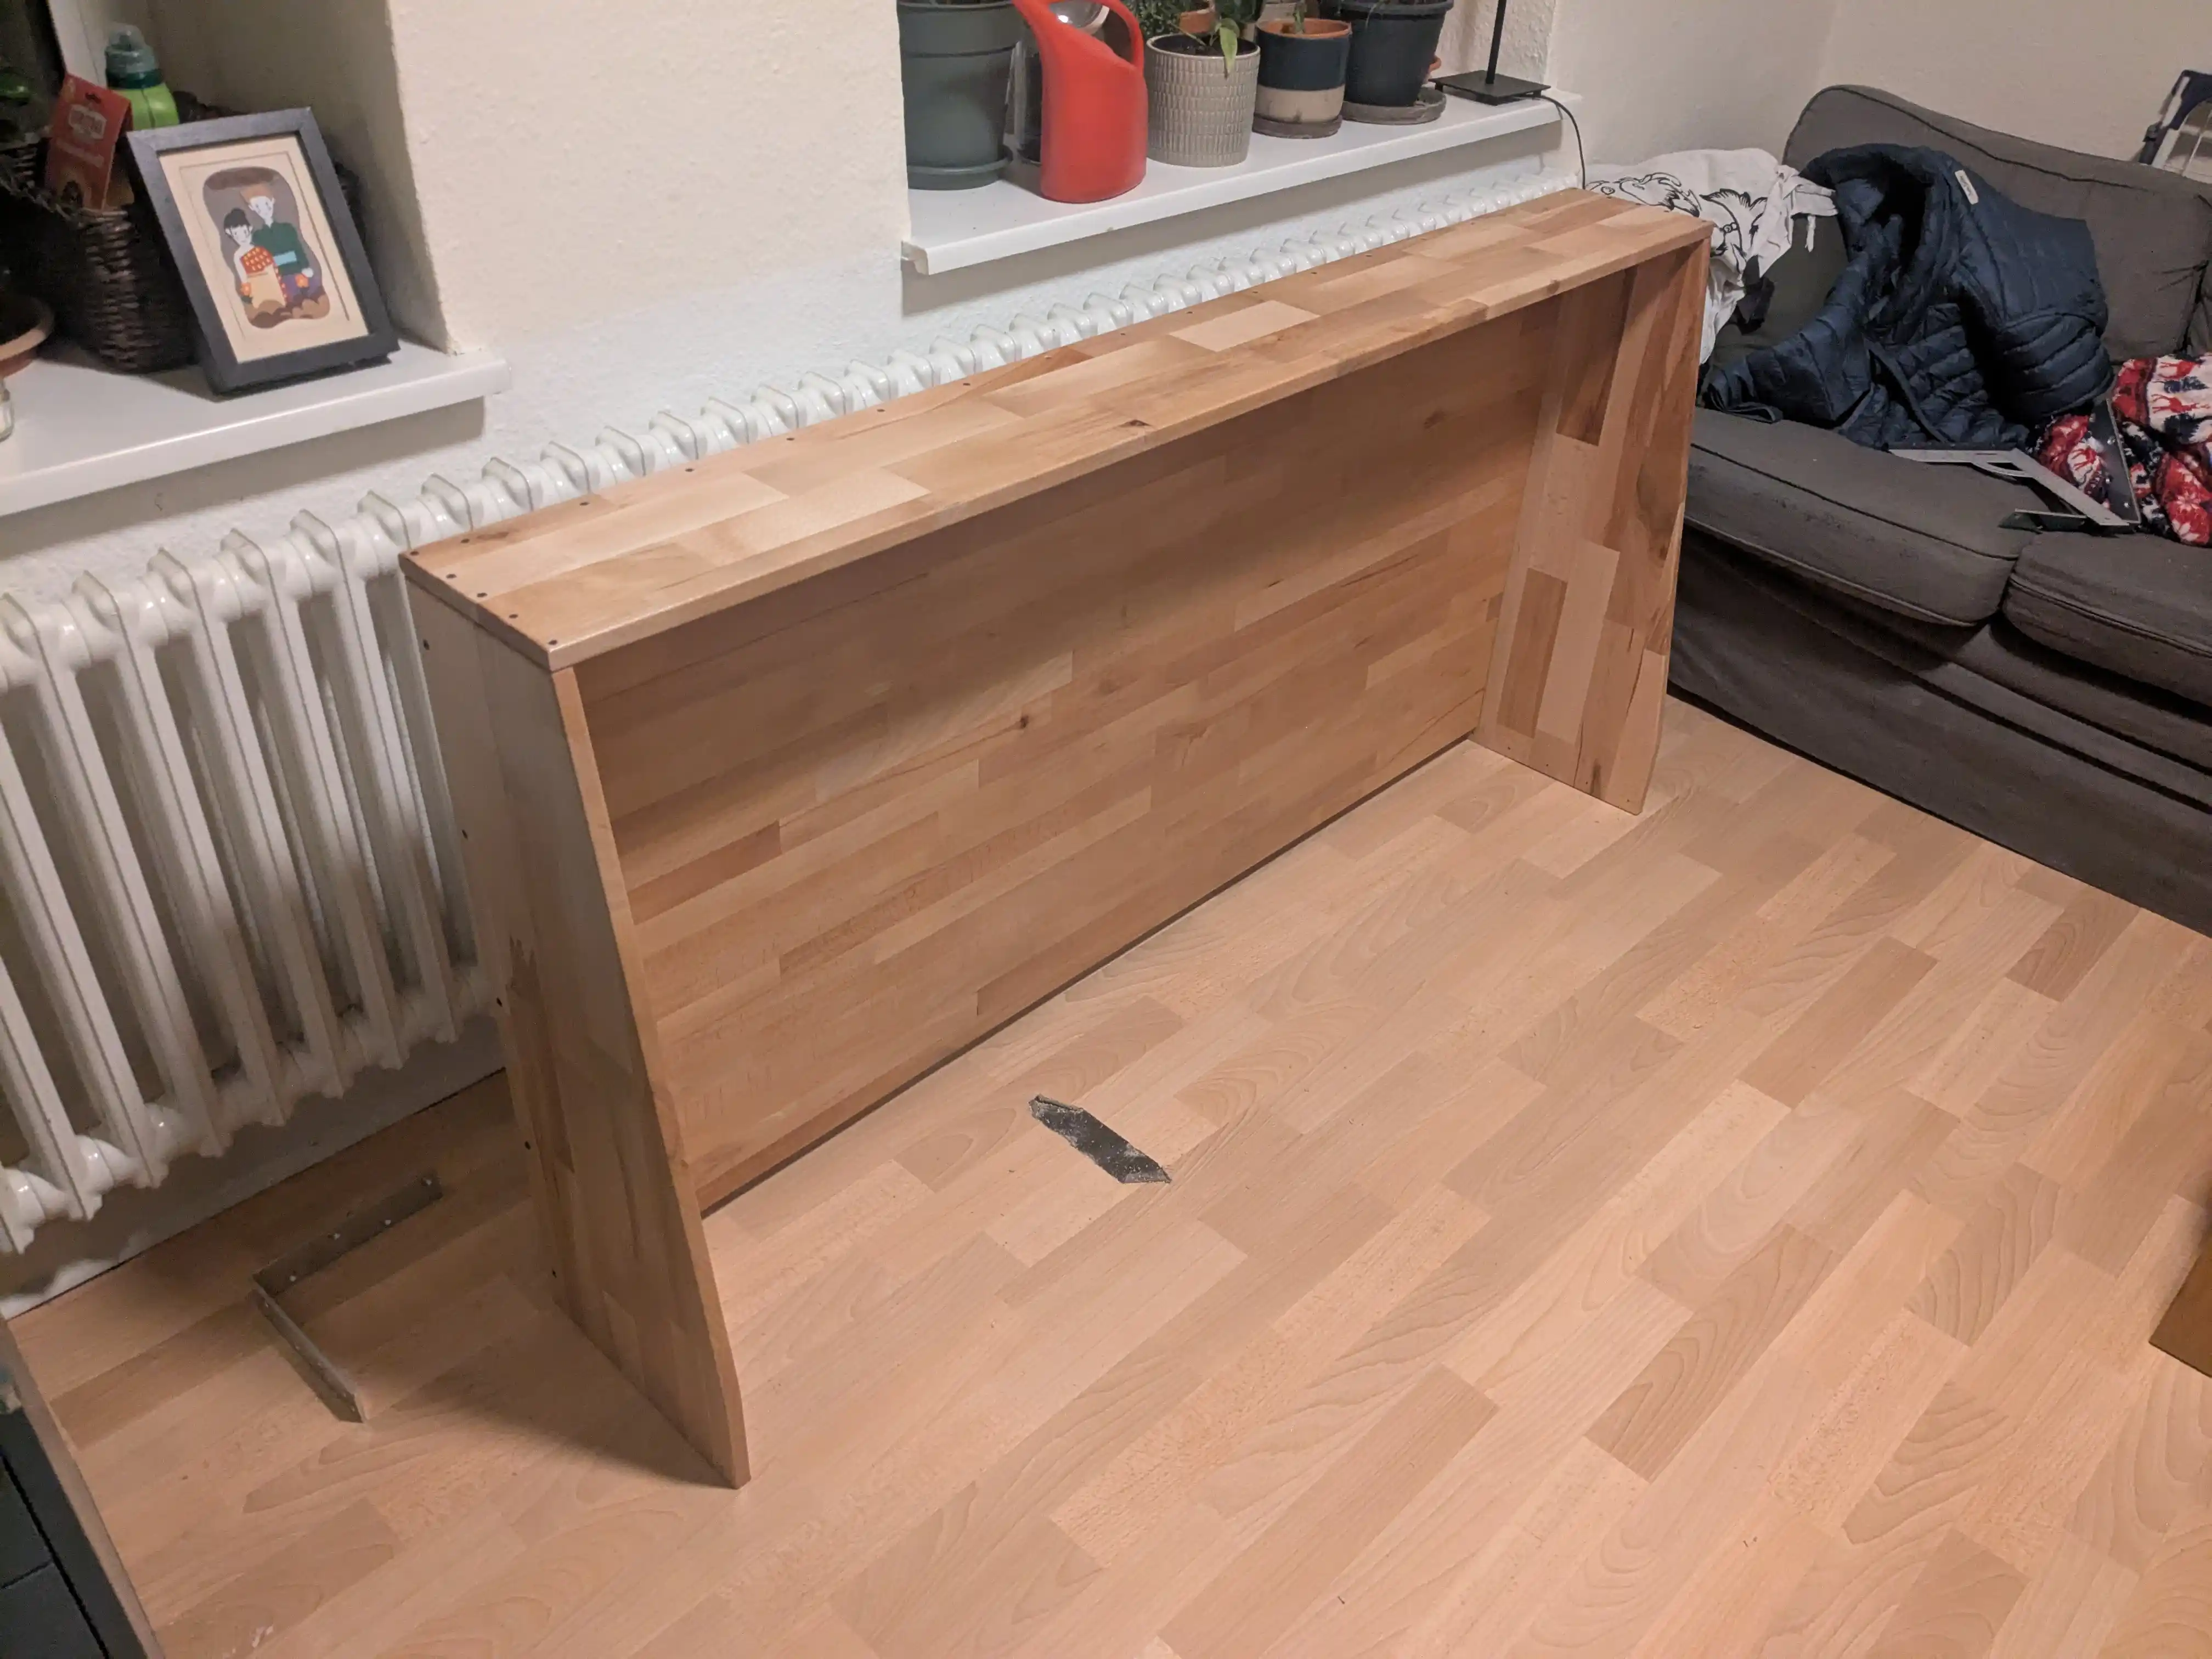
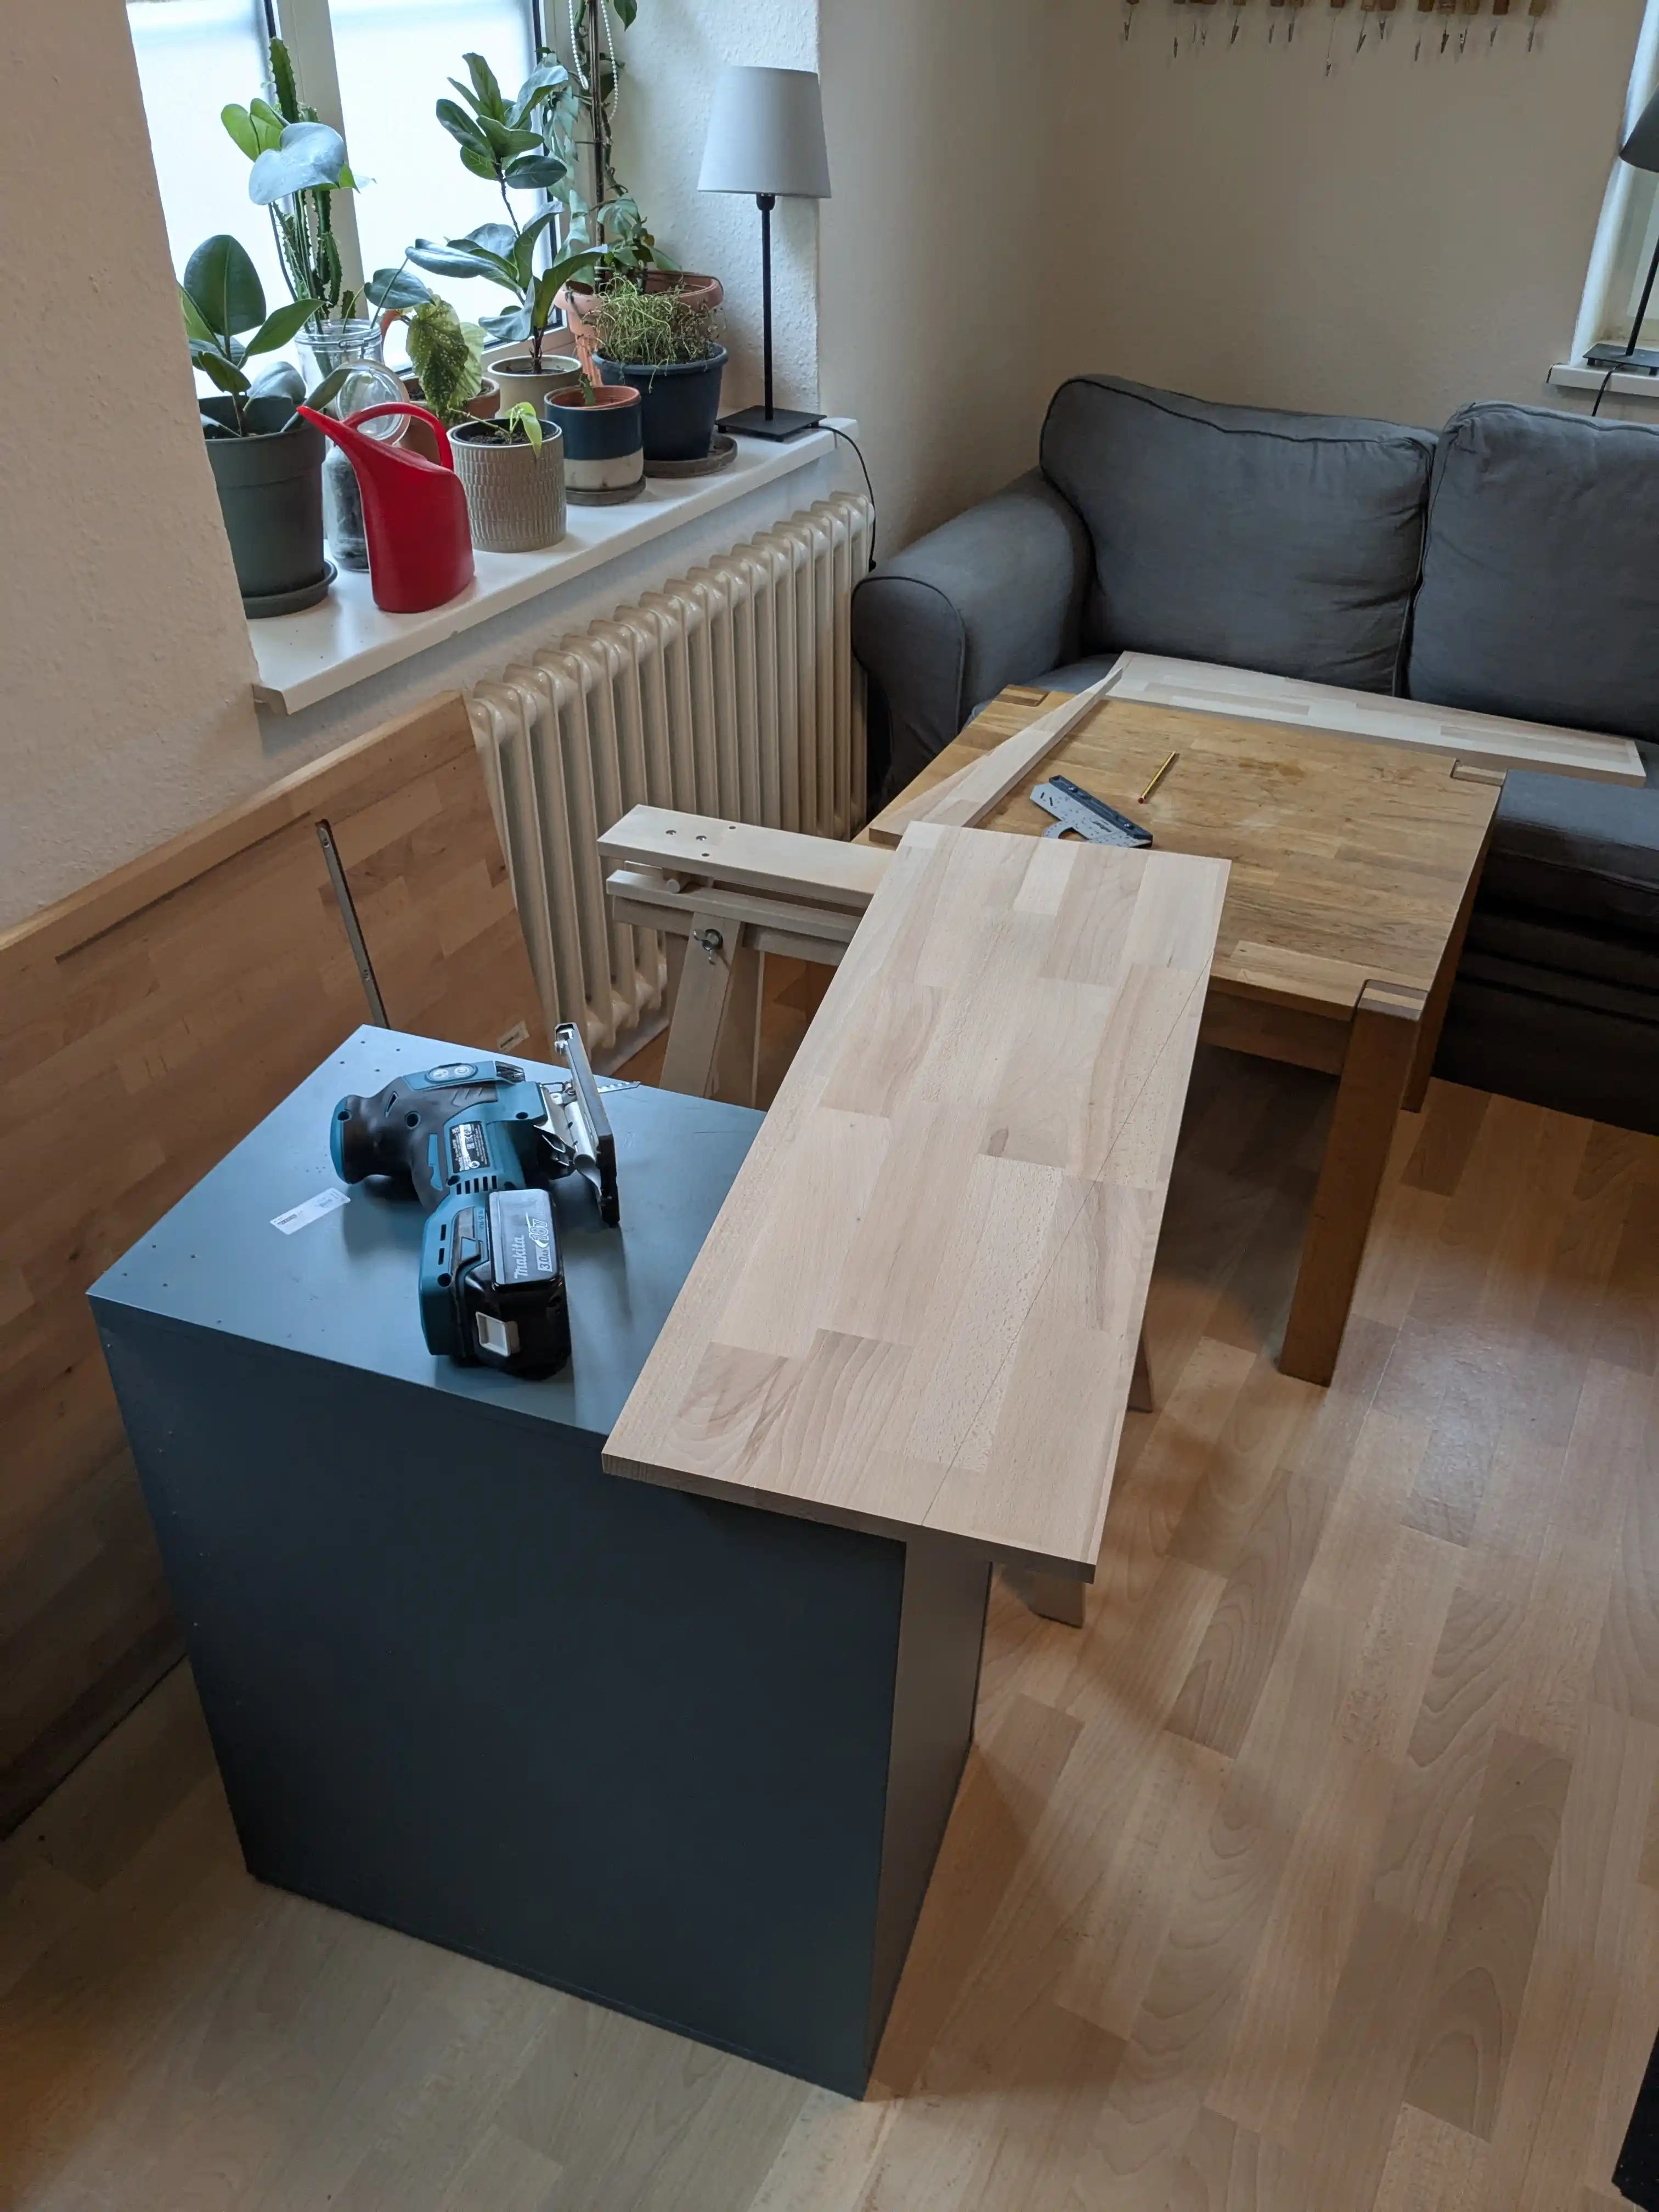
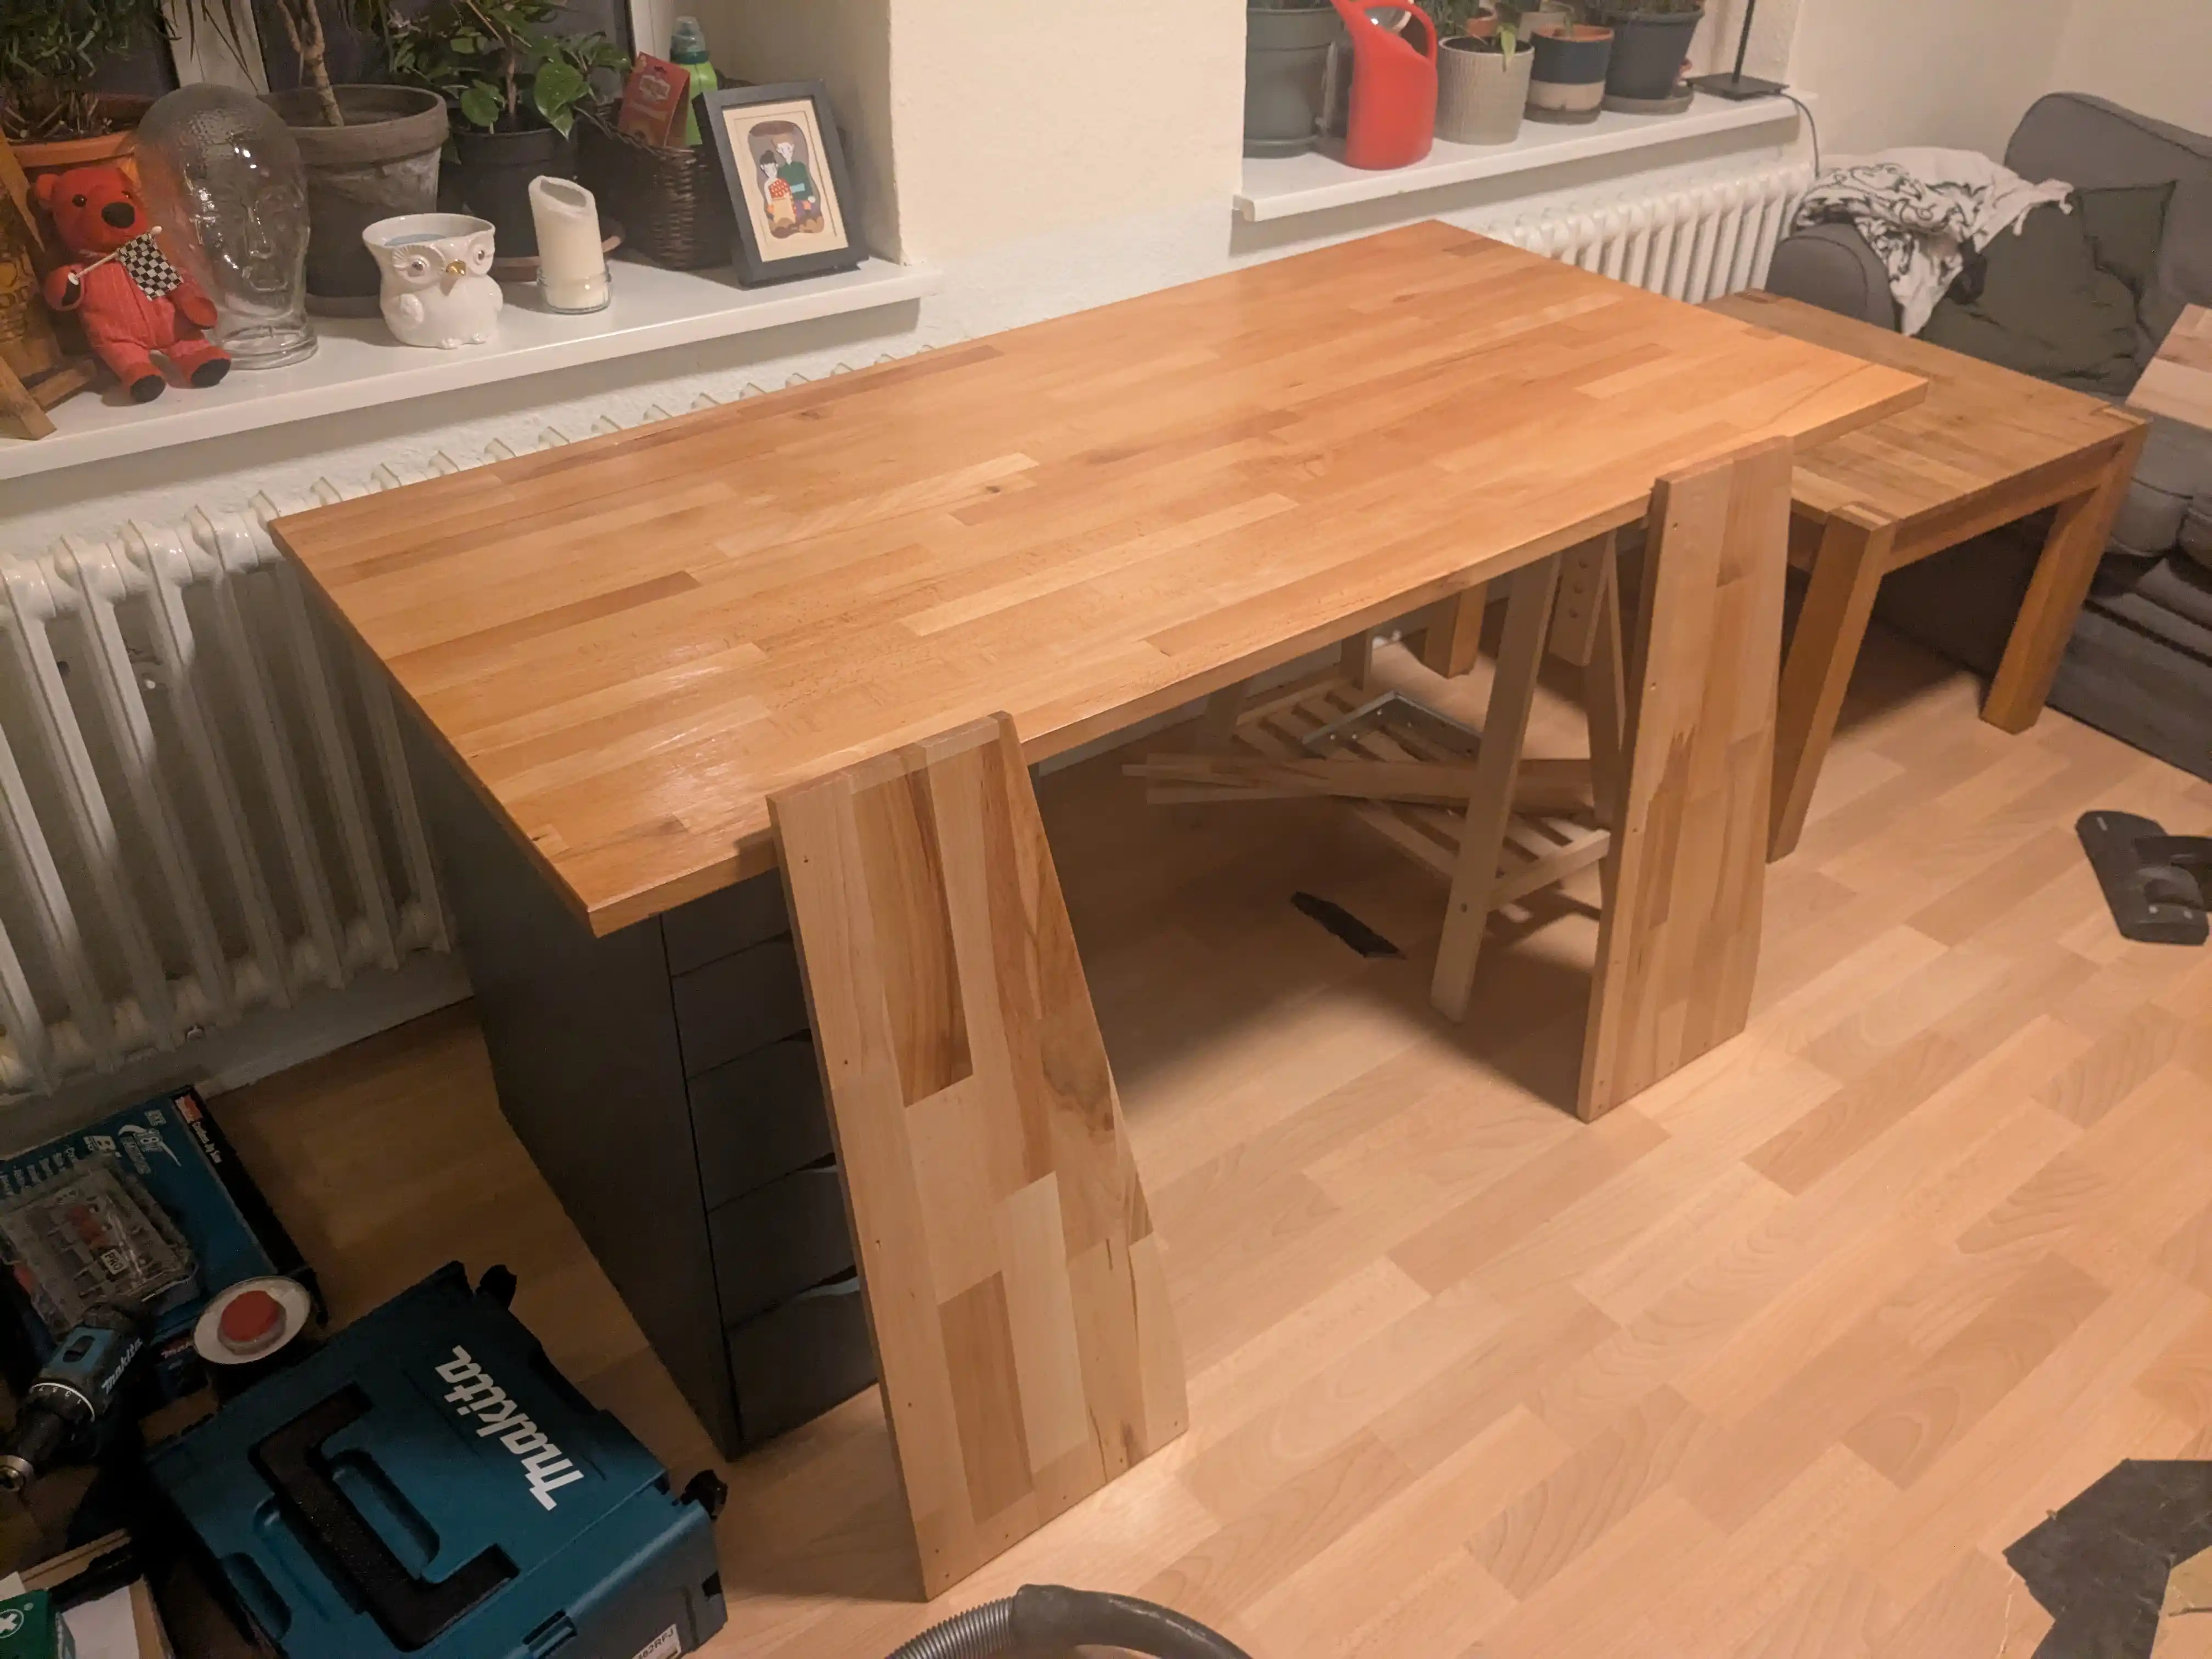
Assembled the pieces. At this time it already looked like something, nice! I had ordered black screws online because I wanted to create some sort of contrast between the screws and the lighter colored wood. I like how it turned out.
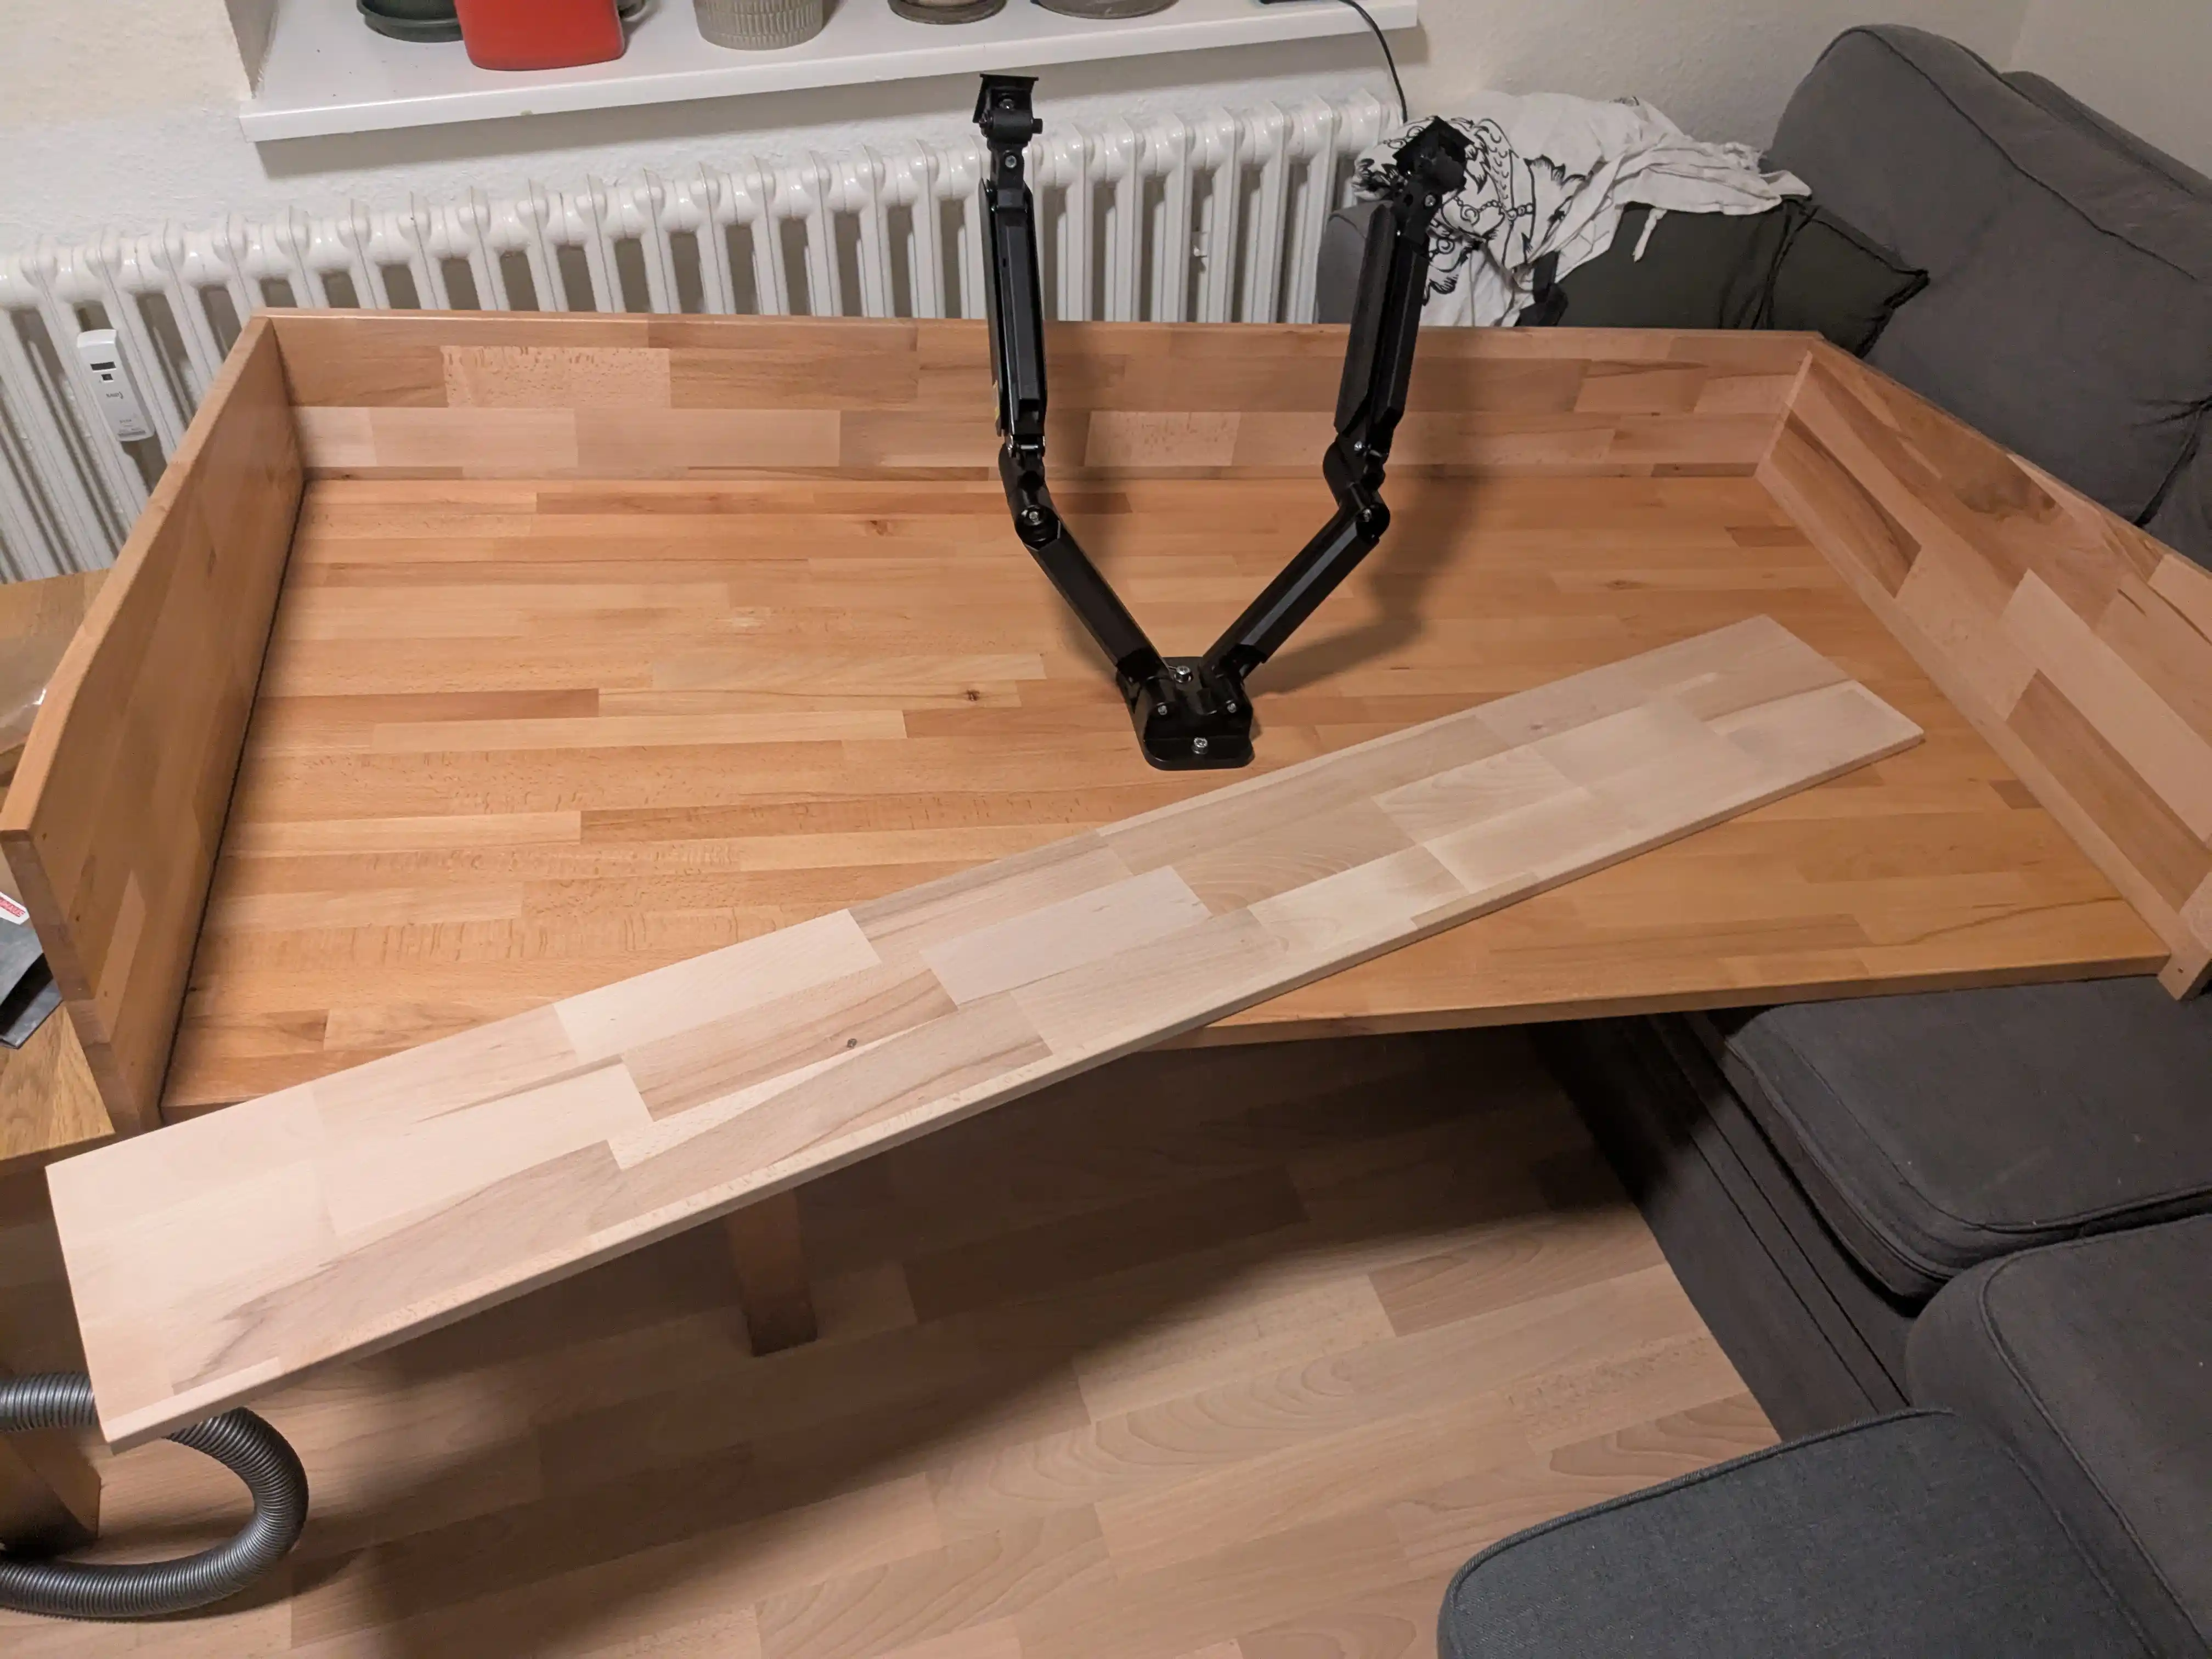
Ordered a wall mount for my two 27 inch screens. As it turned out later, this was a mistake. Here you can also see the new piece of wood I bought and cut to serve as a shelf for my speakers, audio interface, webcam and other random crap that would usually take up desk space.
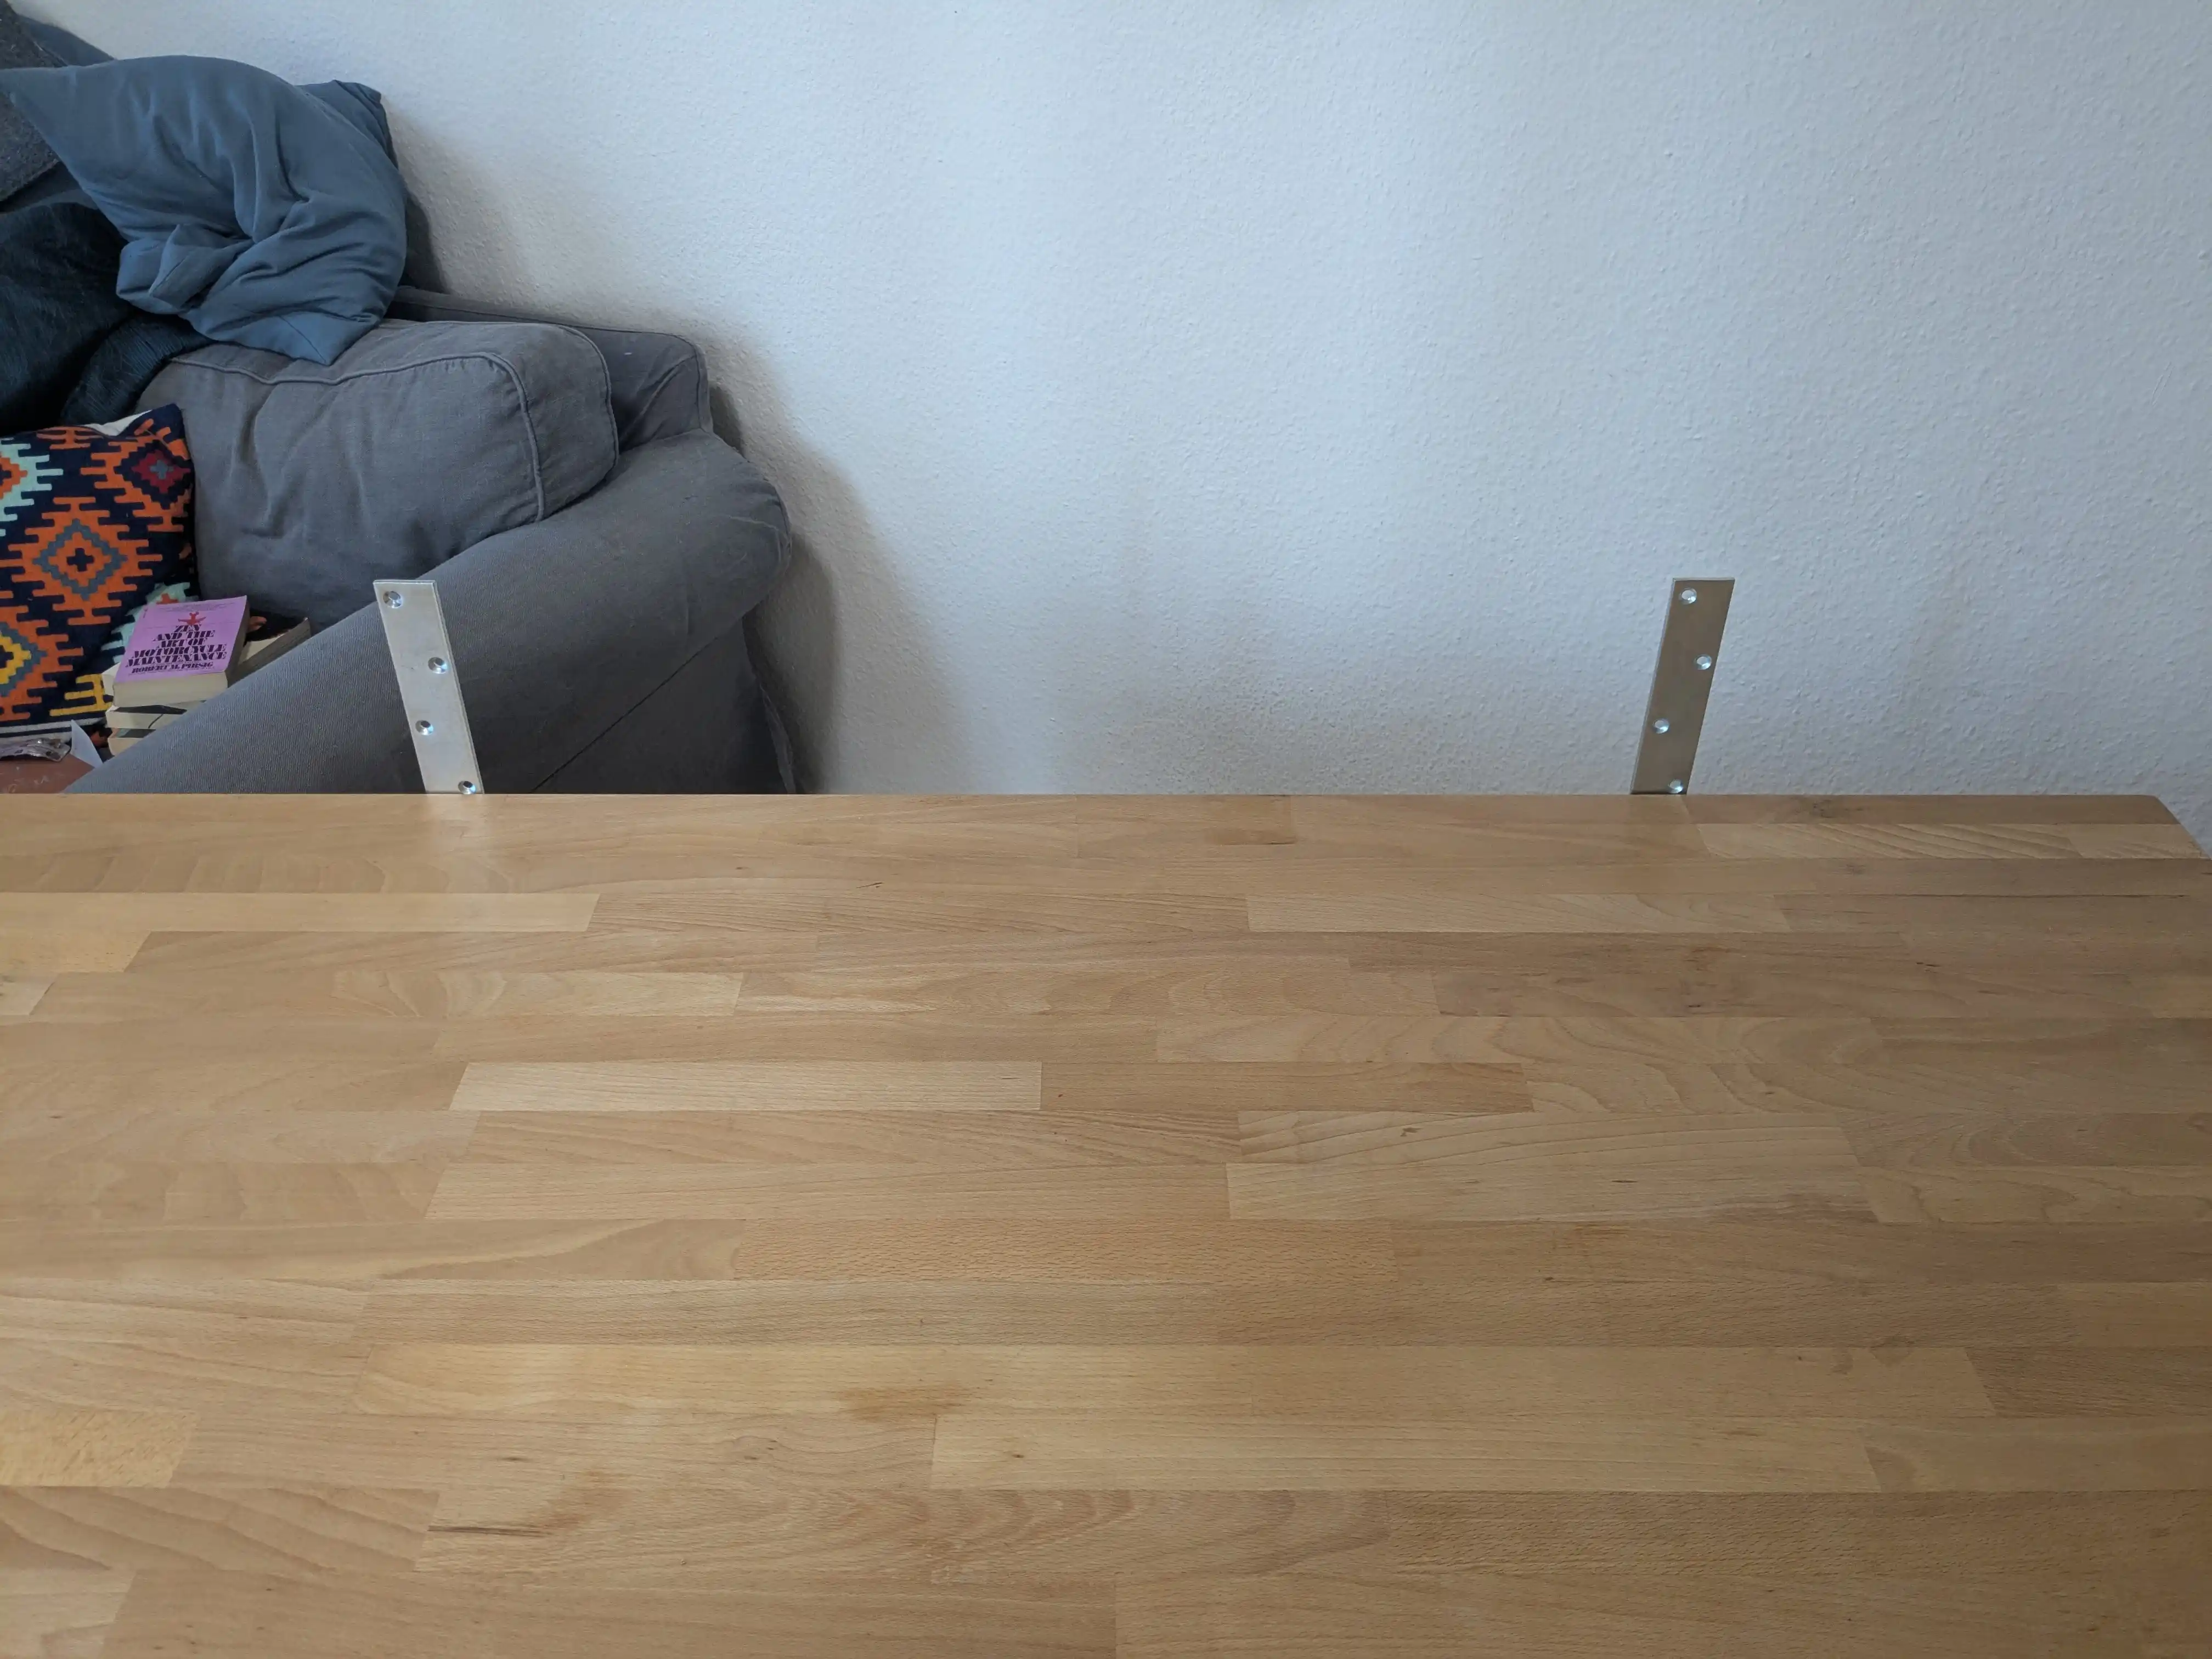
As the whole structure was getting quite heavy already I invested in some metal angle thingies for increasing stability. I think the structure would be stable without them but I wanted to be extra sure.
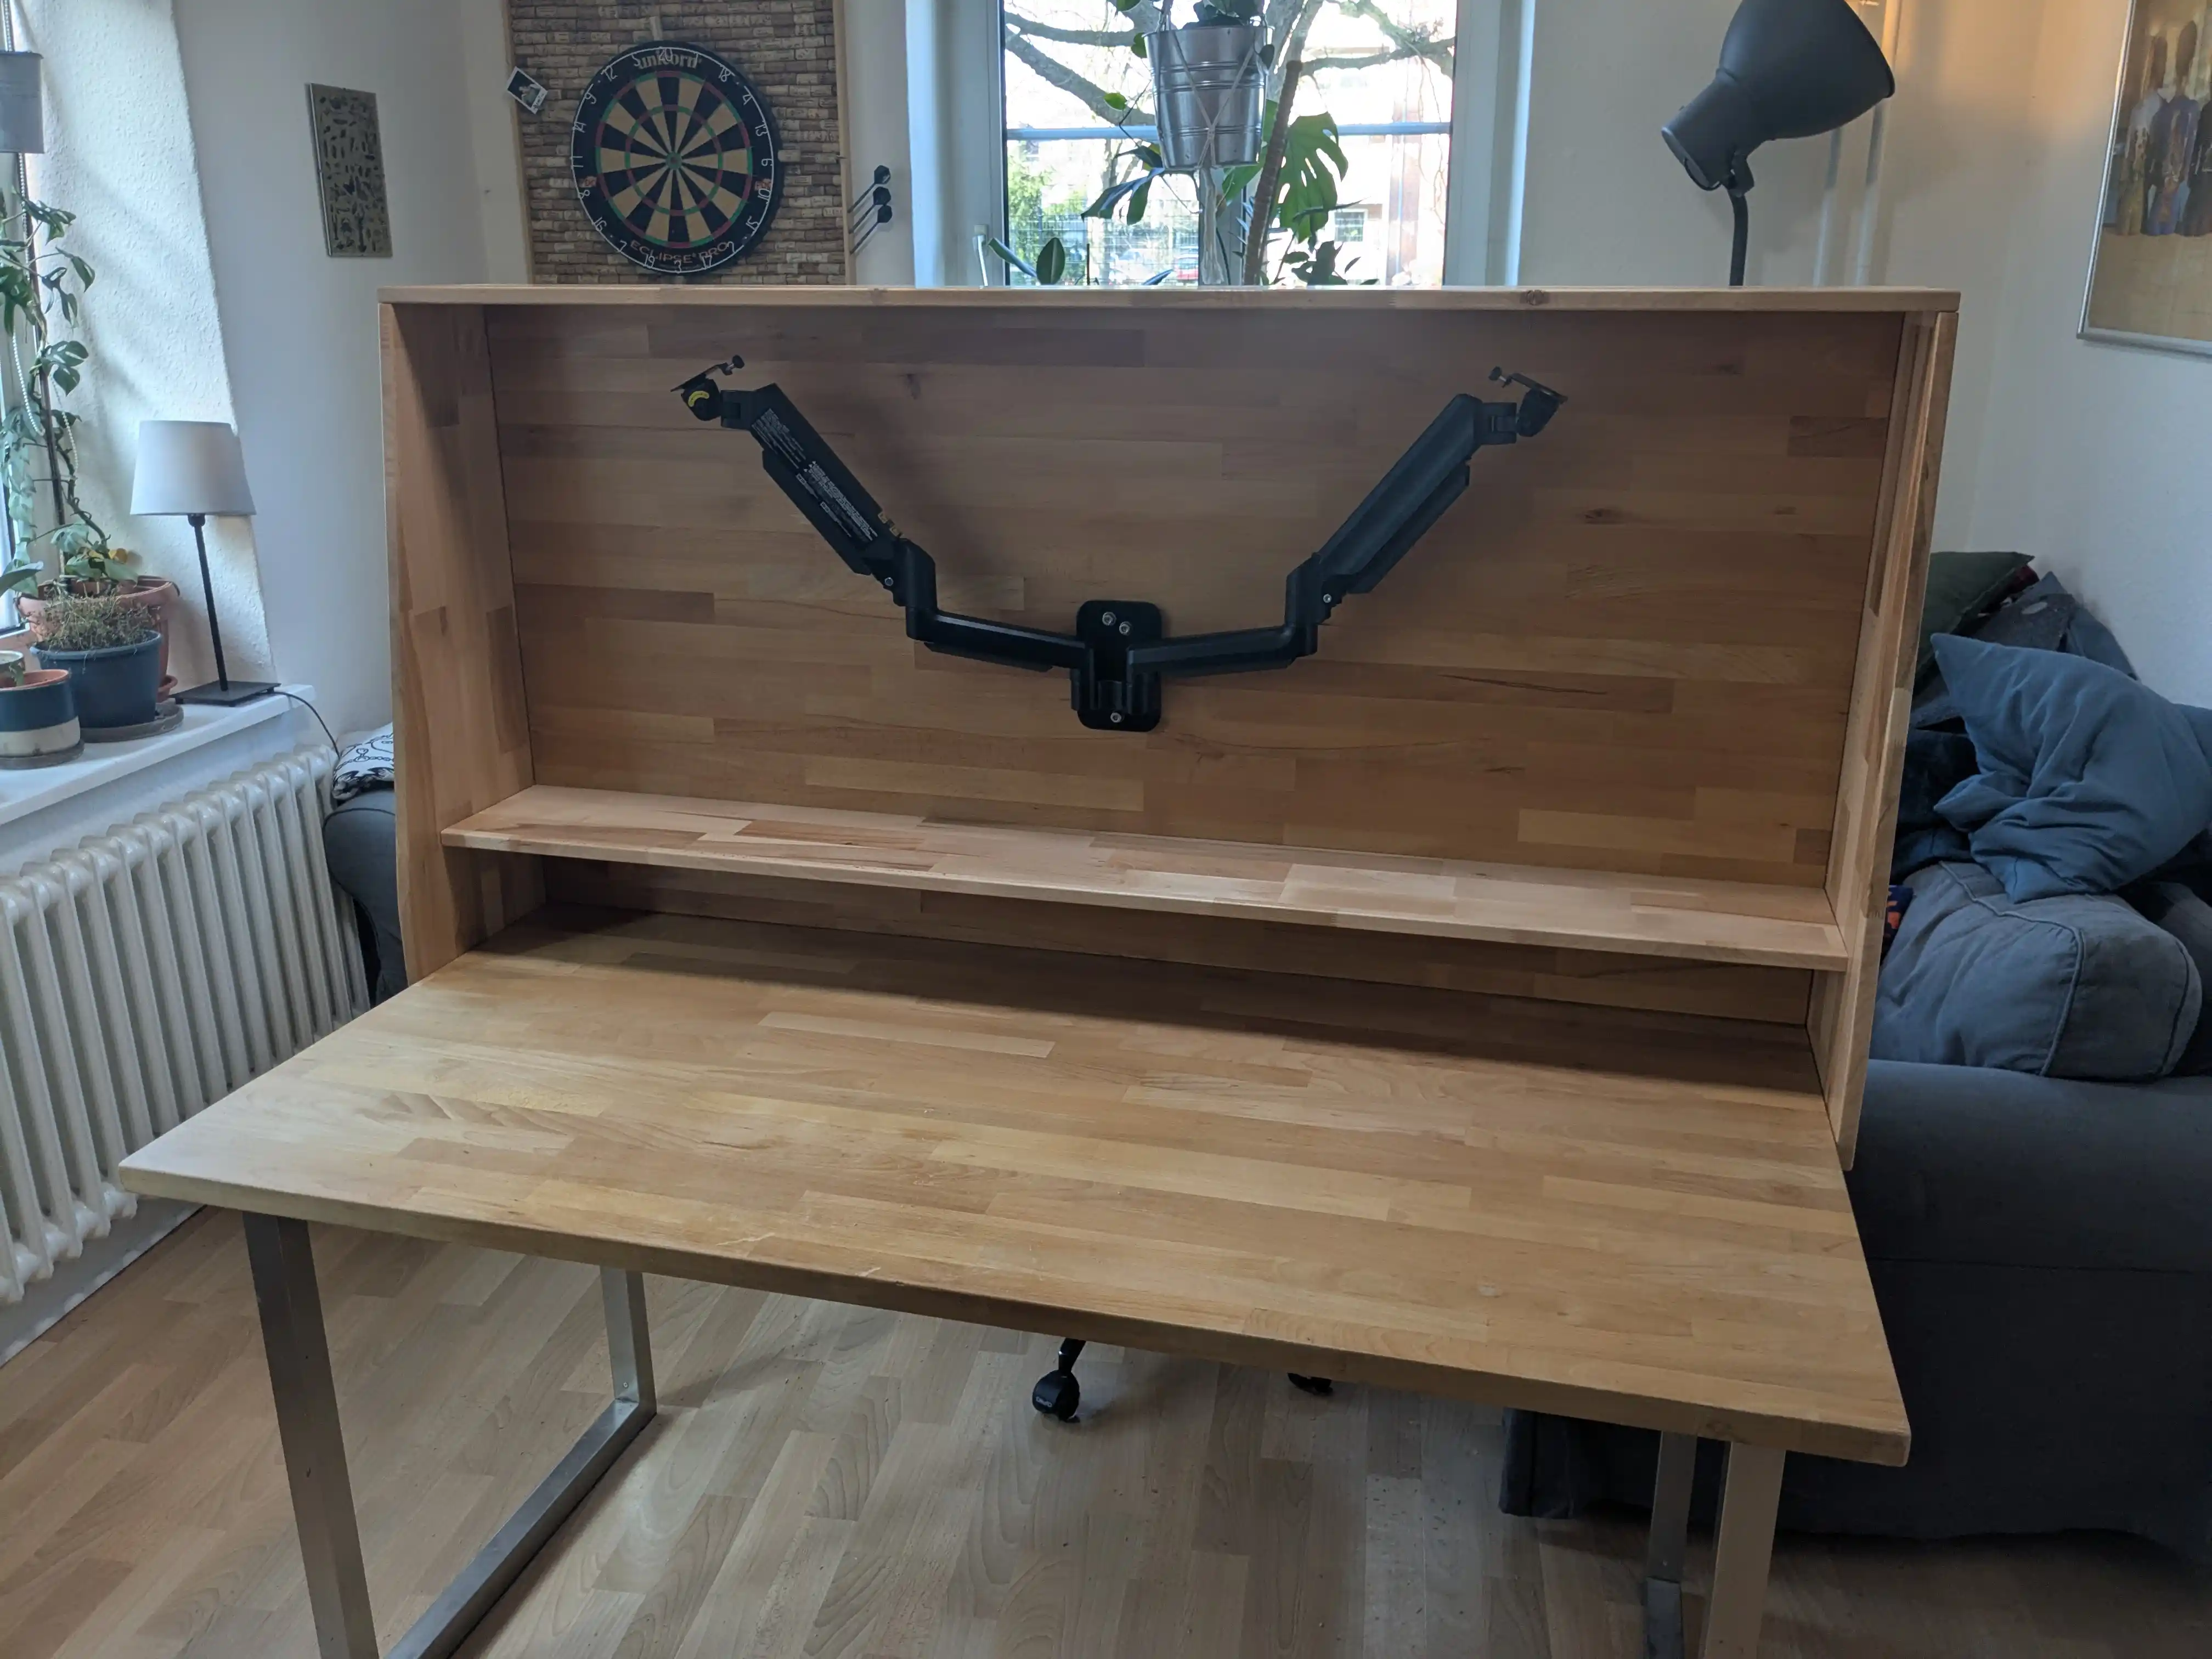
In the mean time I cut the shelf wood piece to the right size, routed the edges, sanded, waxed it up and attached it using screws.
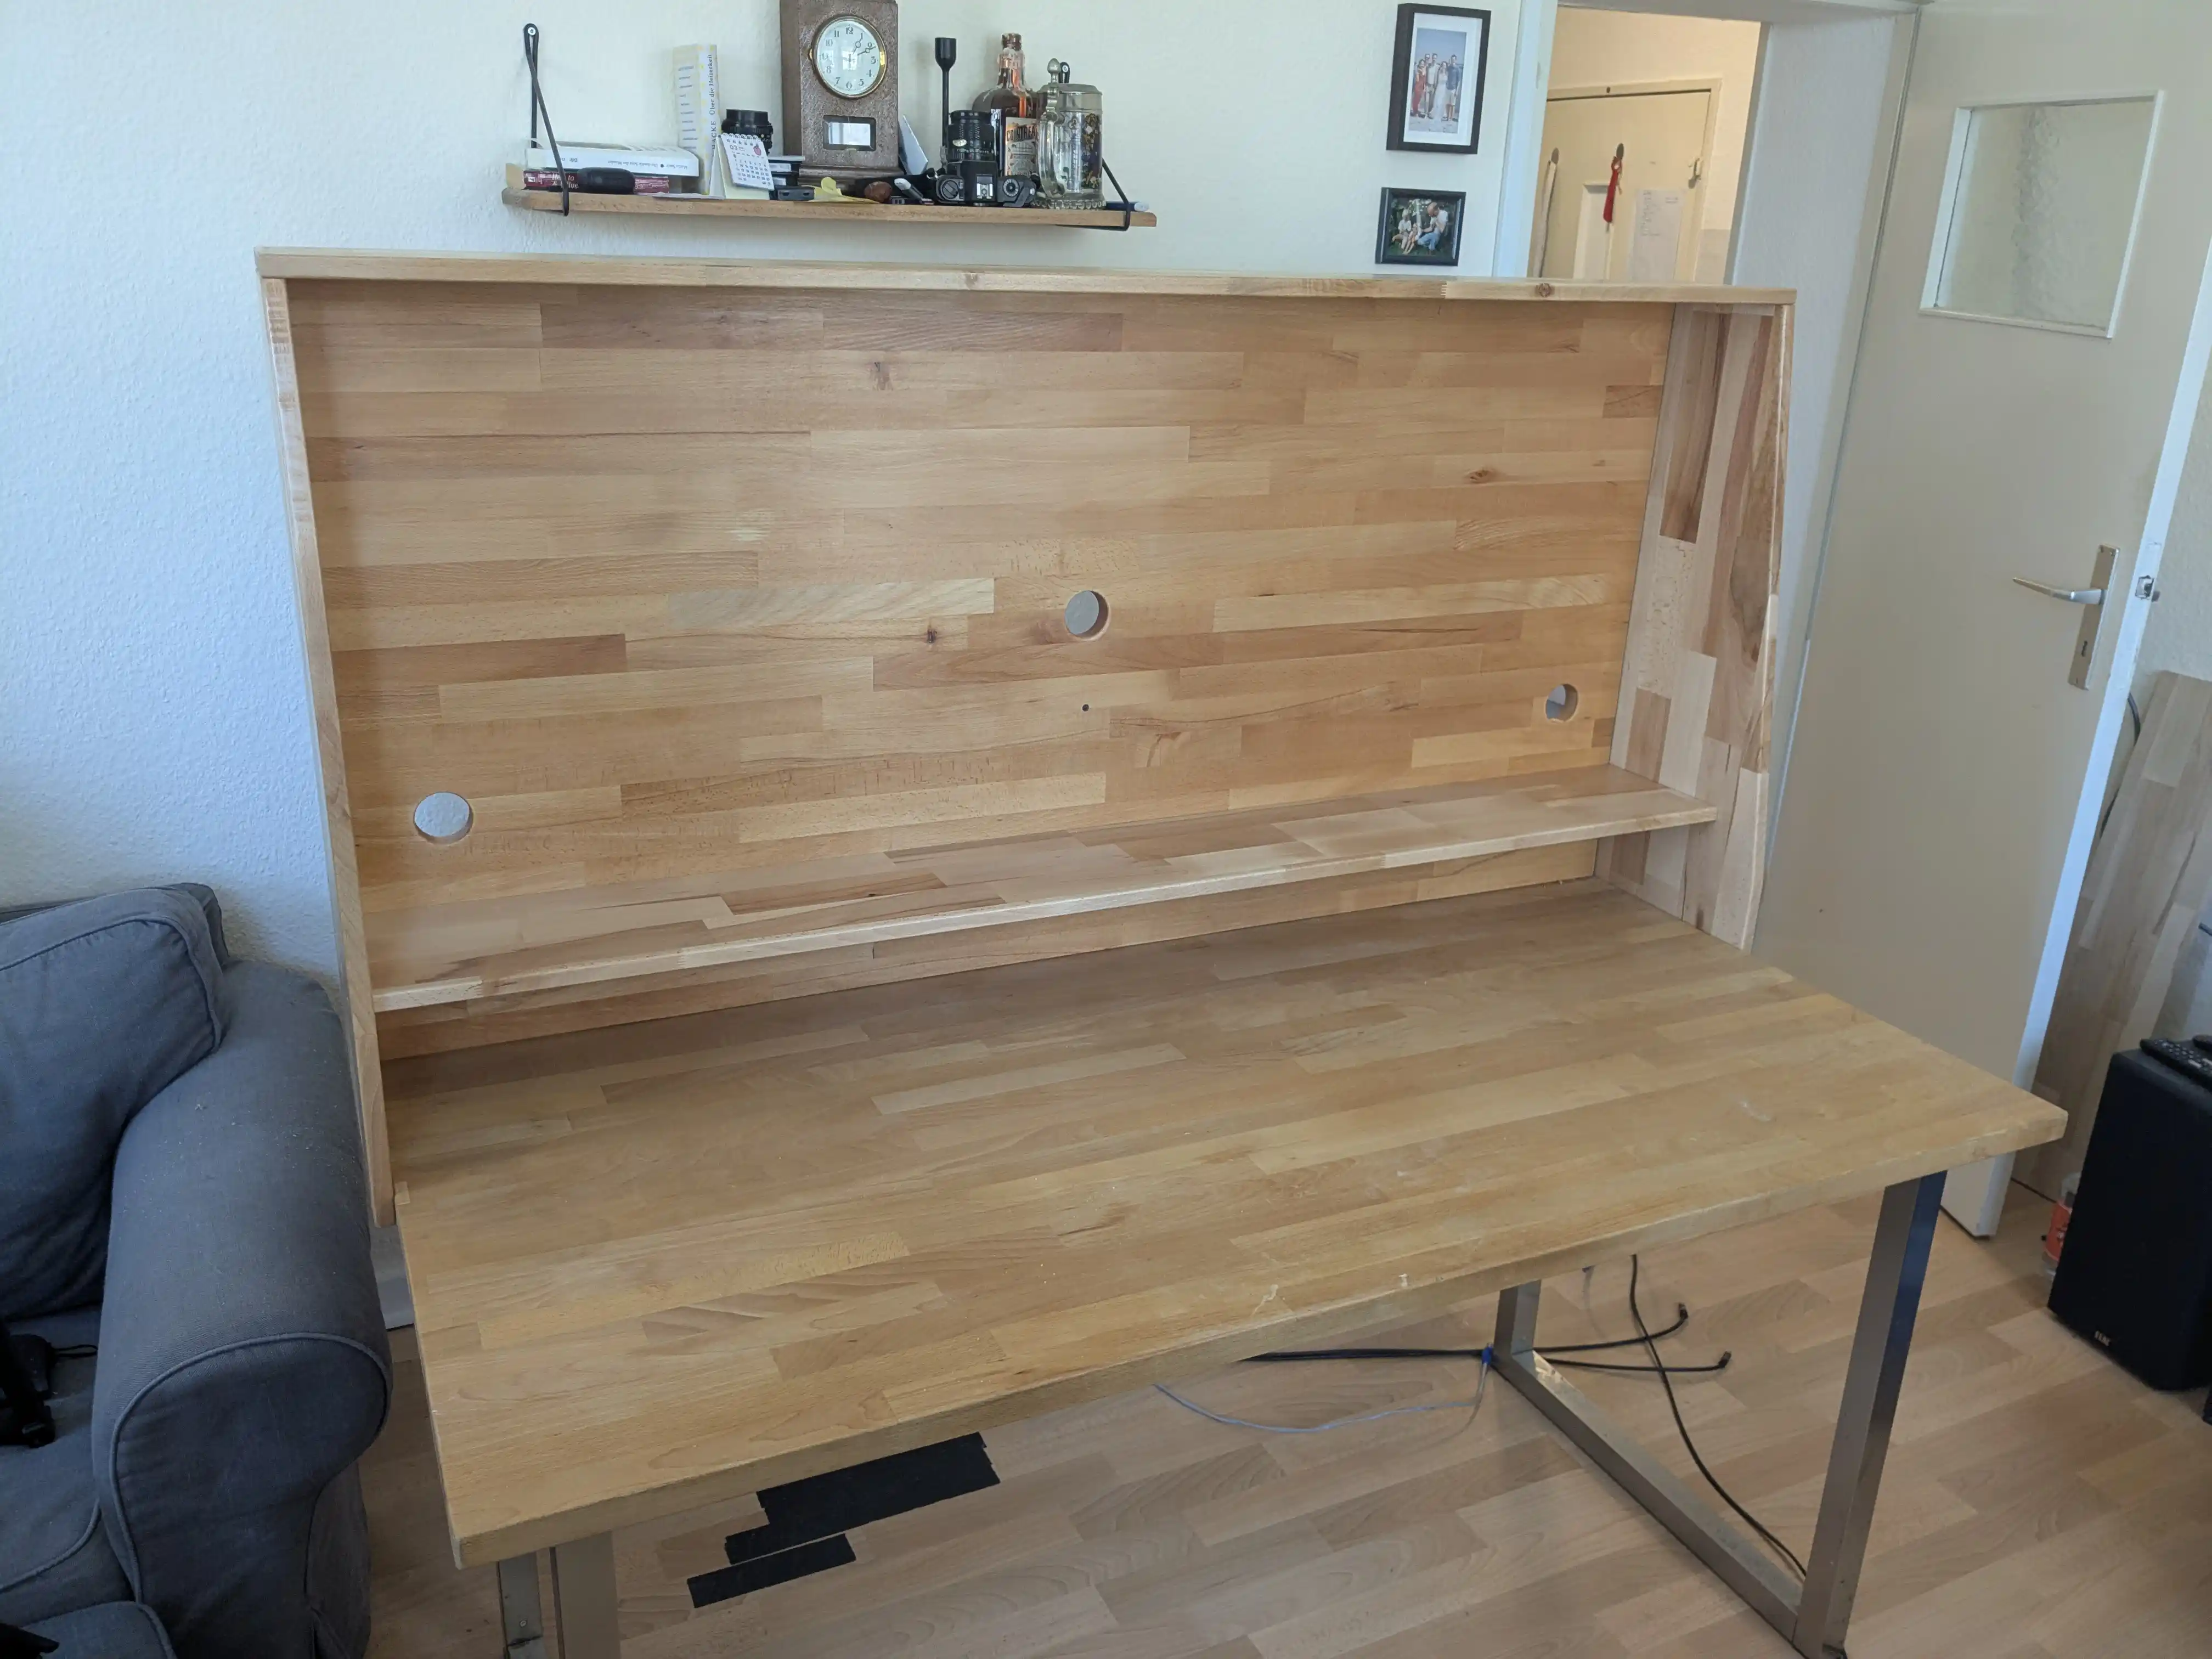
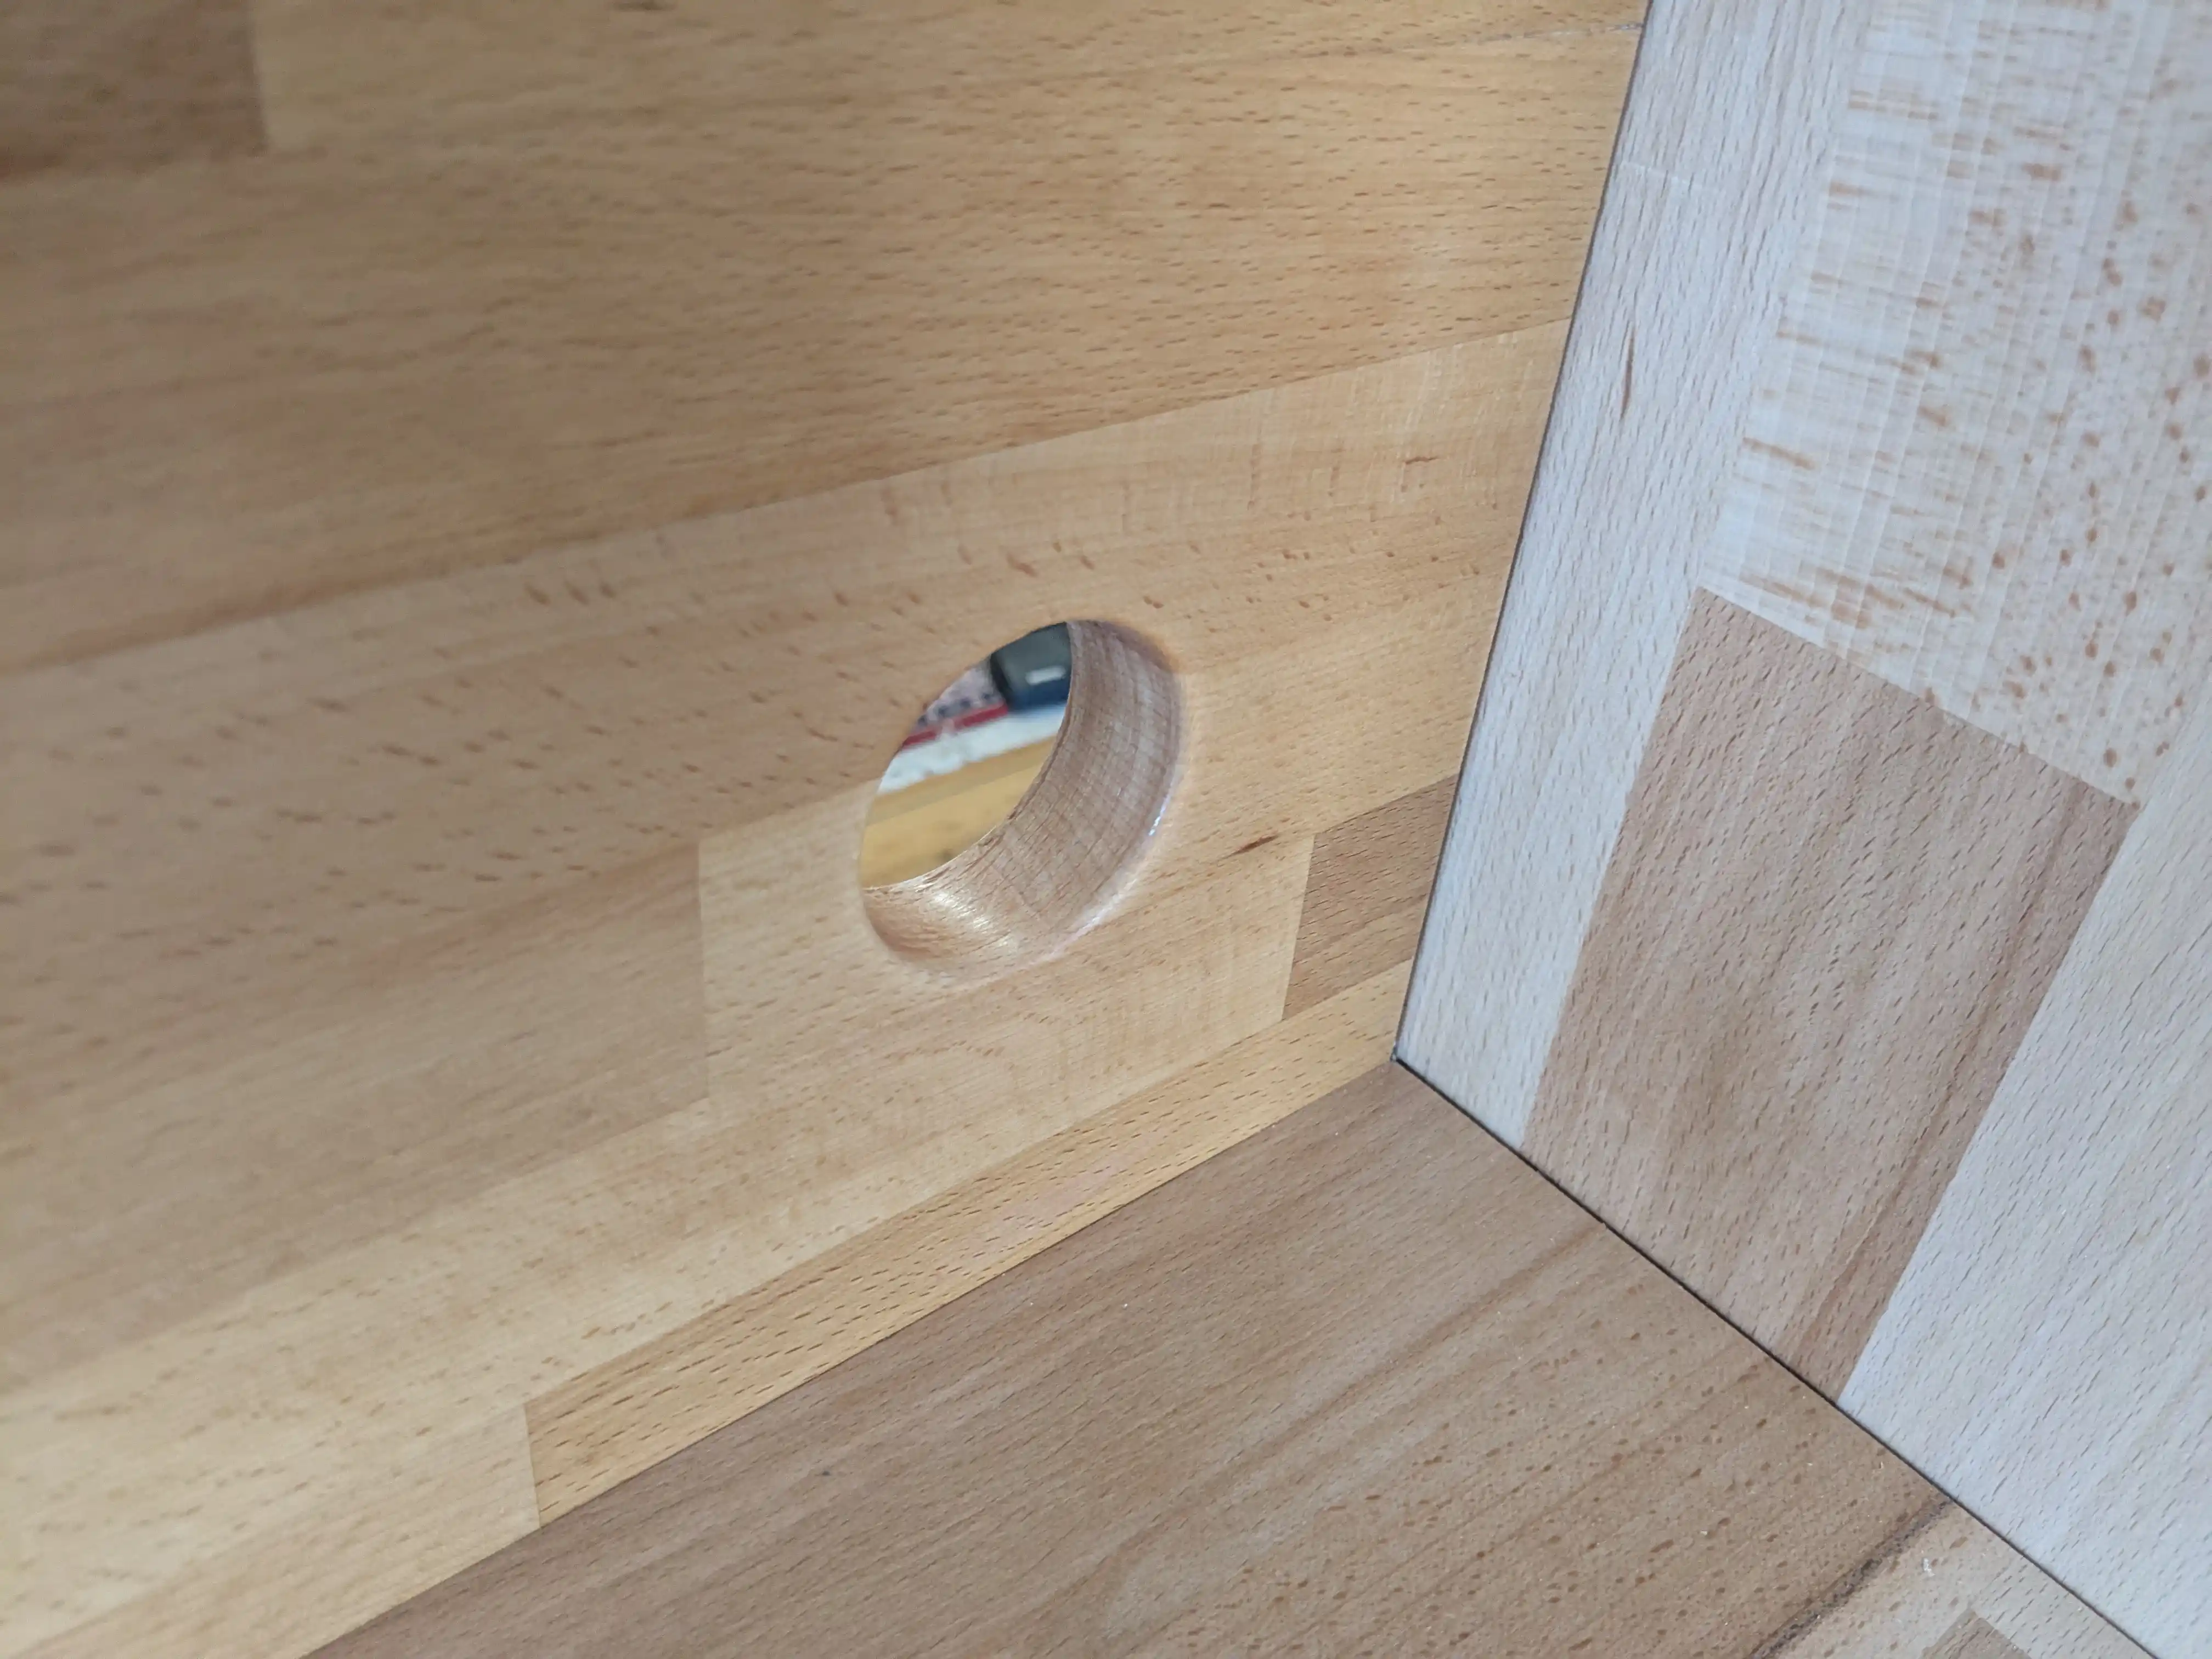
Now it was time to drill the holes for cable management. I also took some time routing the edges of the cable holes even they are not visible later on.
In this image you can see that has my project has bigger gaps than the panels on a Tesla.
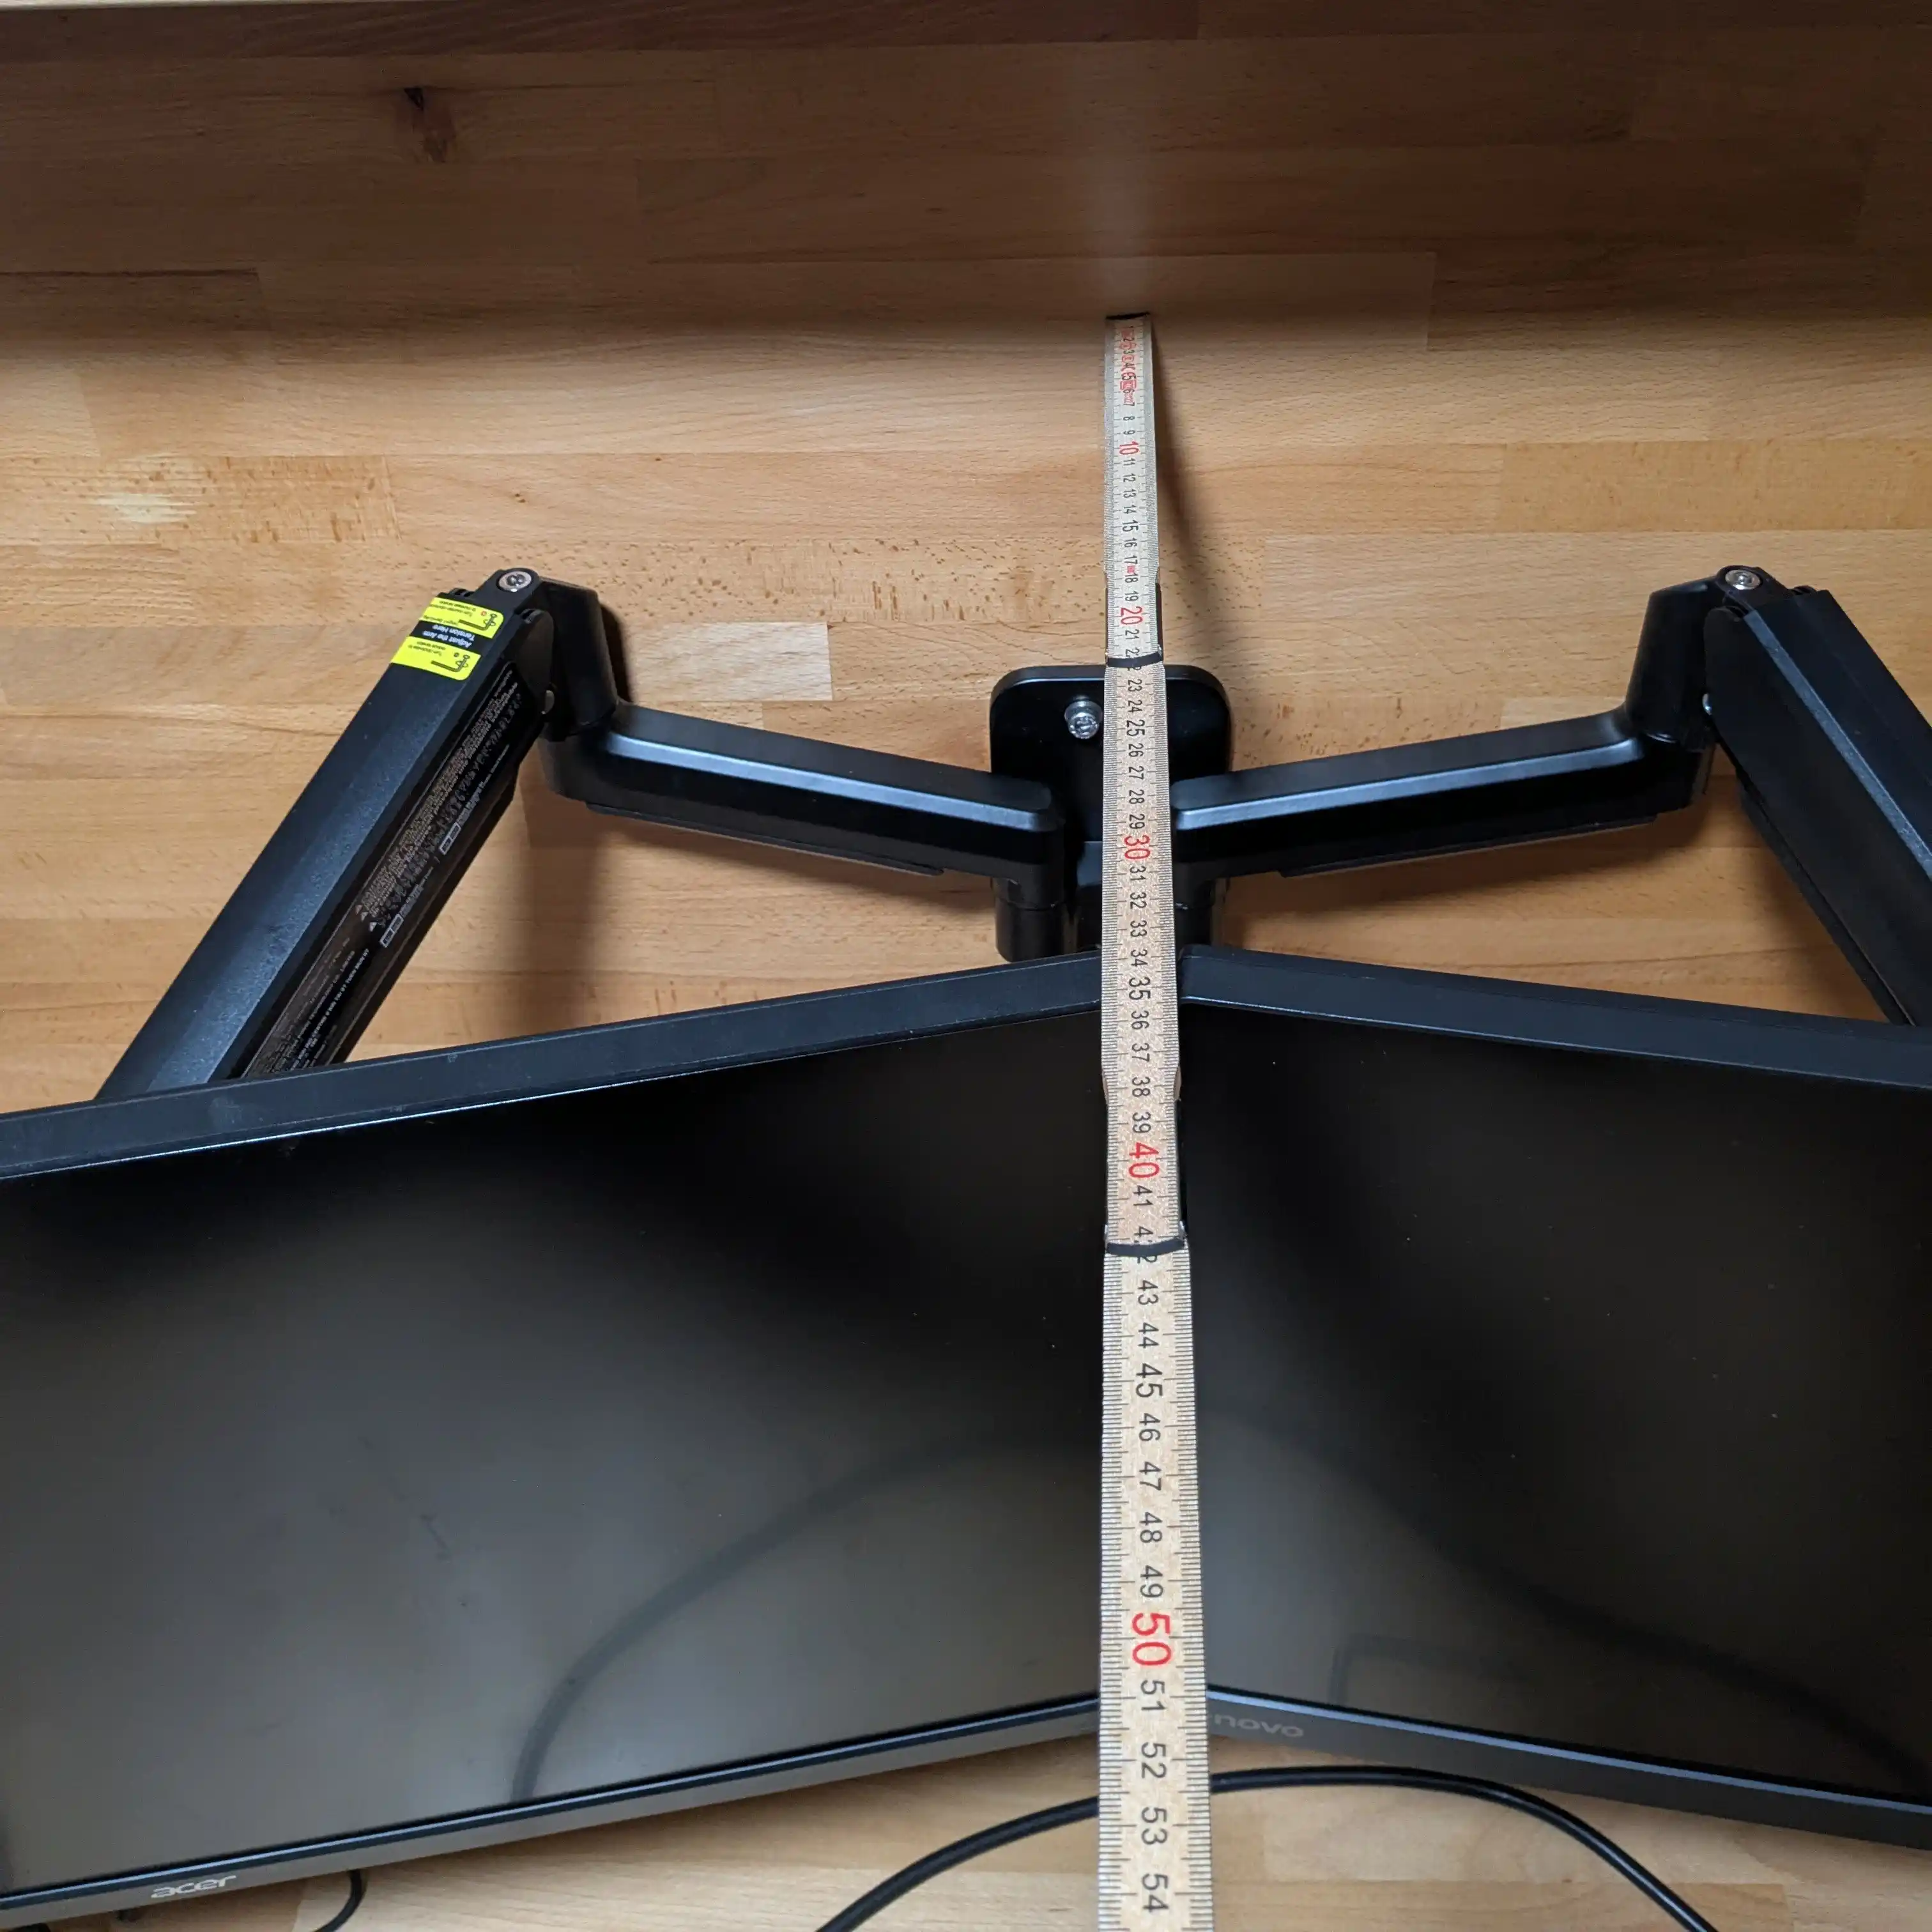
Now back to the dual screen mount. Turns out that in order to have both screens sitting flush with each other, they had to have a distance to the backboard of at least 33cm. This caused them to be directly in my face. Returned the screen mount to Amazon and learned a lesson: Read the negative reviews before buying stuff.
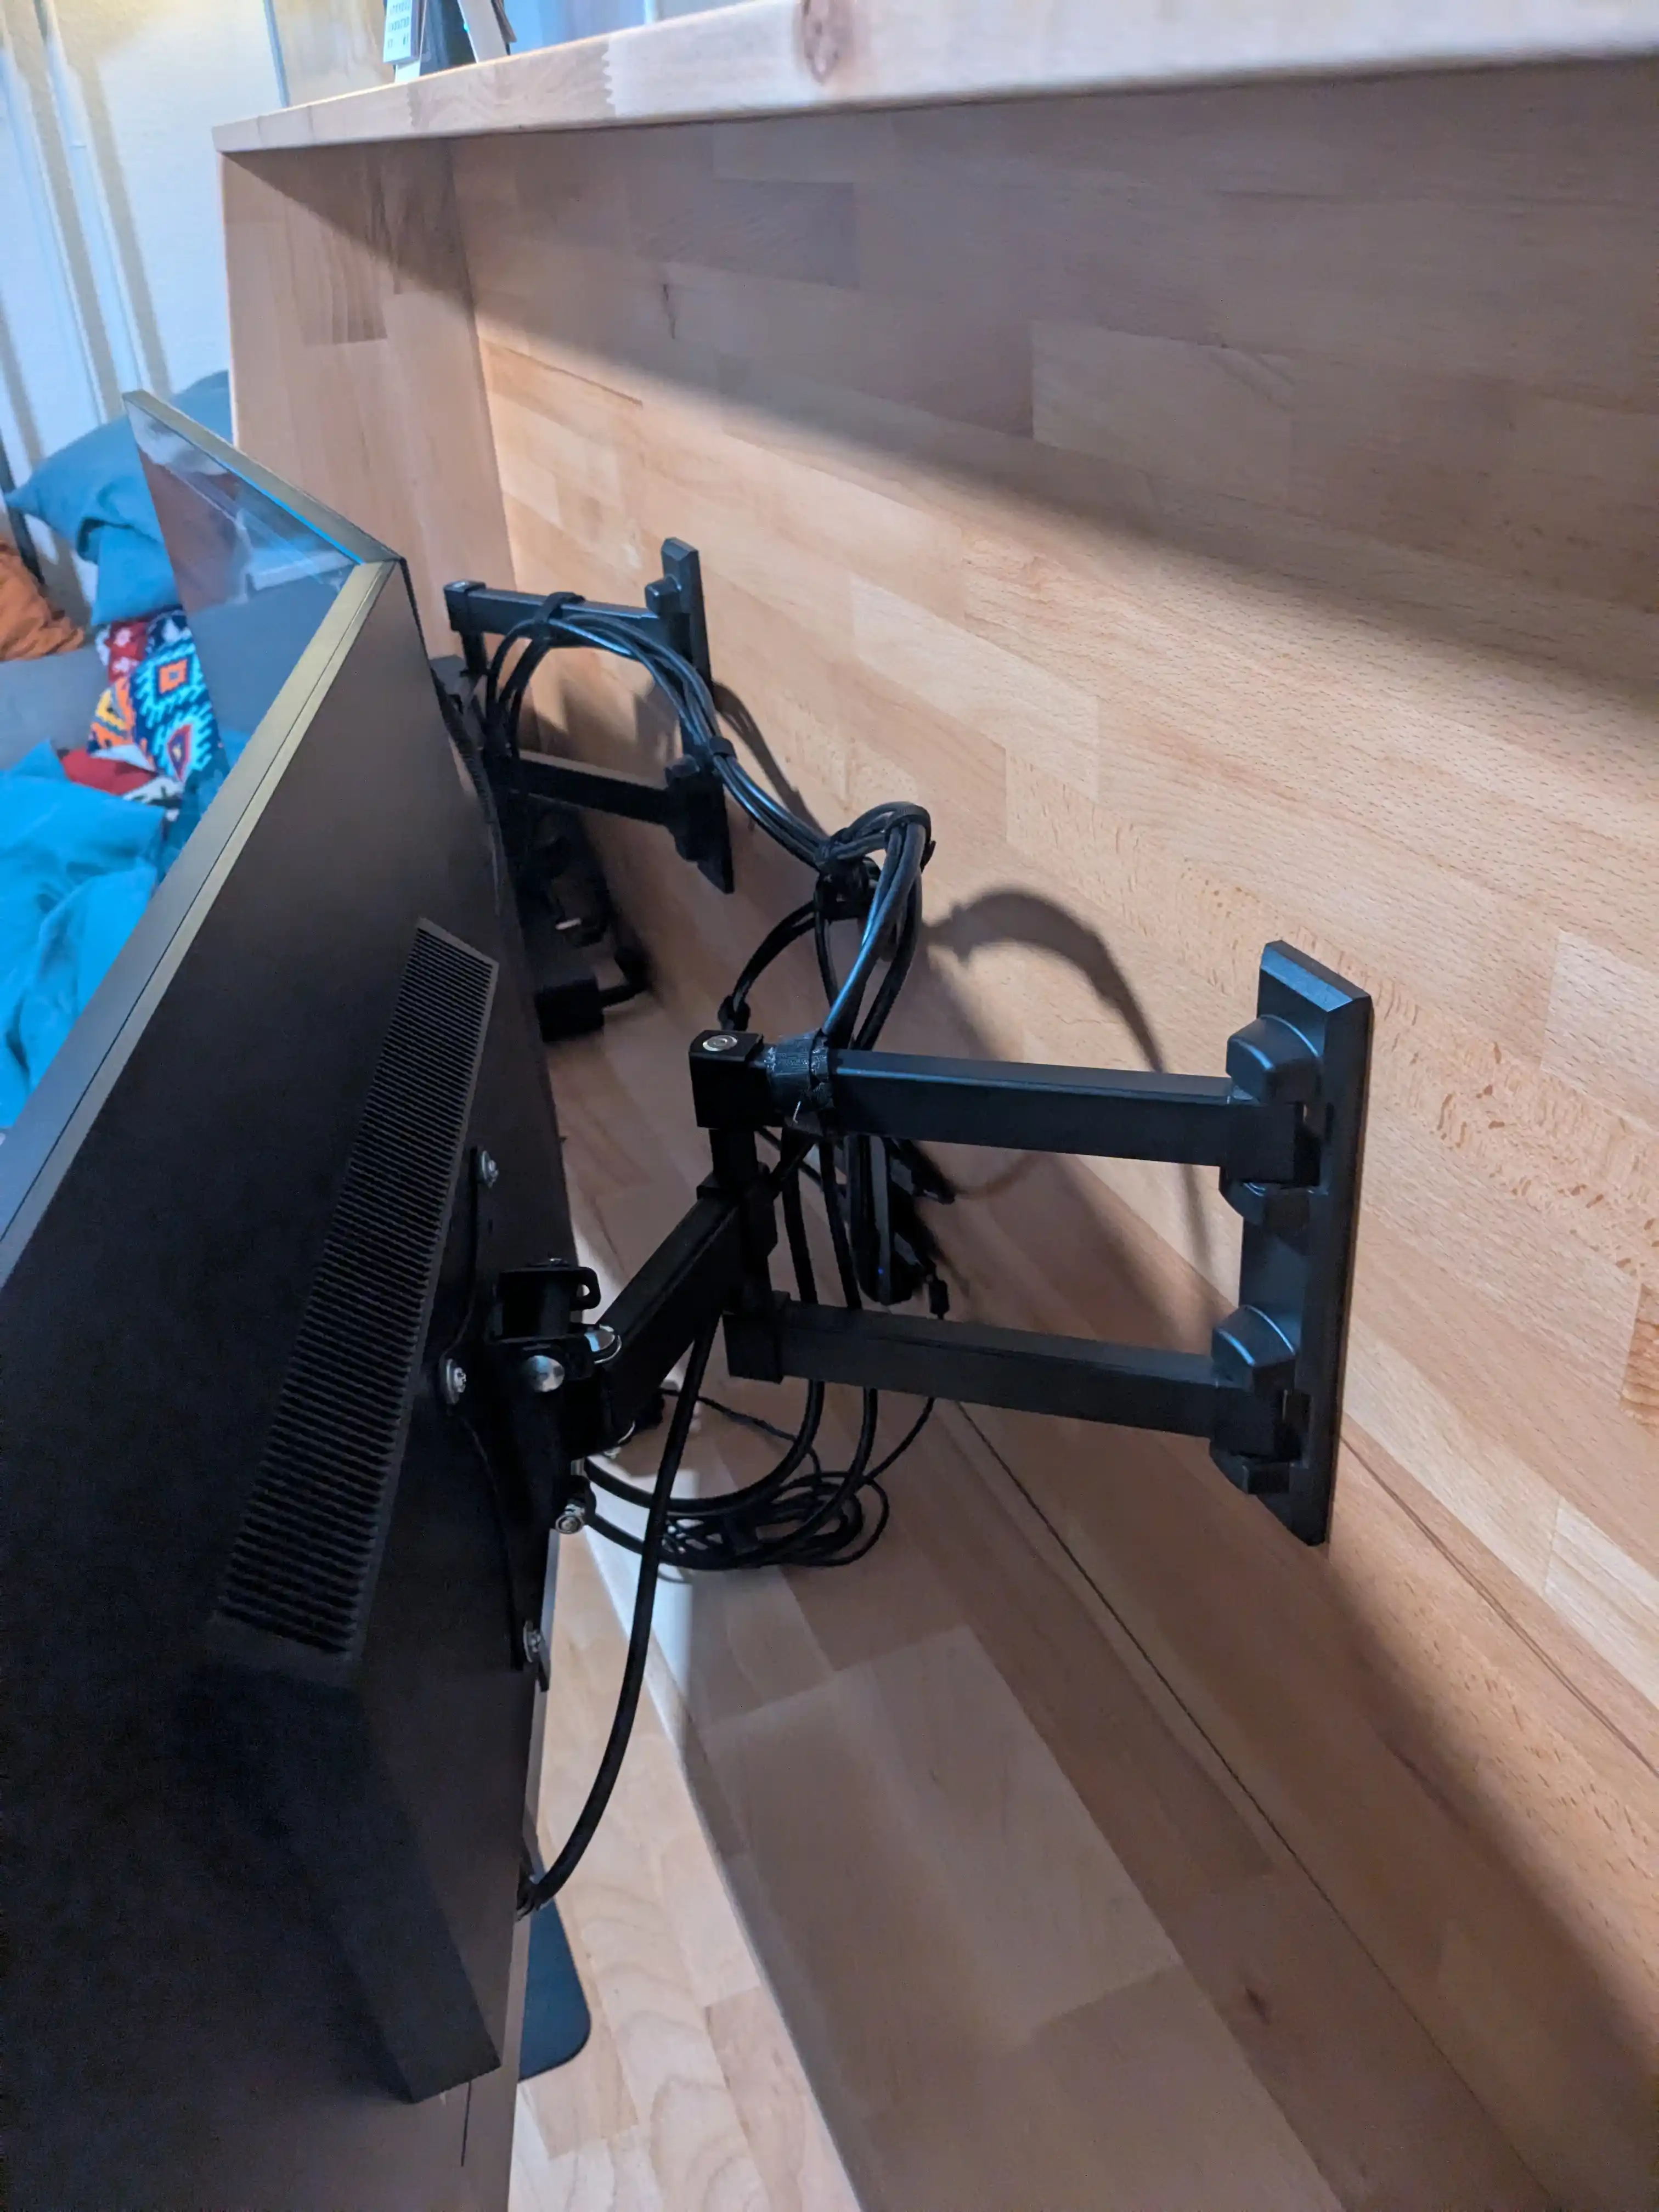
Luckily the two single wall mounts worked perfectly. Setting them up so that both screens would be at the same height was a little finicky since my screens are different. So the left wall mount had to be mounted a little bit higher.
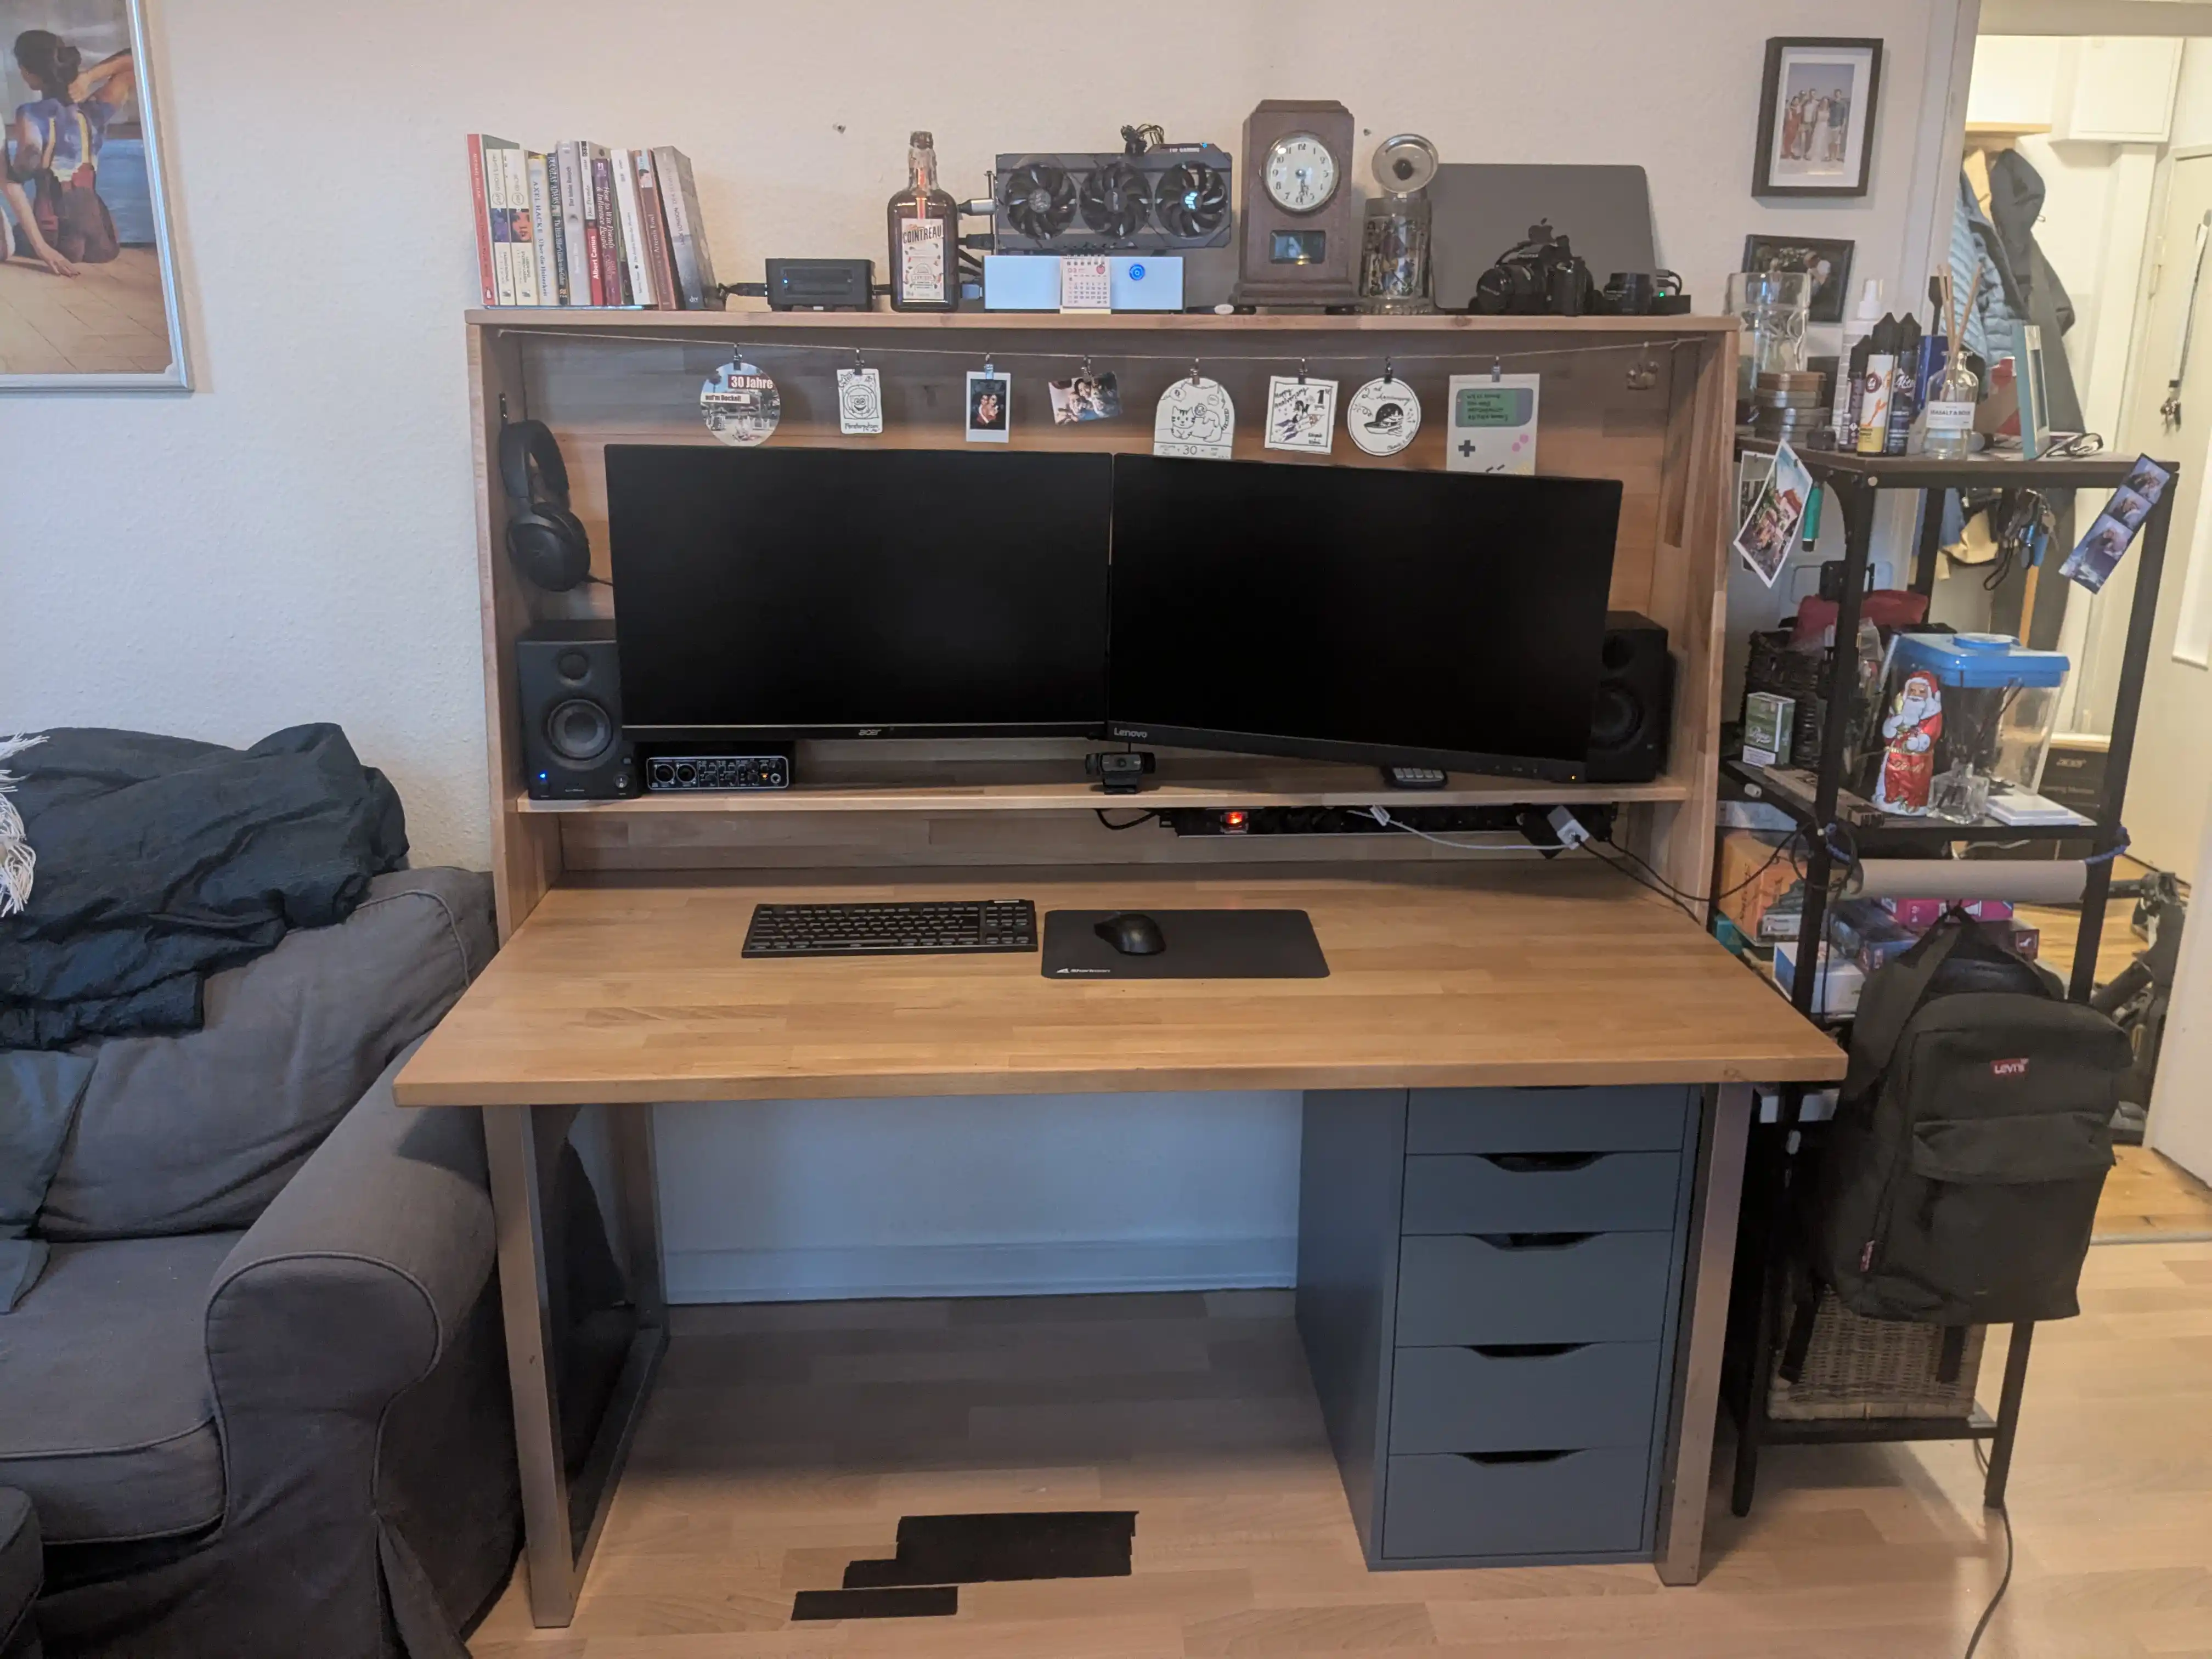
After all that crap was done I was already happy with my progress. As you can see I mounted my power strip below the shelf part directly to the backboard. Not really hidden but easily accessible.
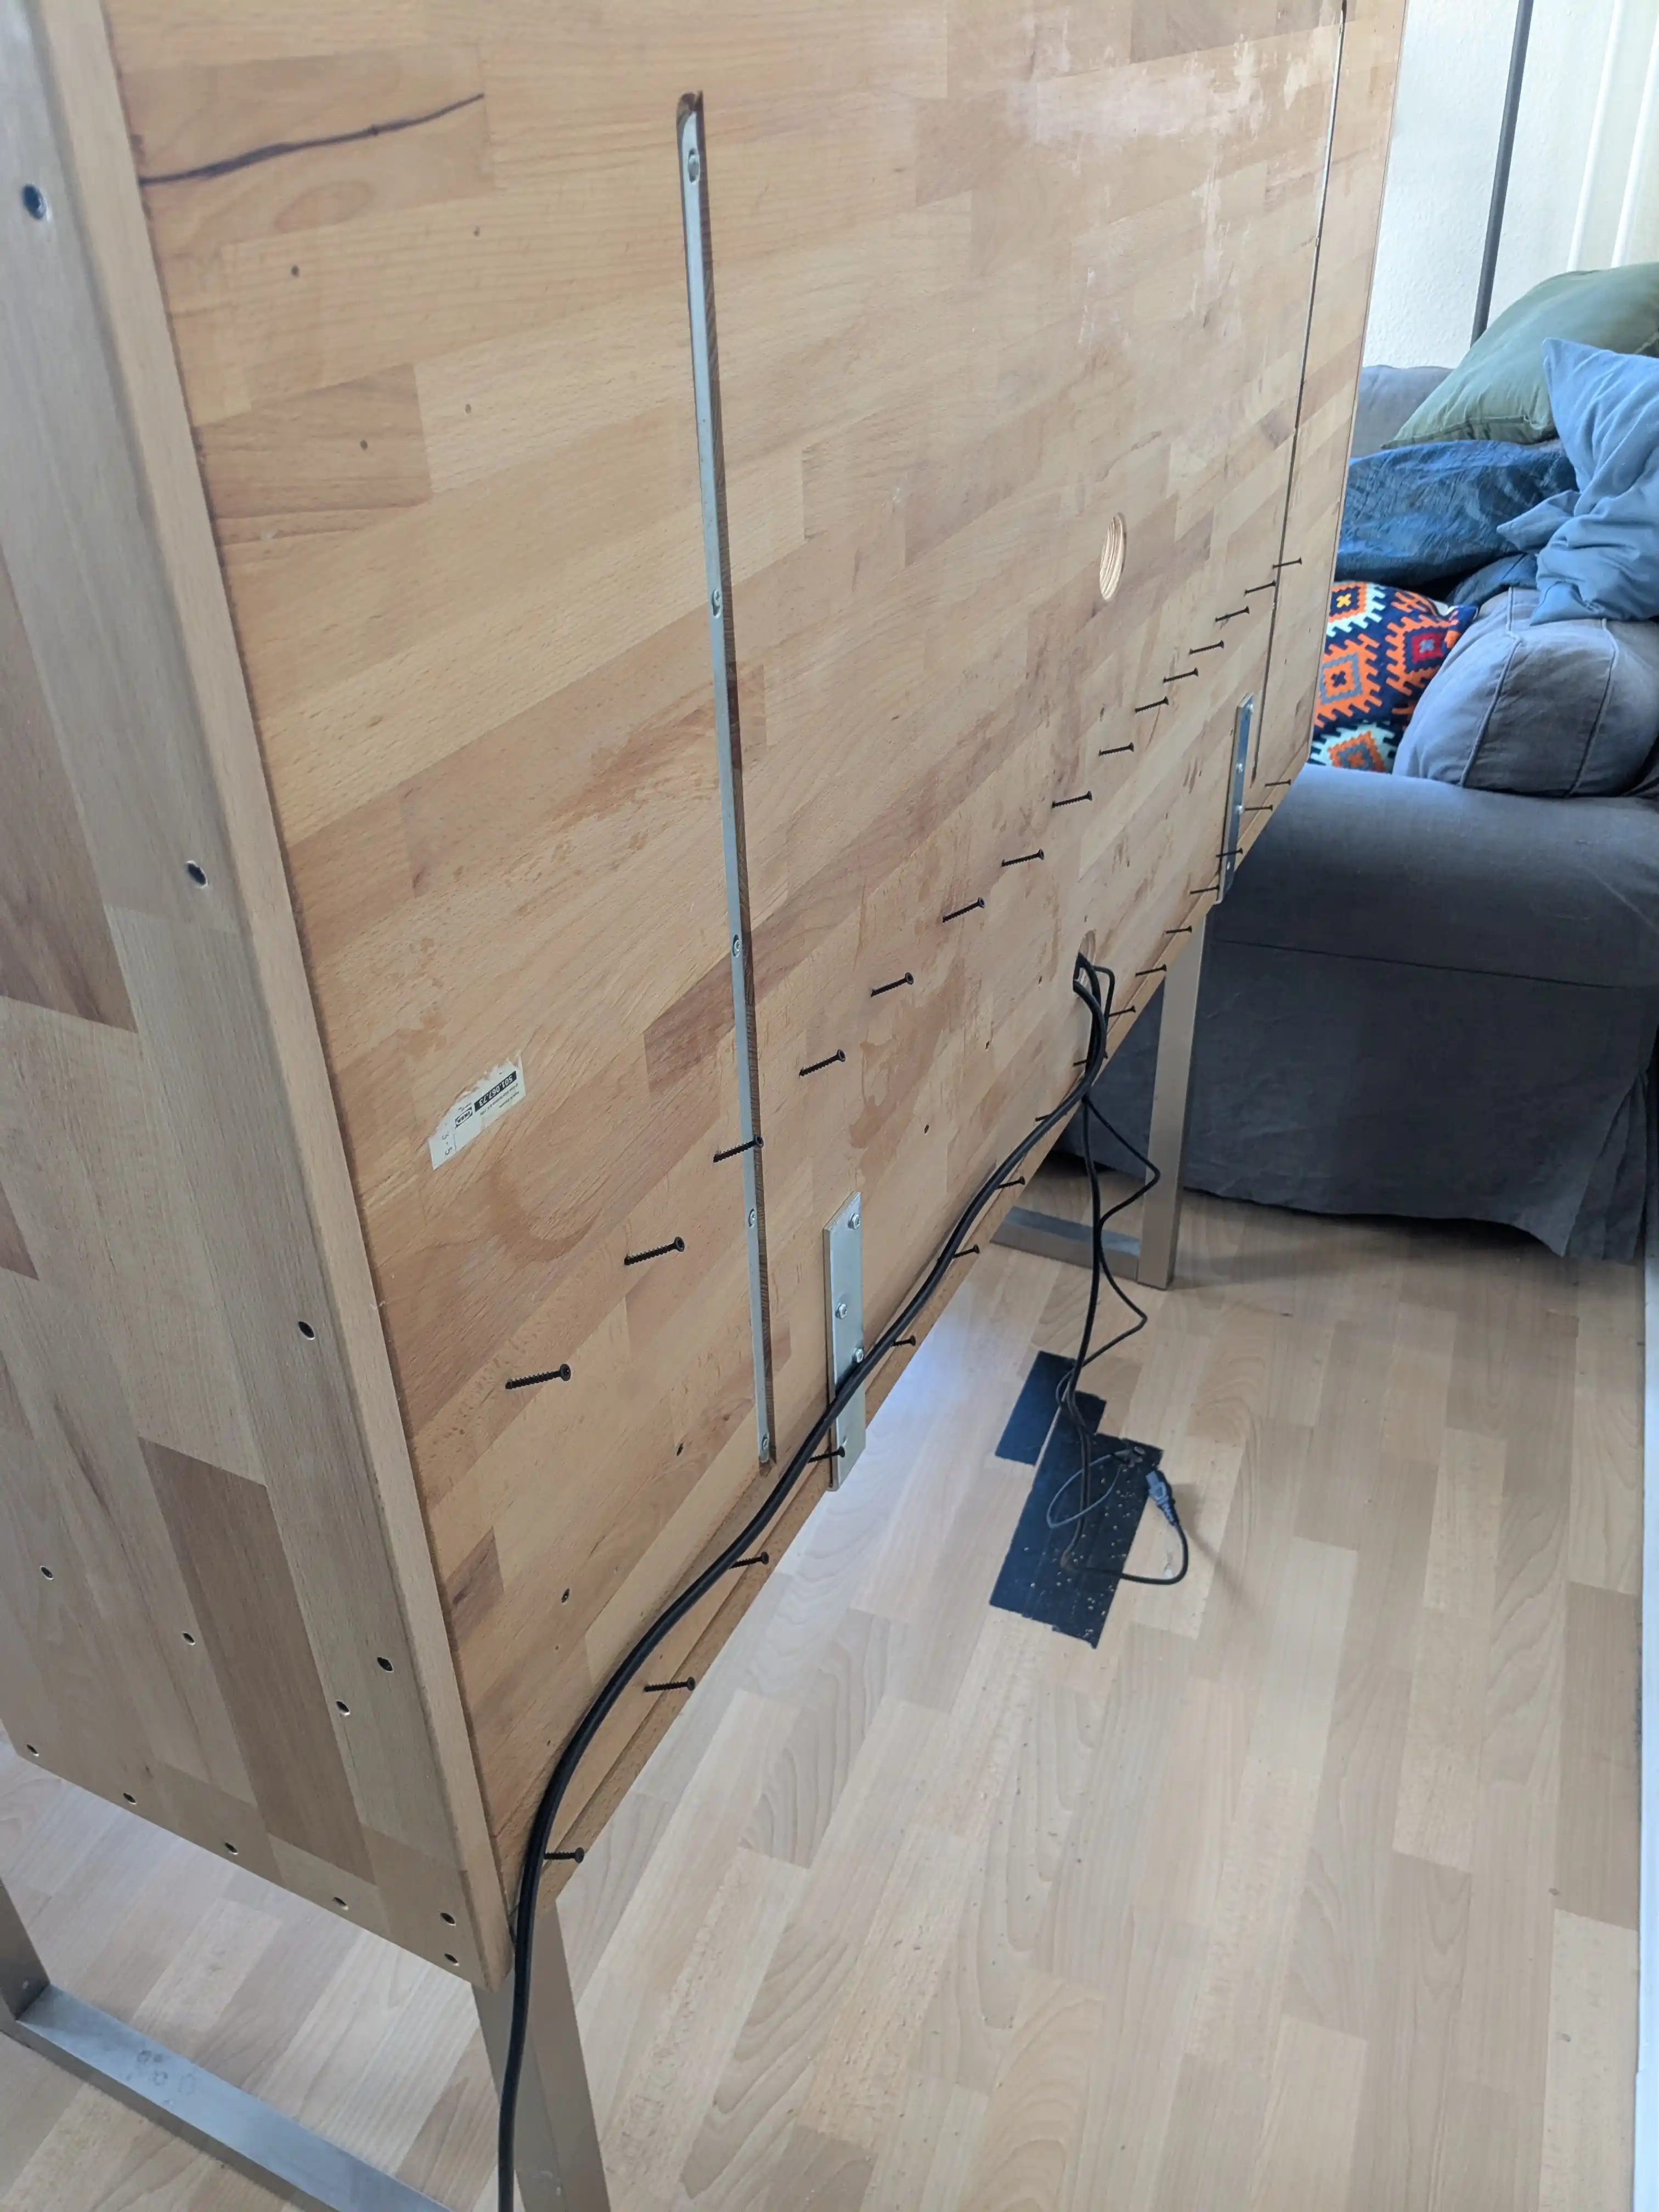
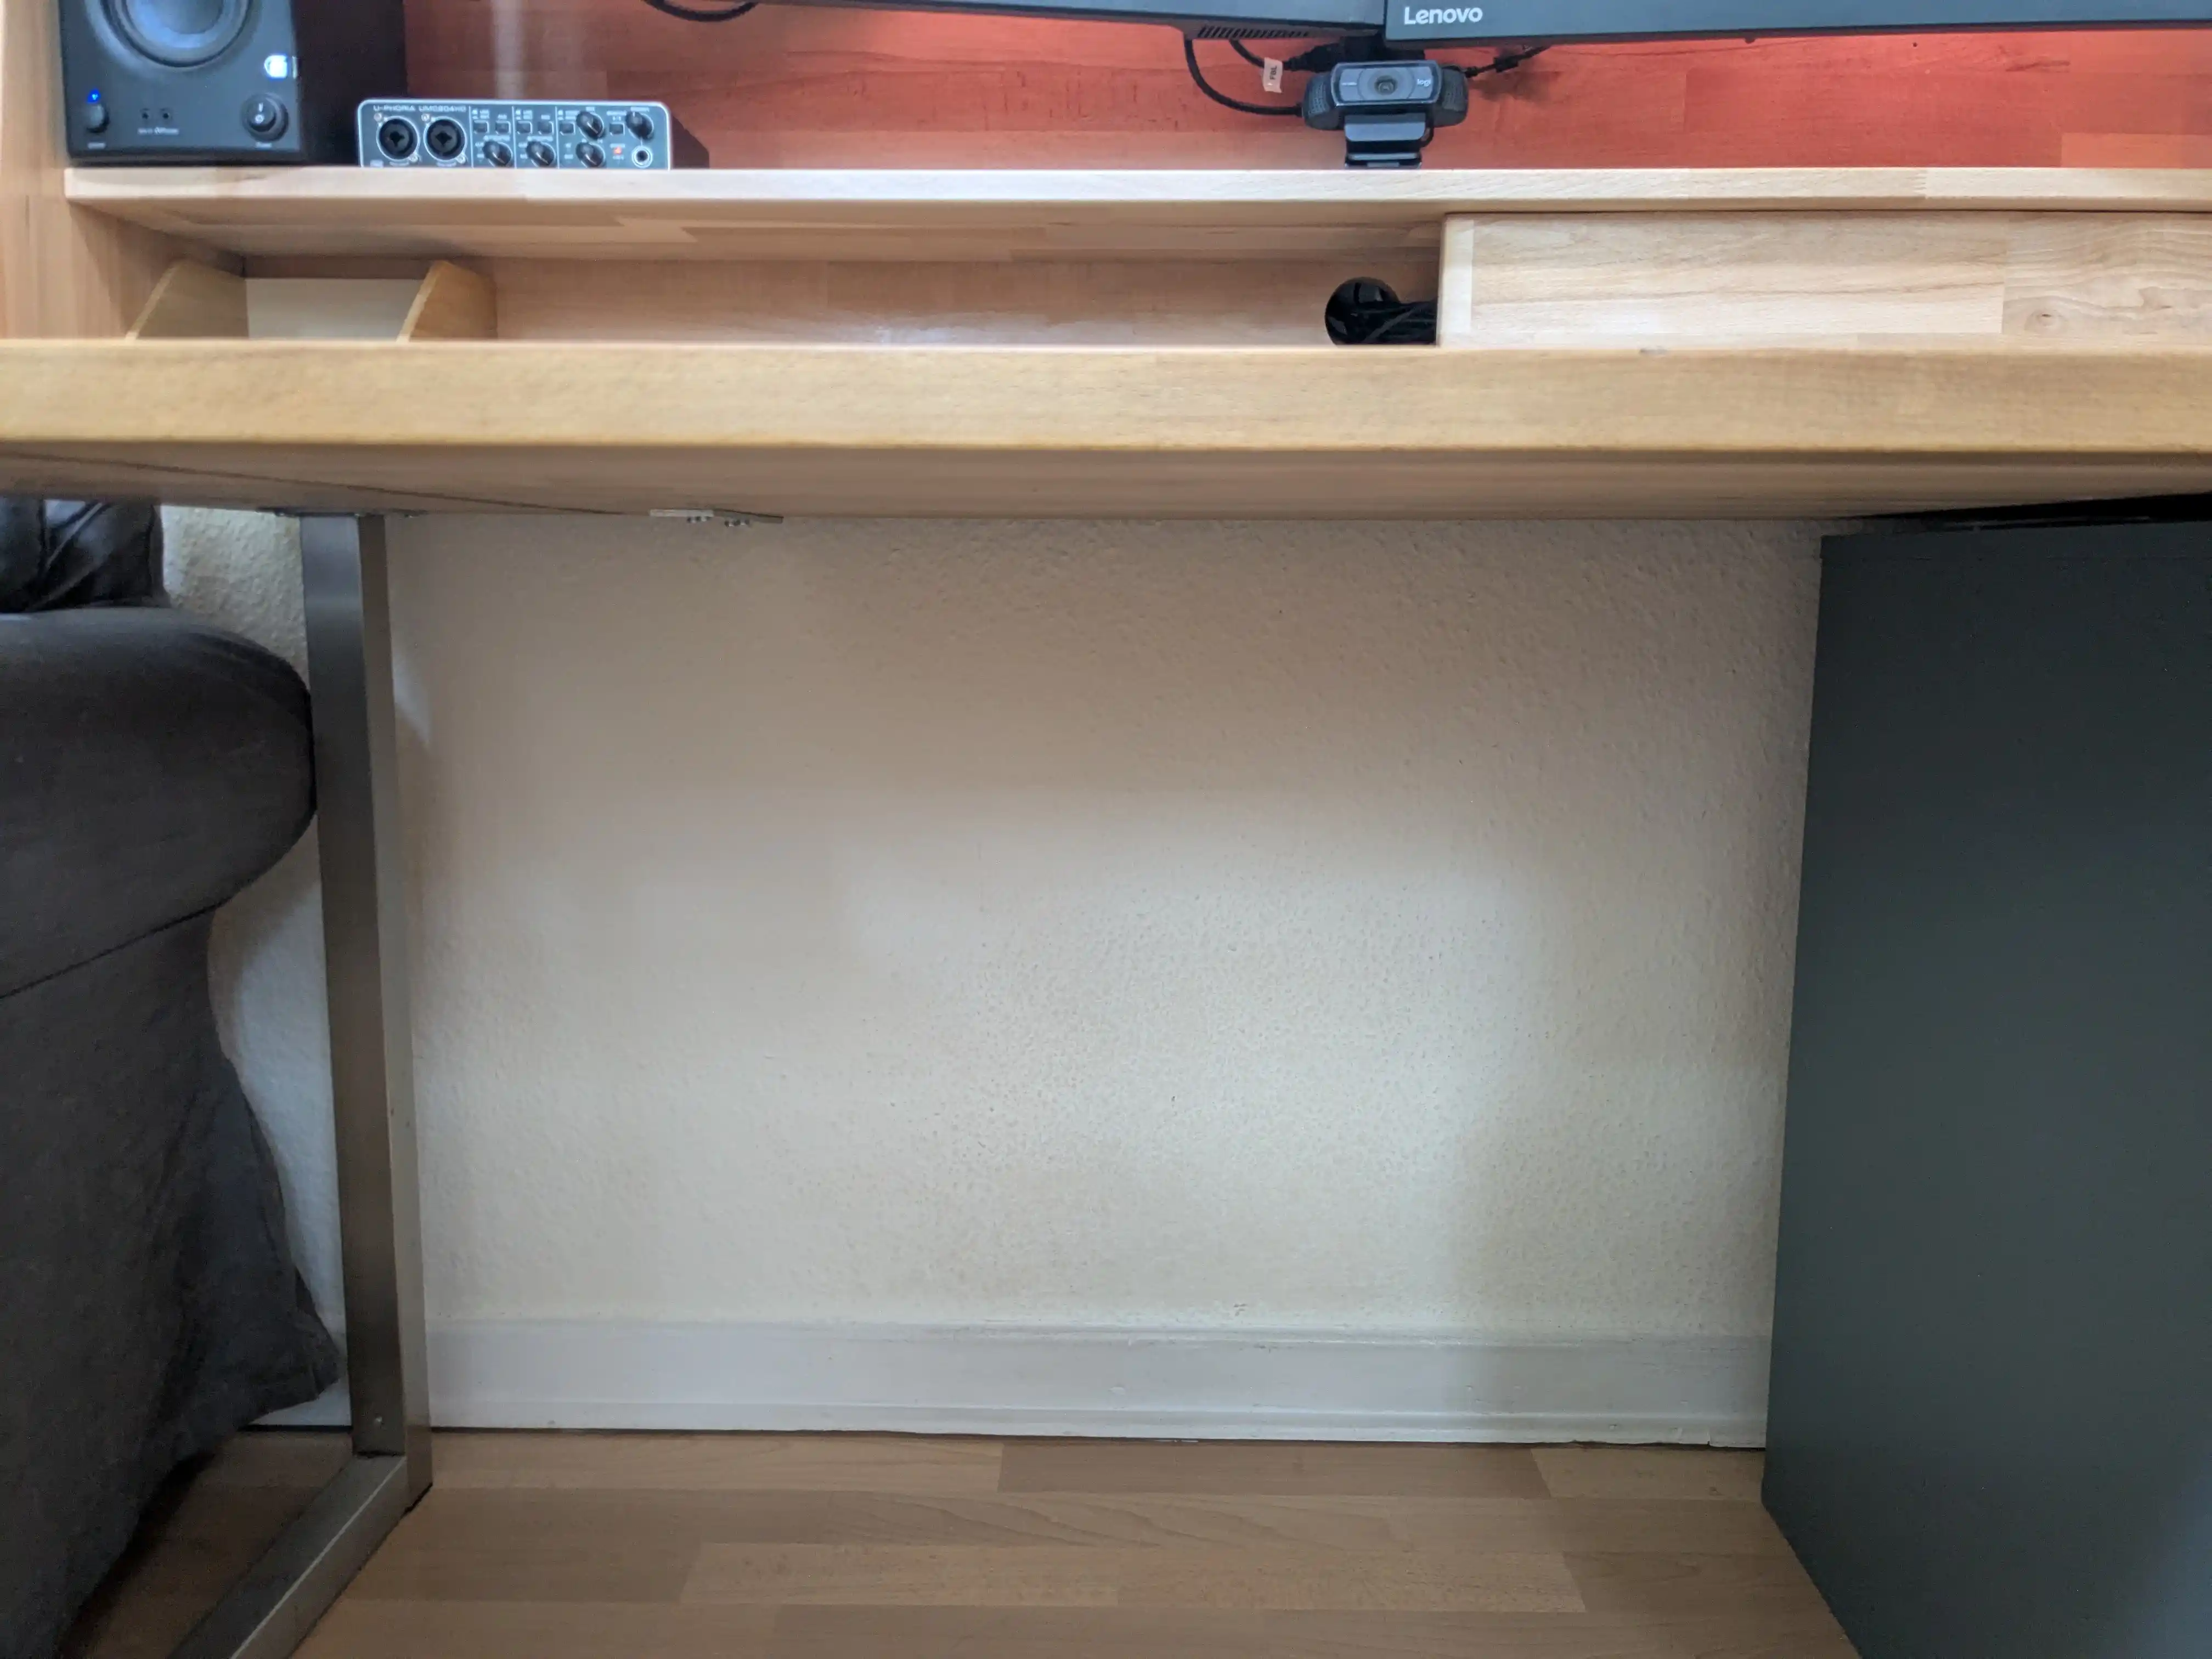
I also needed to find a way to stop from the cables behind the backboard to fall to the ground. At this point I was already annoyed and wanted to finish quickly so I can get back to using my desk. At first I was skeptical that drilling in a bunch of screws would 'catch' the cables and stop them from falling behind the backboard where they come in contact with my feet sooner or later. But it worked perfectly! Another advantage of the screws is that I can kinda wrap longer cables around these screws to keep the from being like super loose.
Since my goal was to hide as many cables as possible I came up with the solution already shown in the beginning of this article. A leftover piece of wood with some cheap neodym magnets glued in hides the cables quite nicely.
After now using the desk for 2 months it turned out like a good investment of time and money. Thanks for reading!